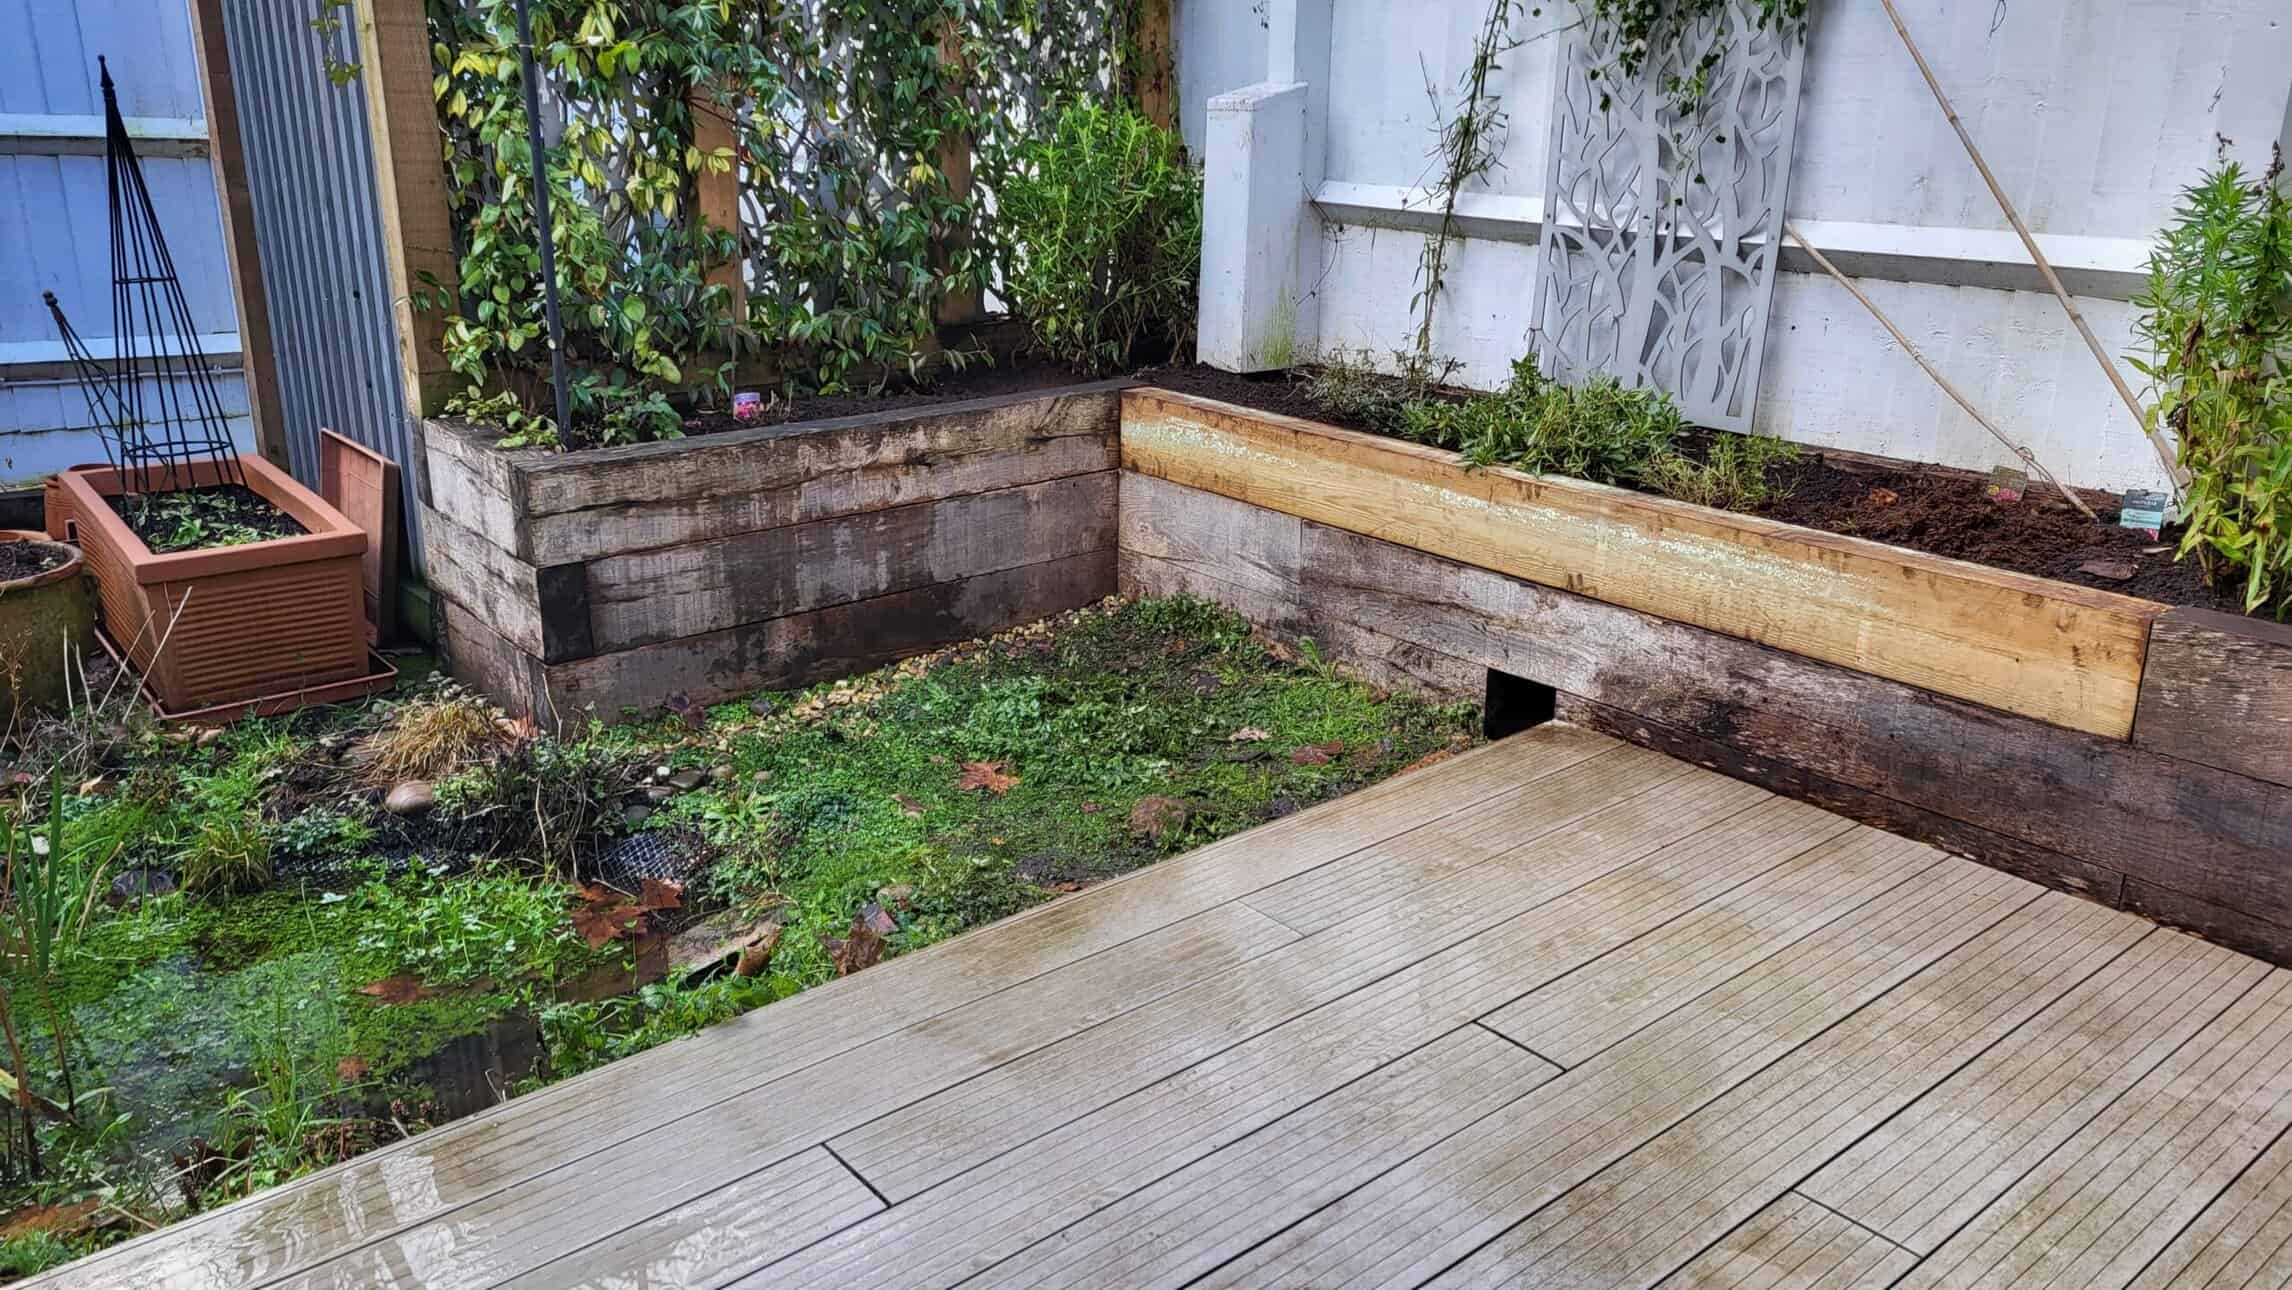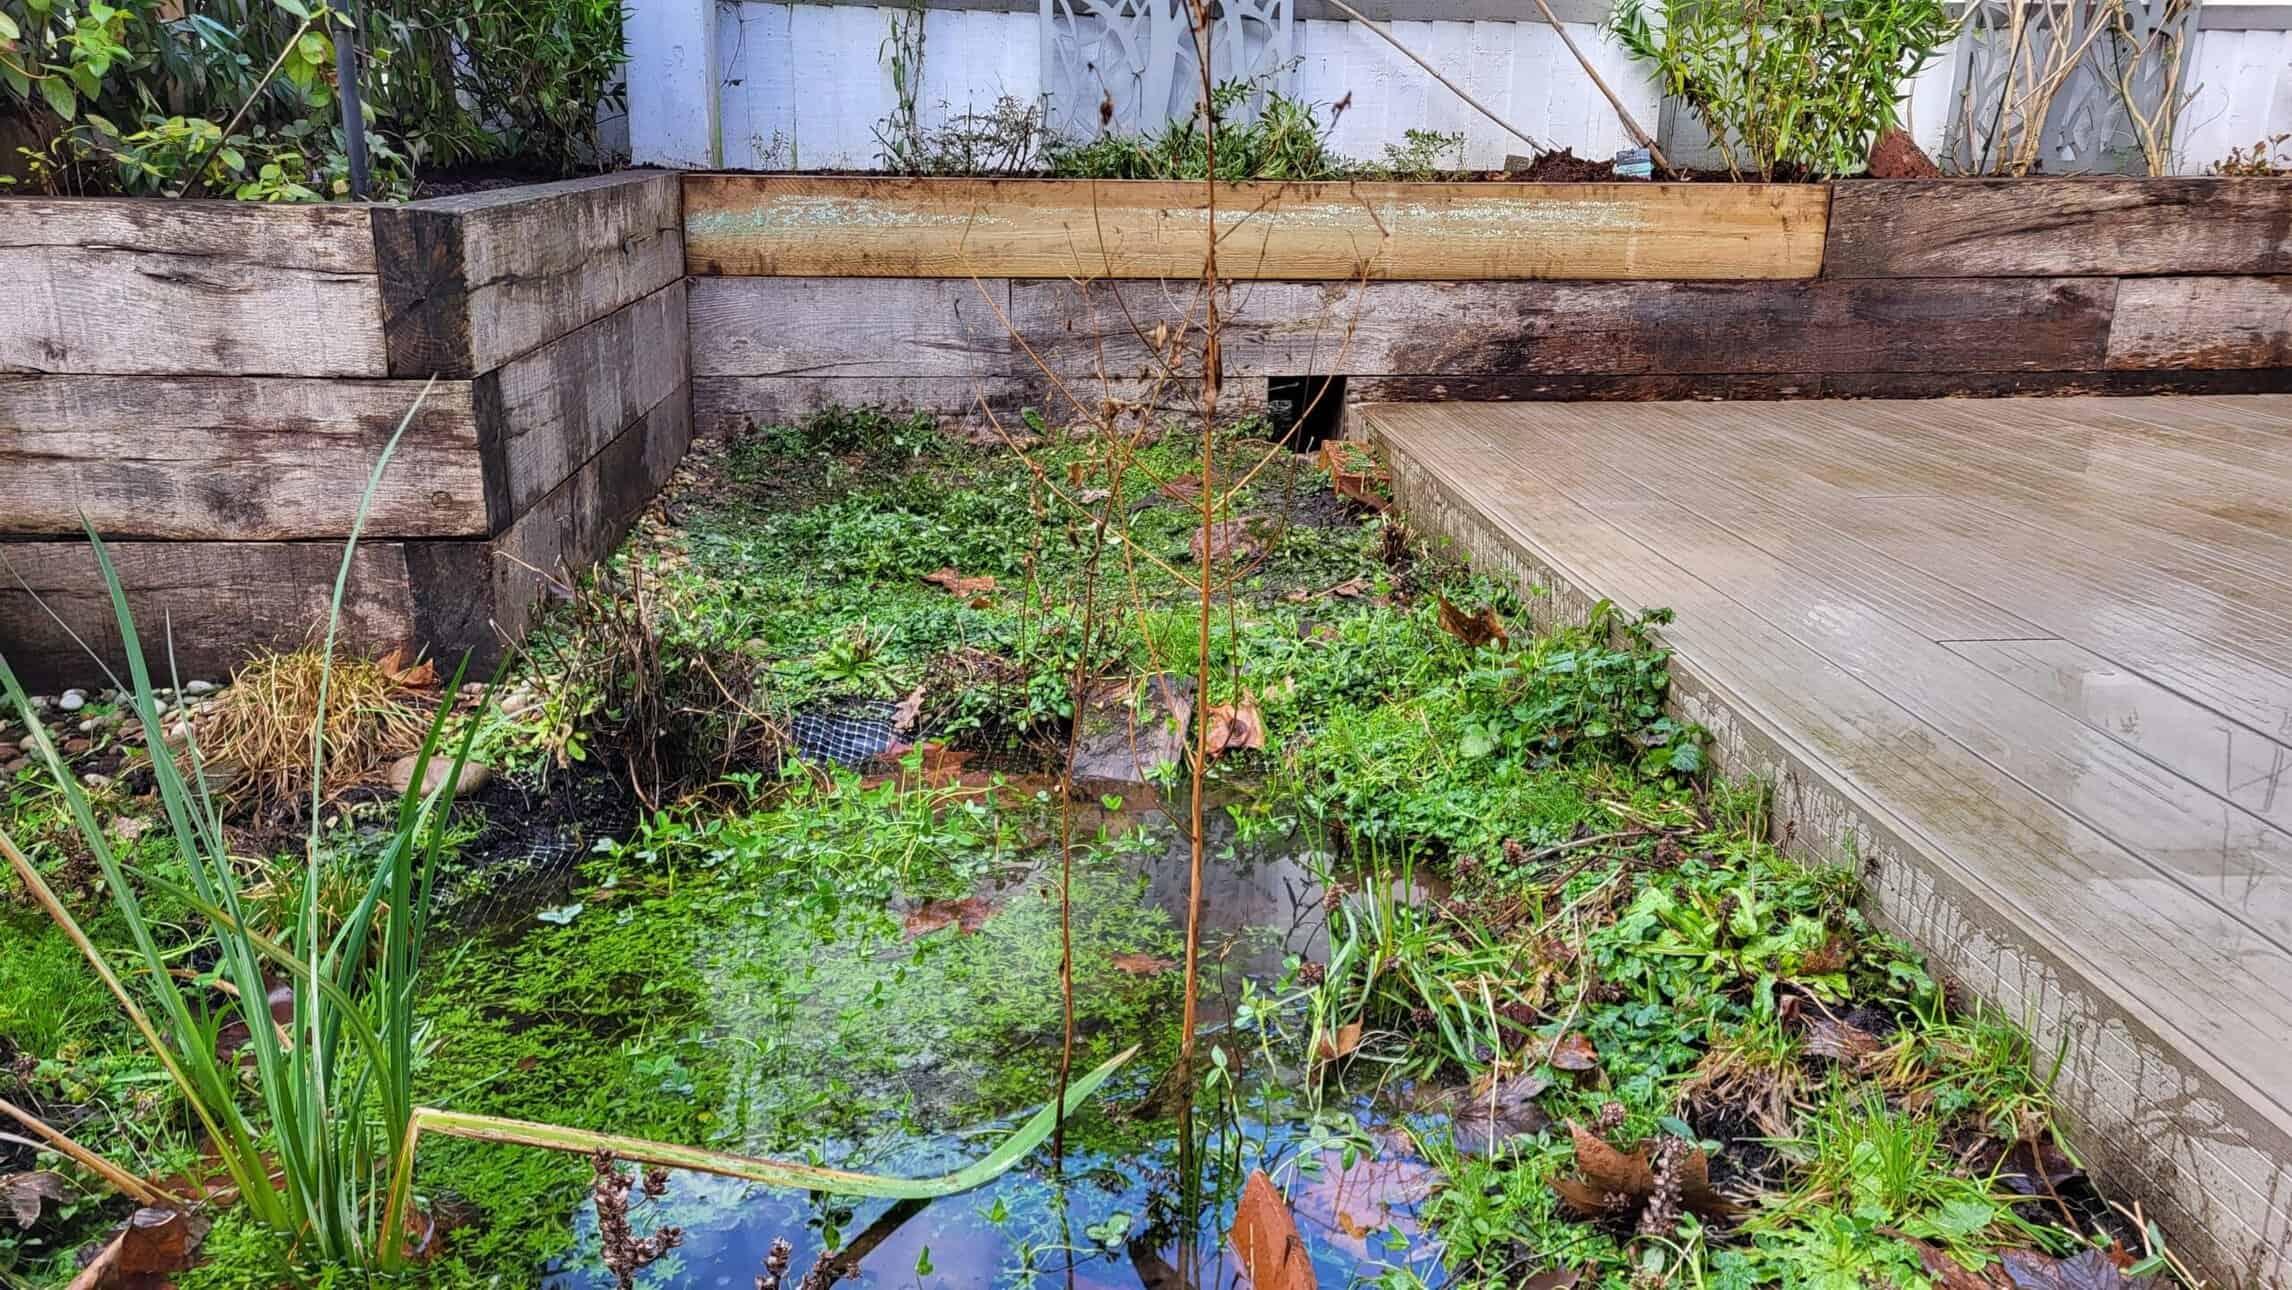

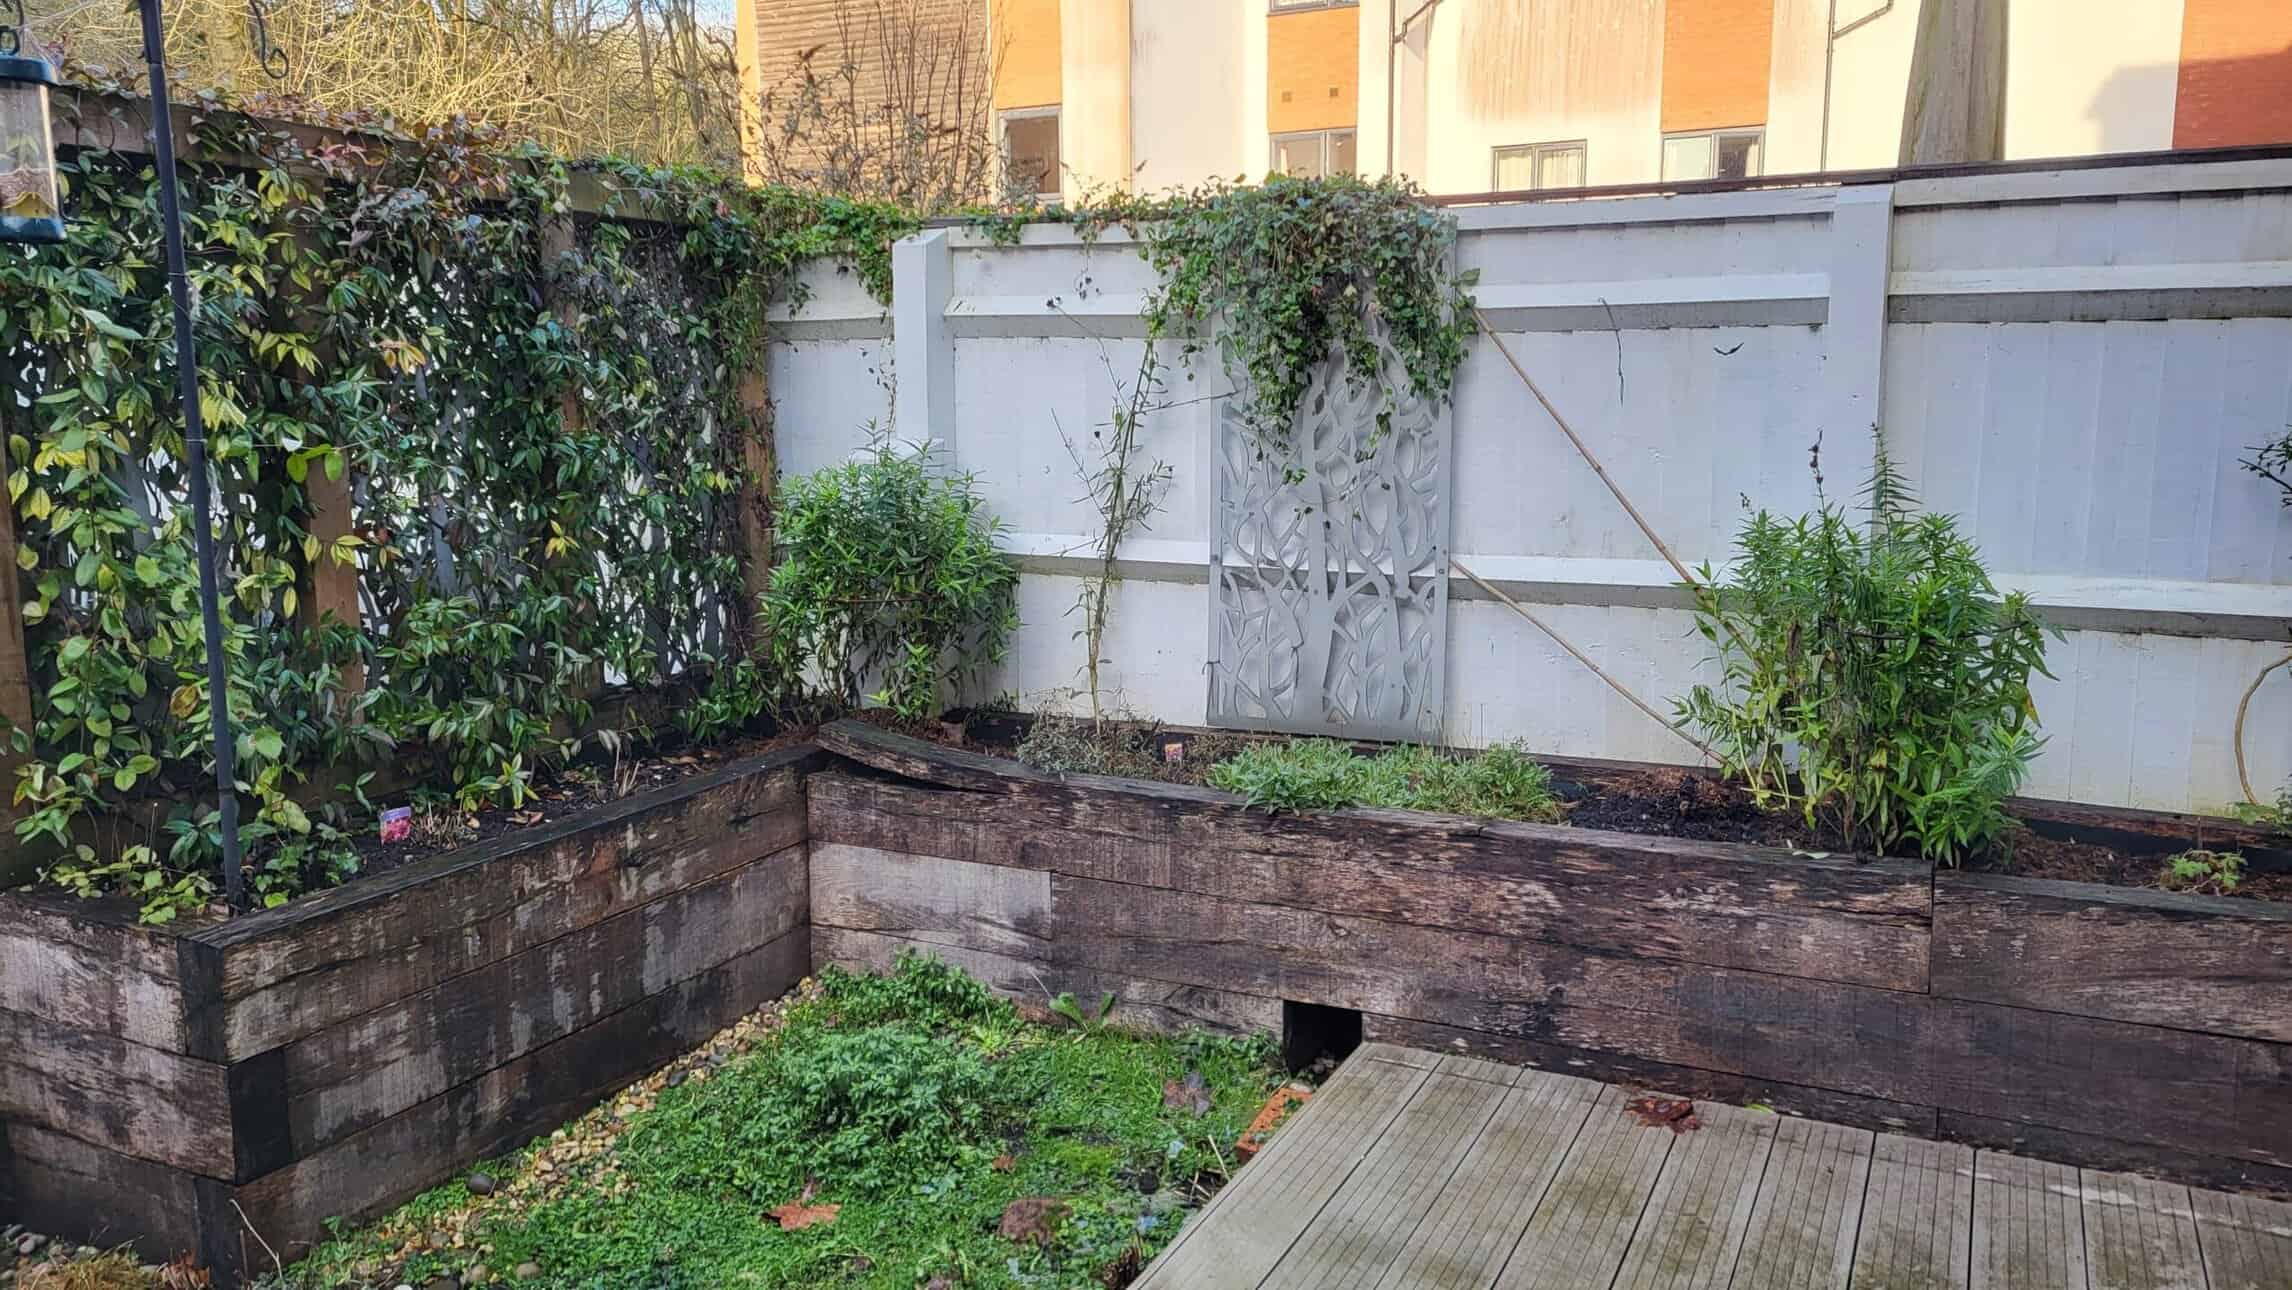
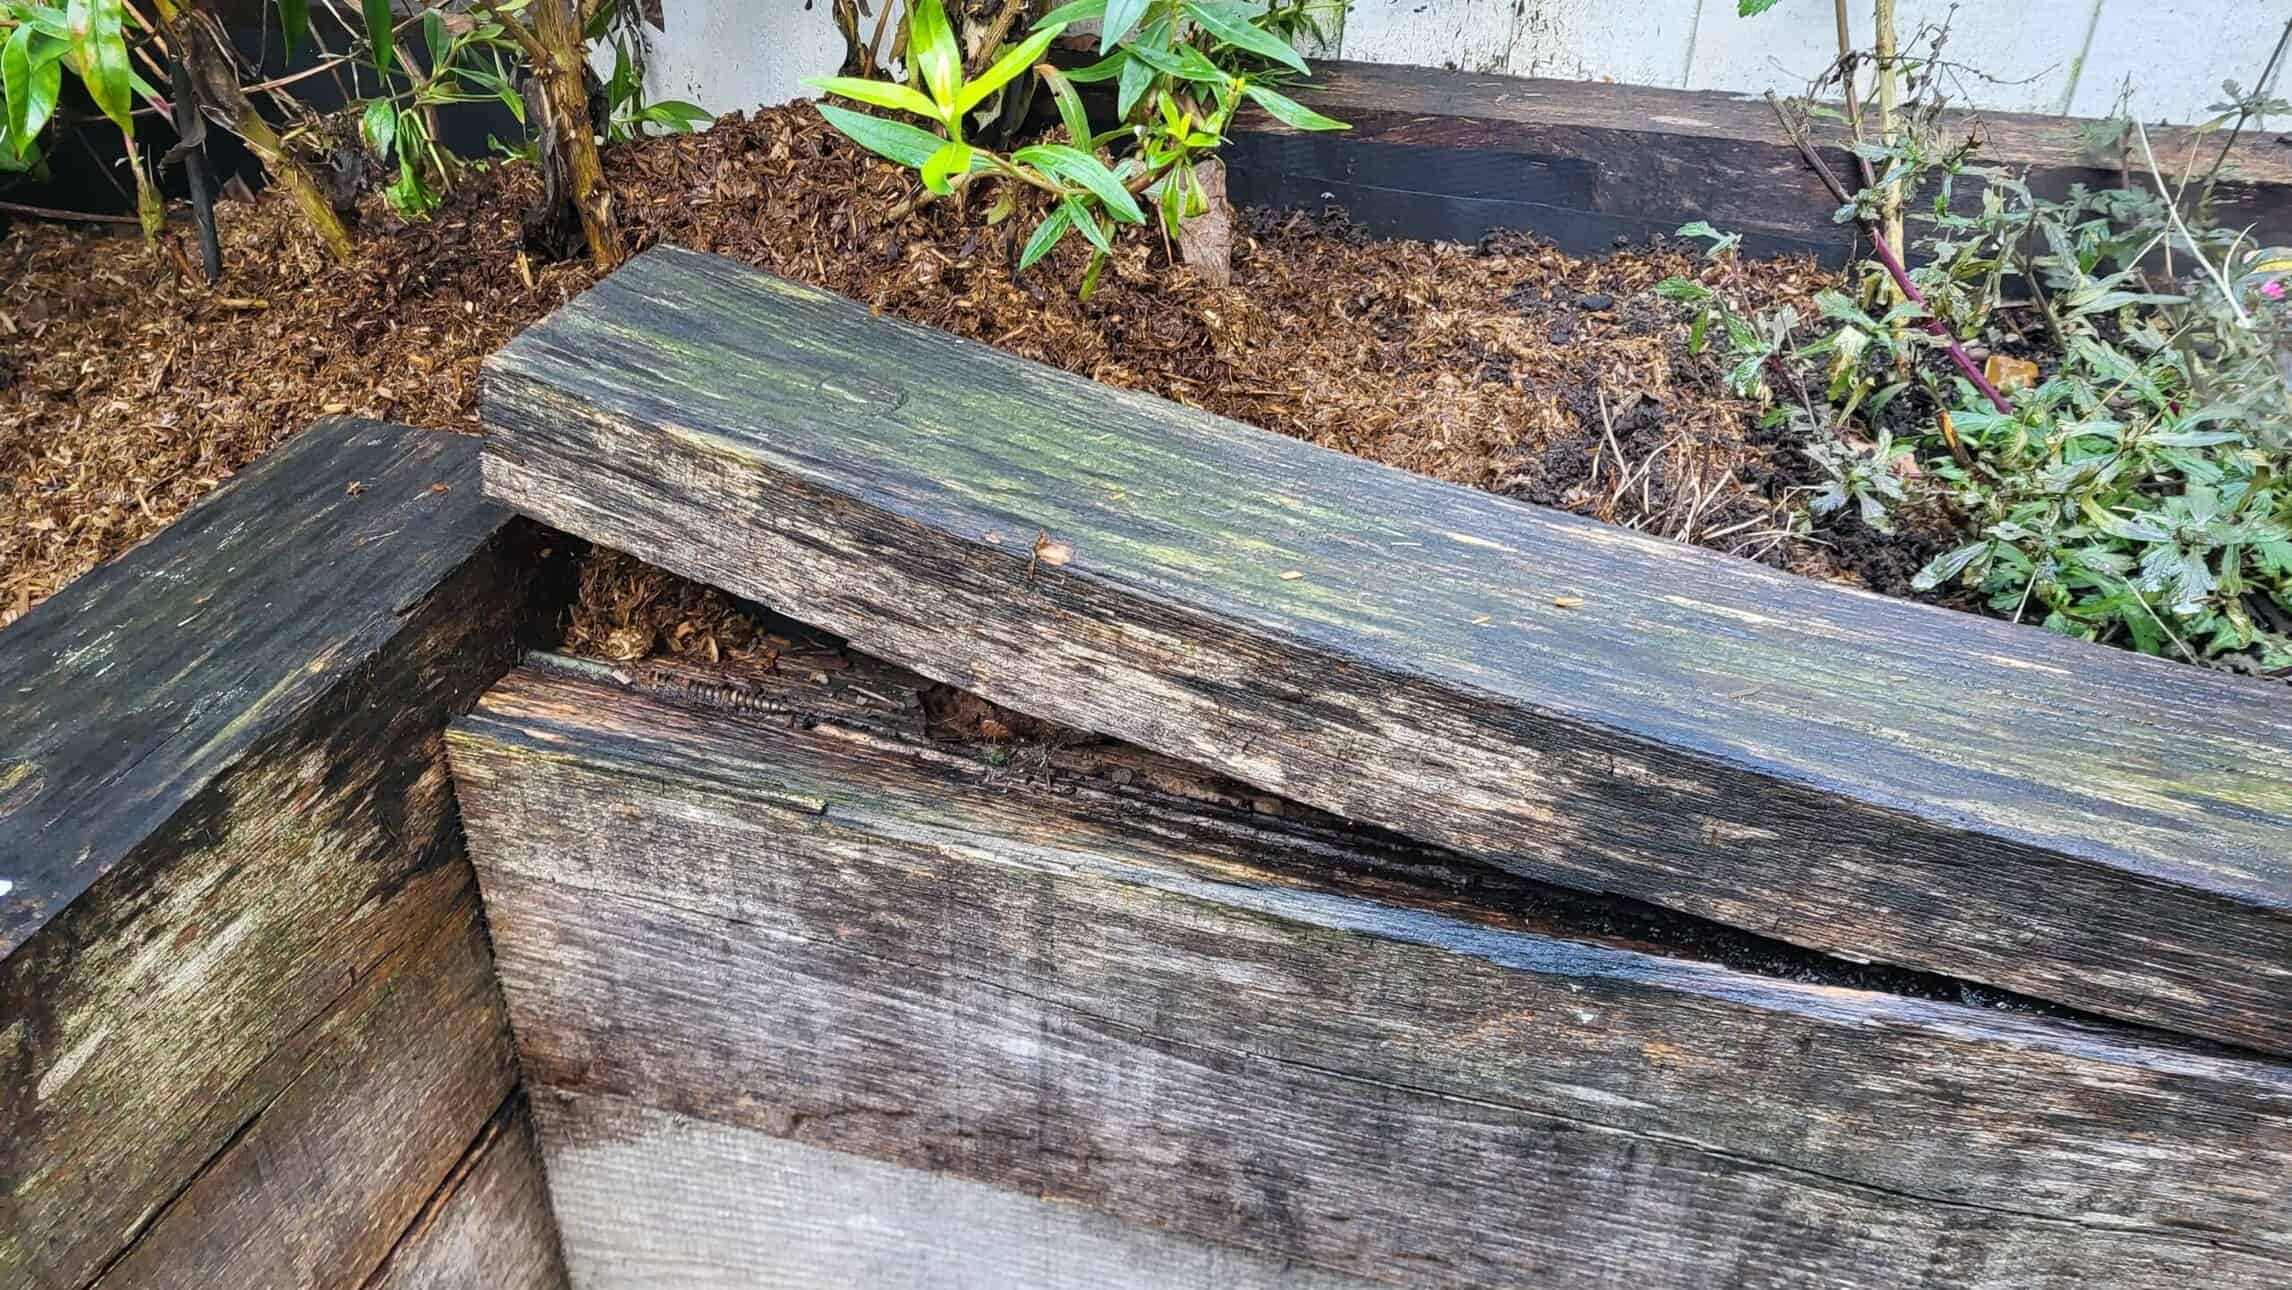
It’s a lovely garden with a pond surrounded by meadow turf, borders with perennials and climbers, and even a hedgehog hole for easy access for our little friends. The raised bed was very solid, but one piece had split quite badly.
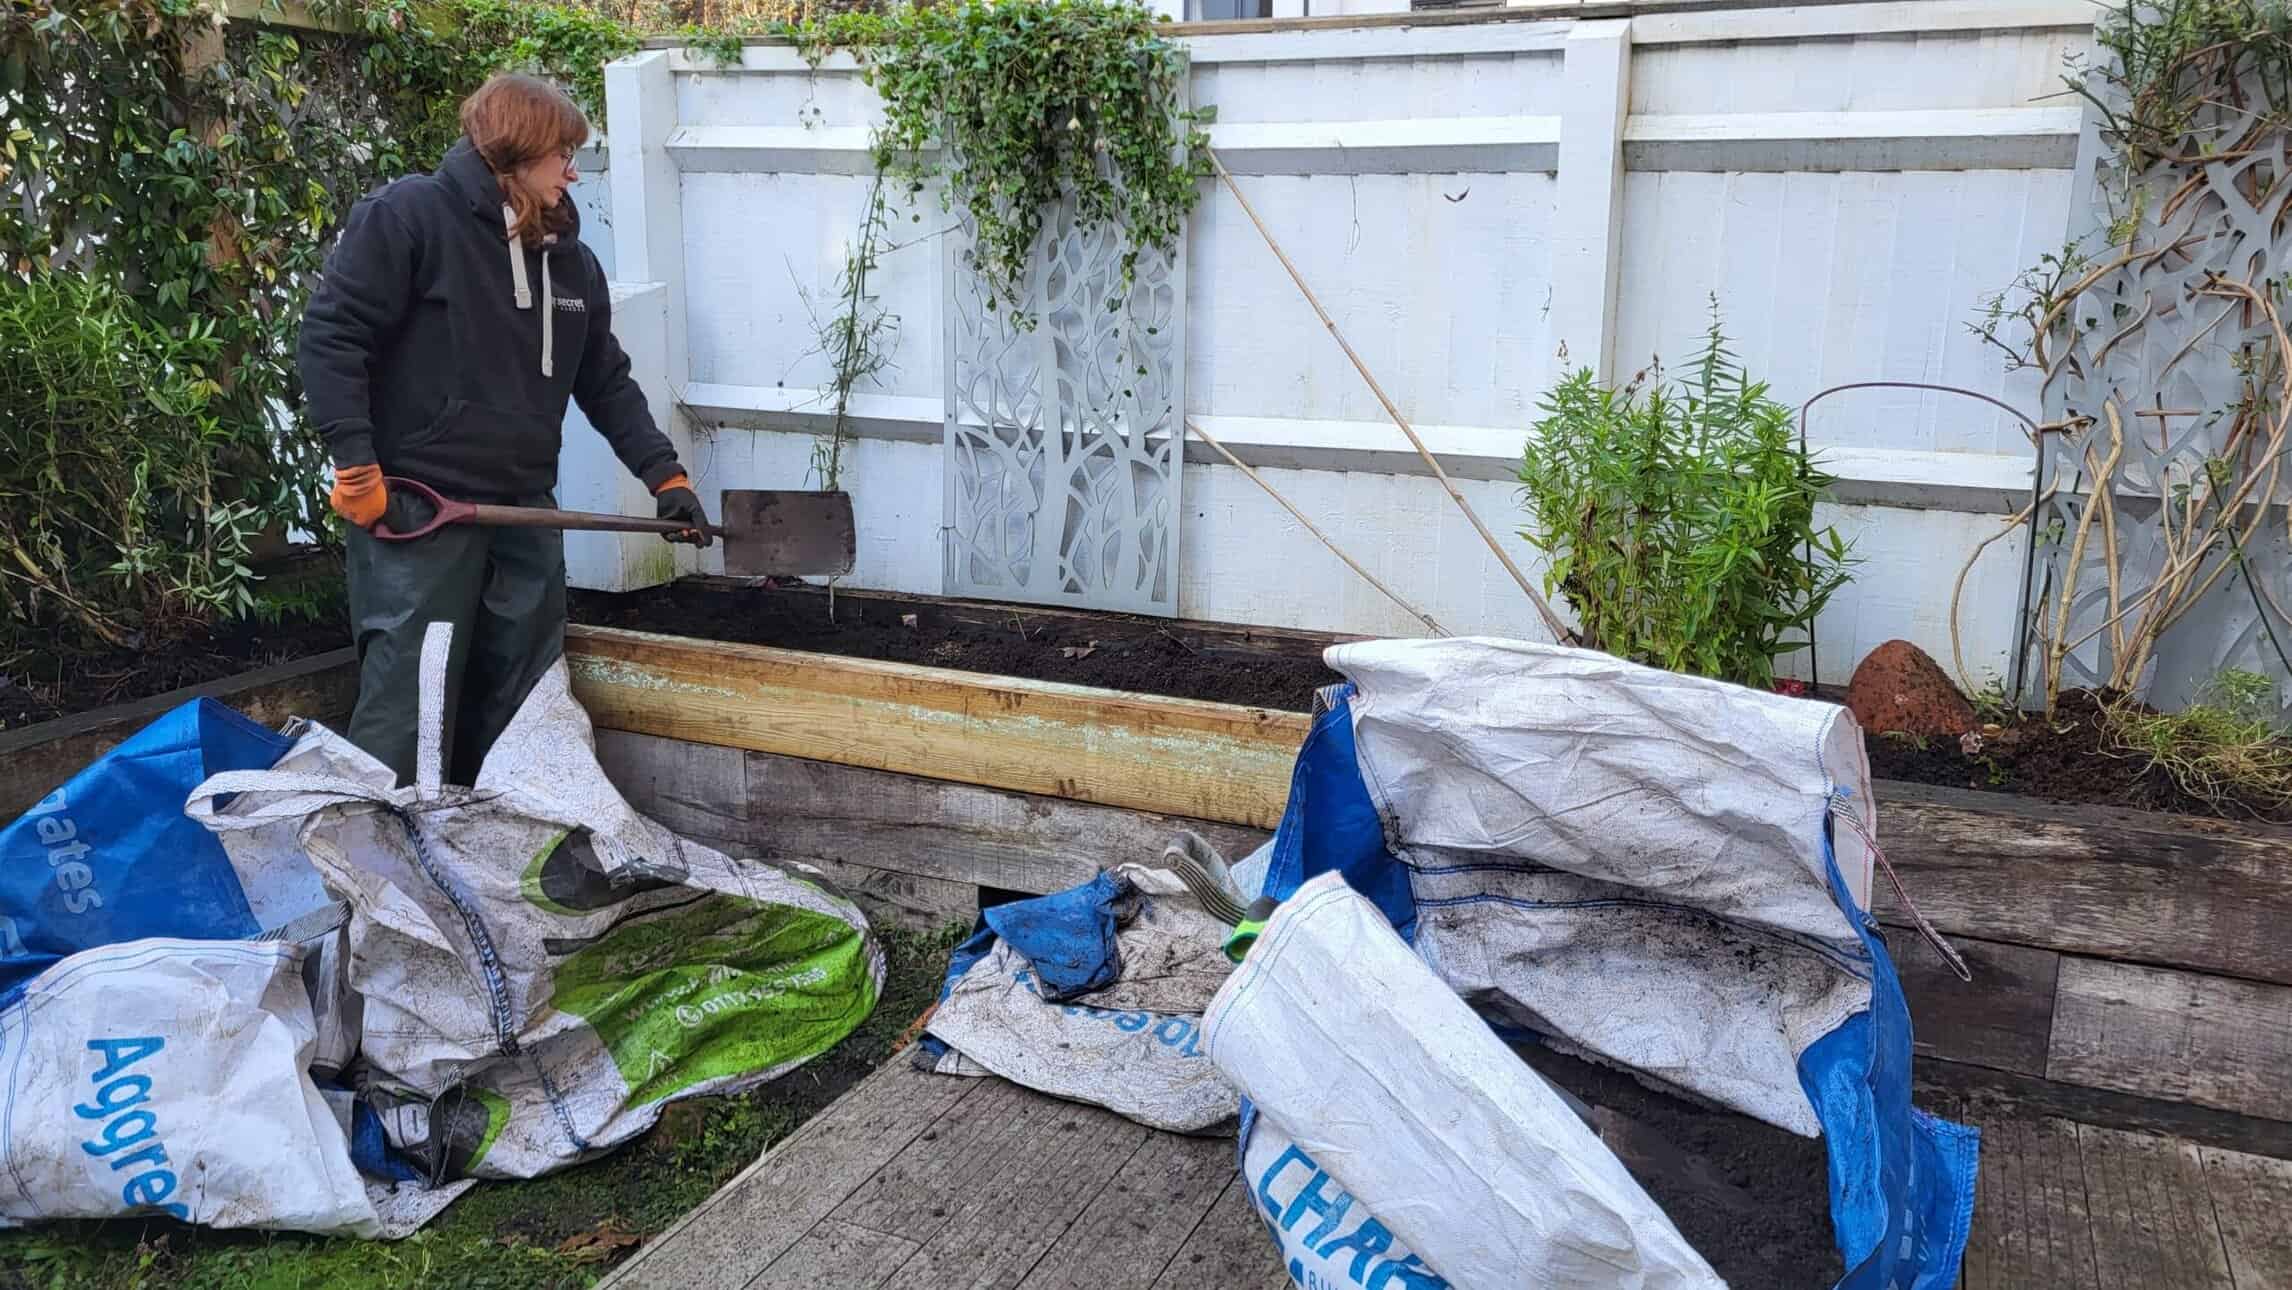
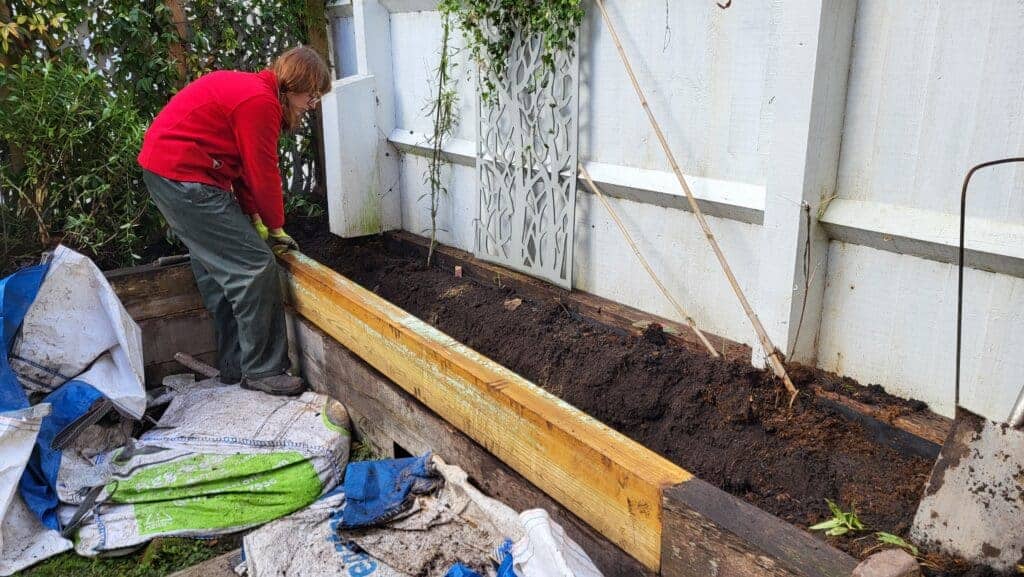
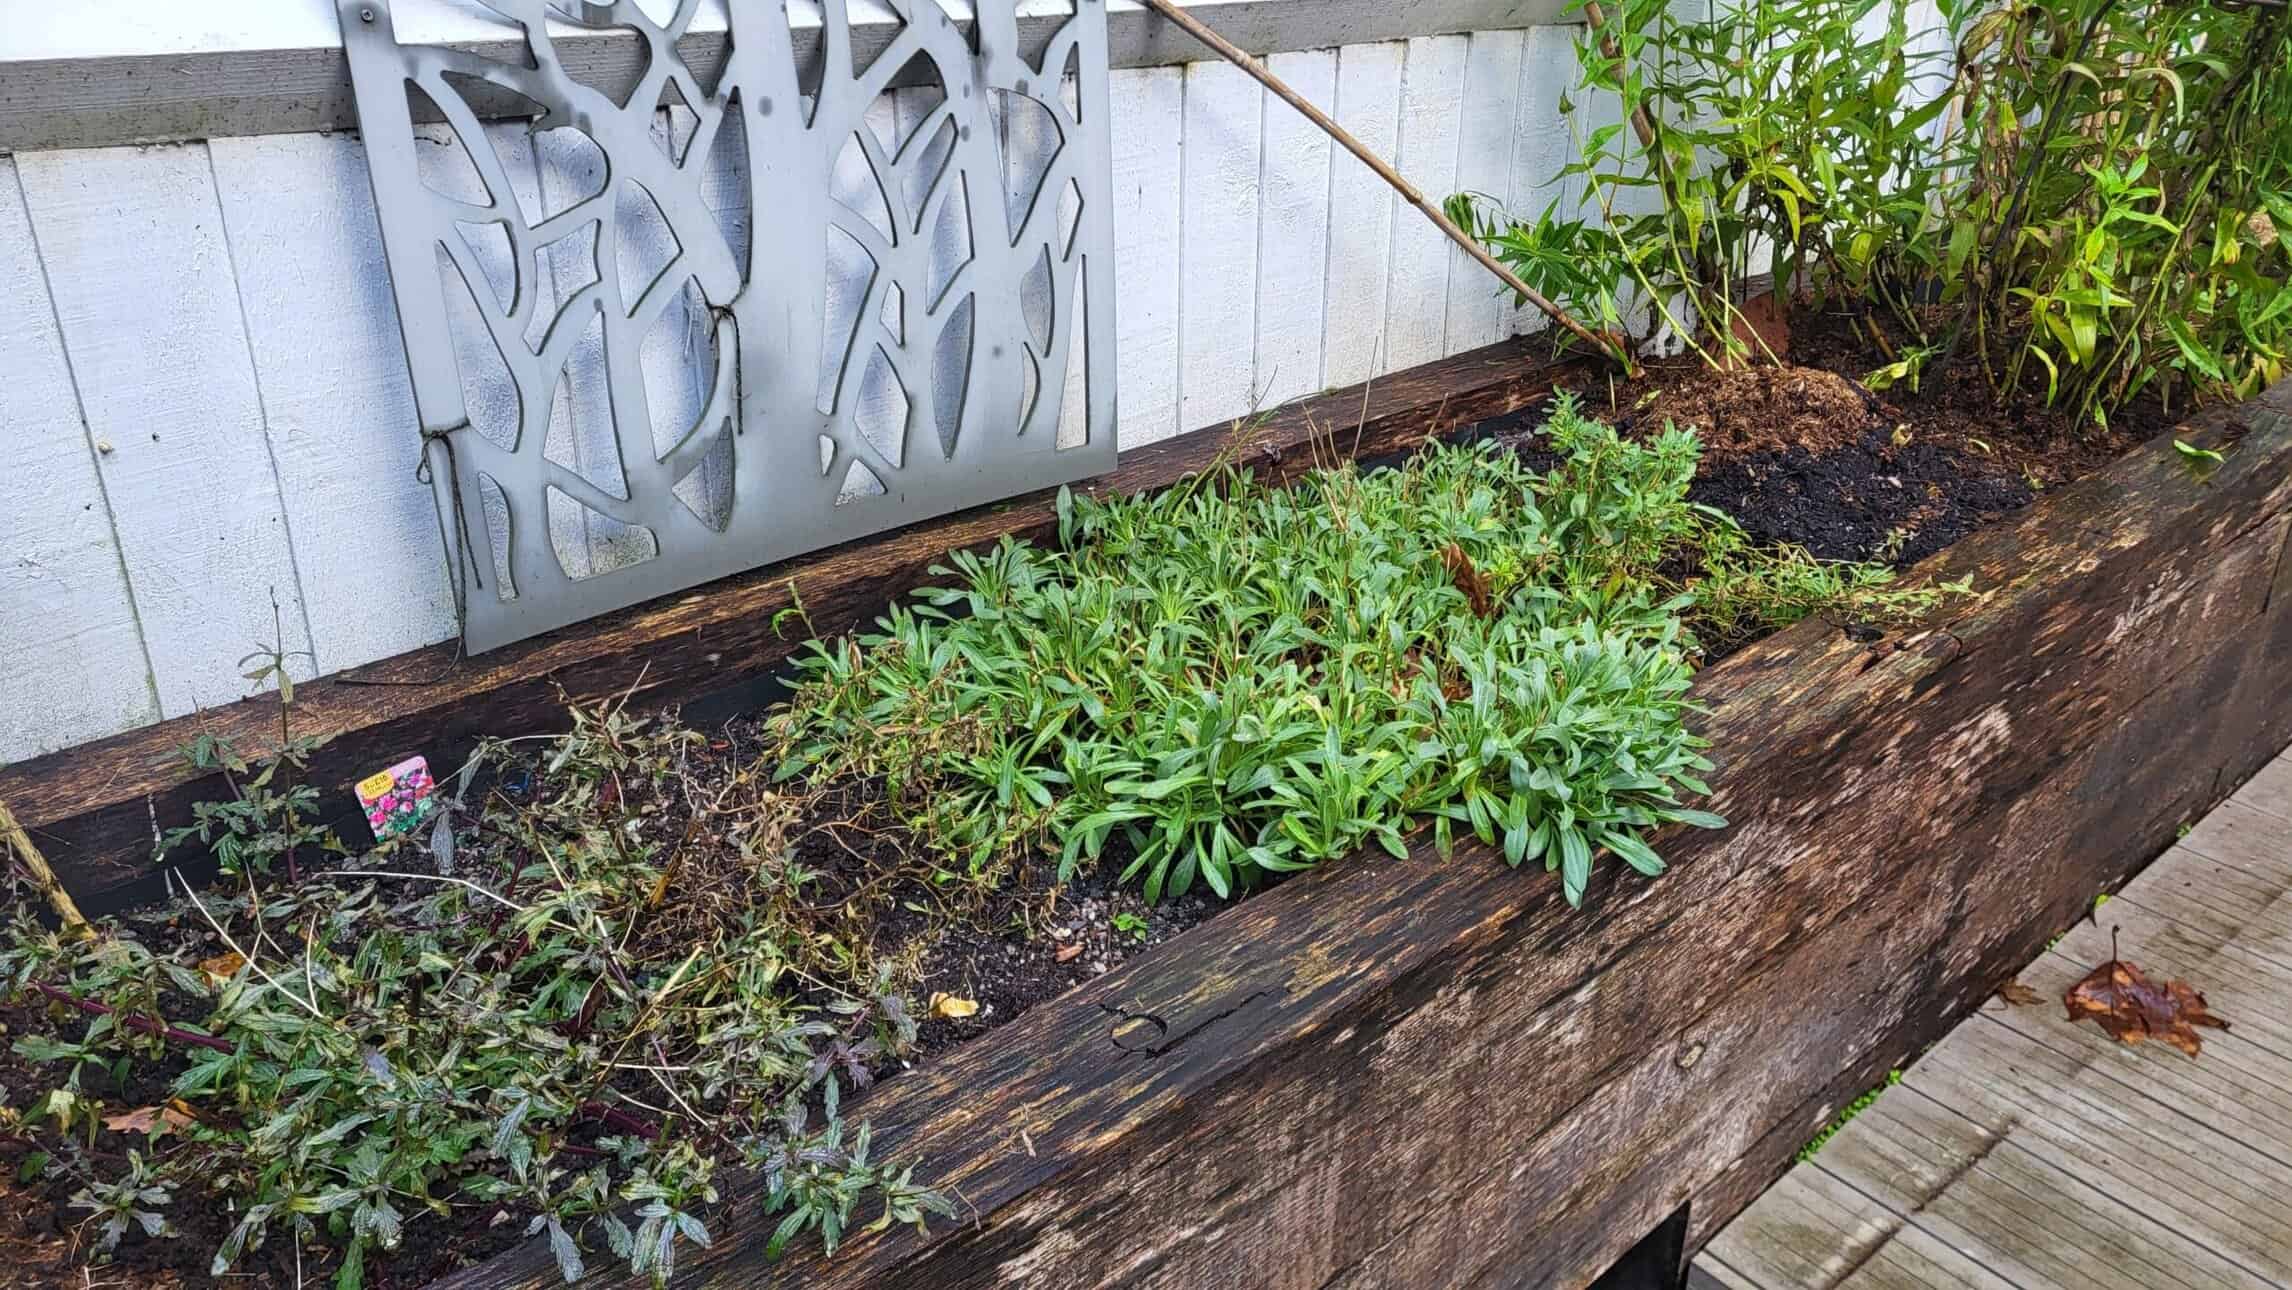
We began by digging up the plants and moved them to a safe spot so that we could dig out the soil. We bagged this up so that we could easily refill the border at the end of the job.
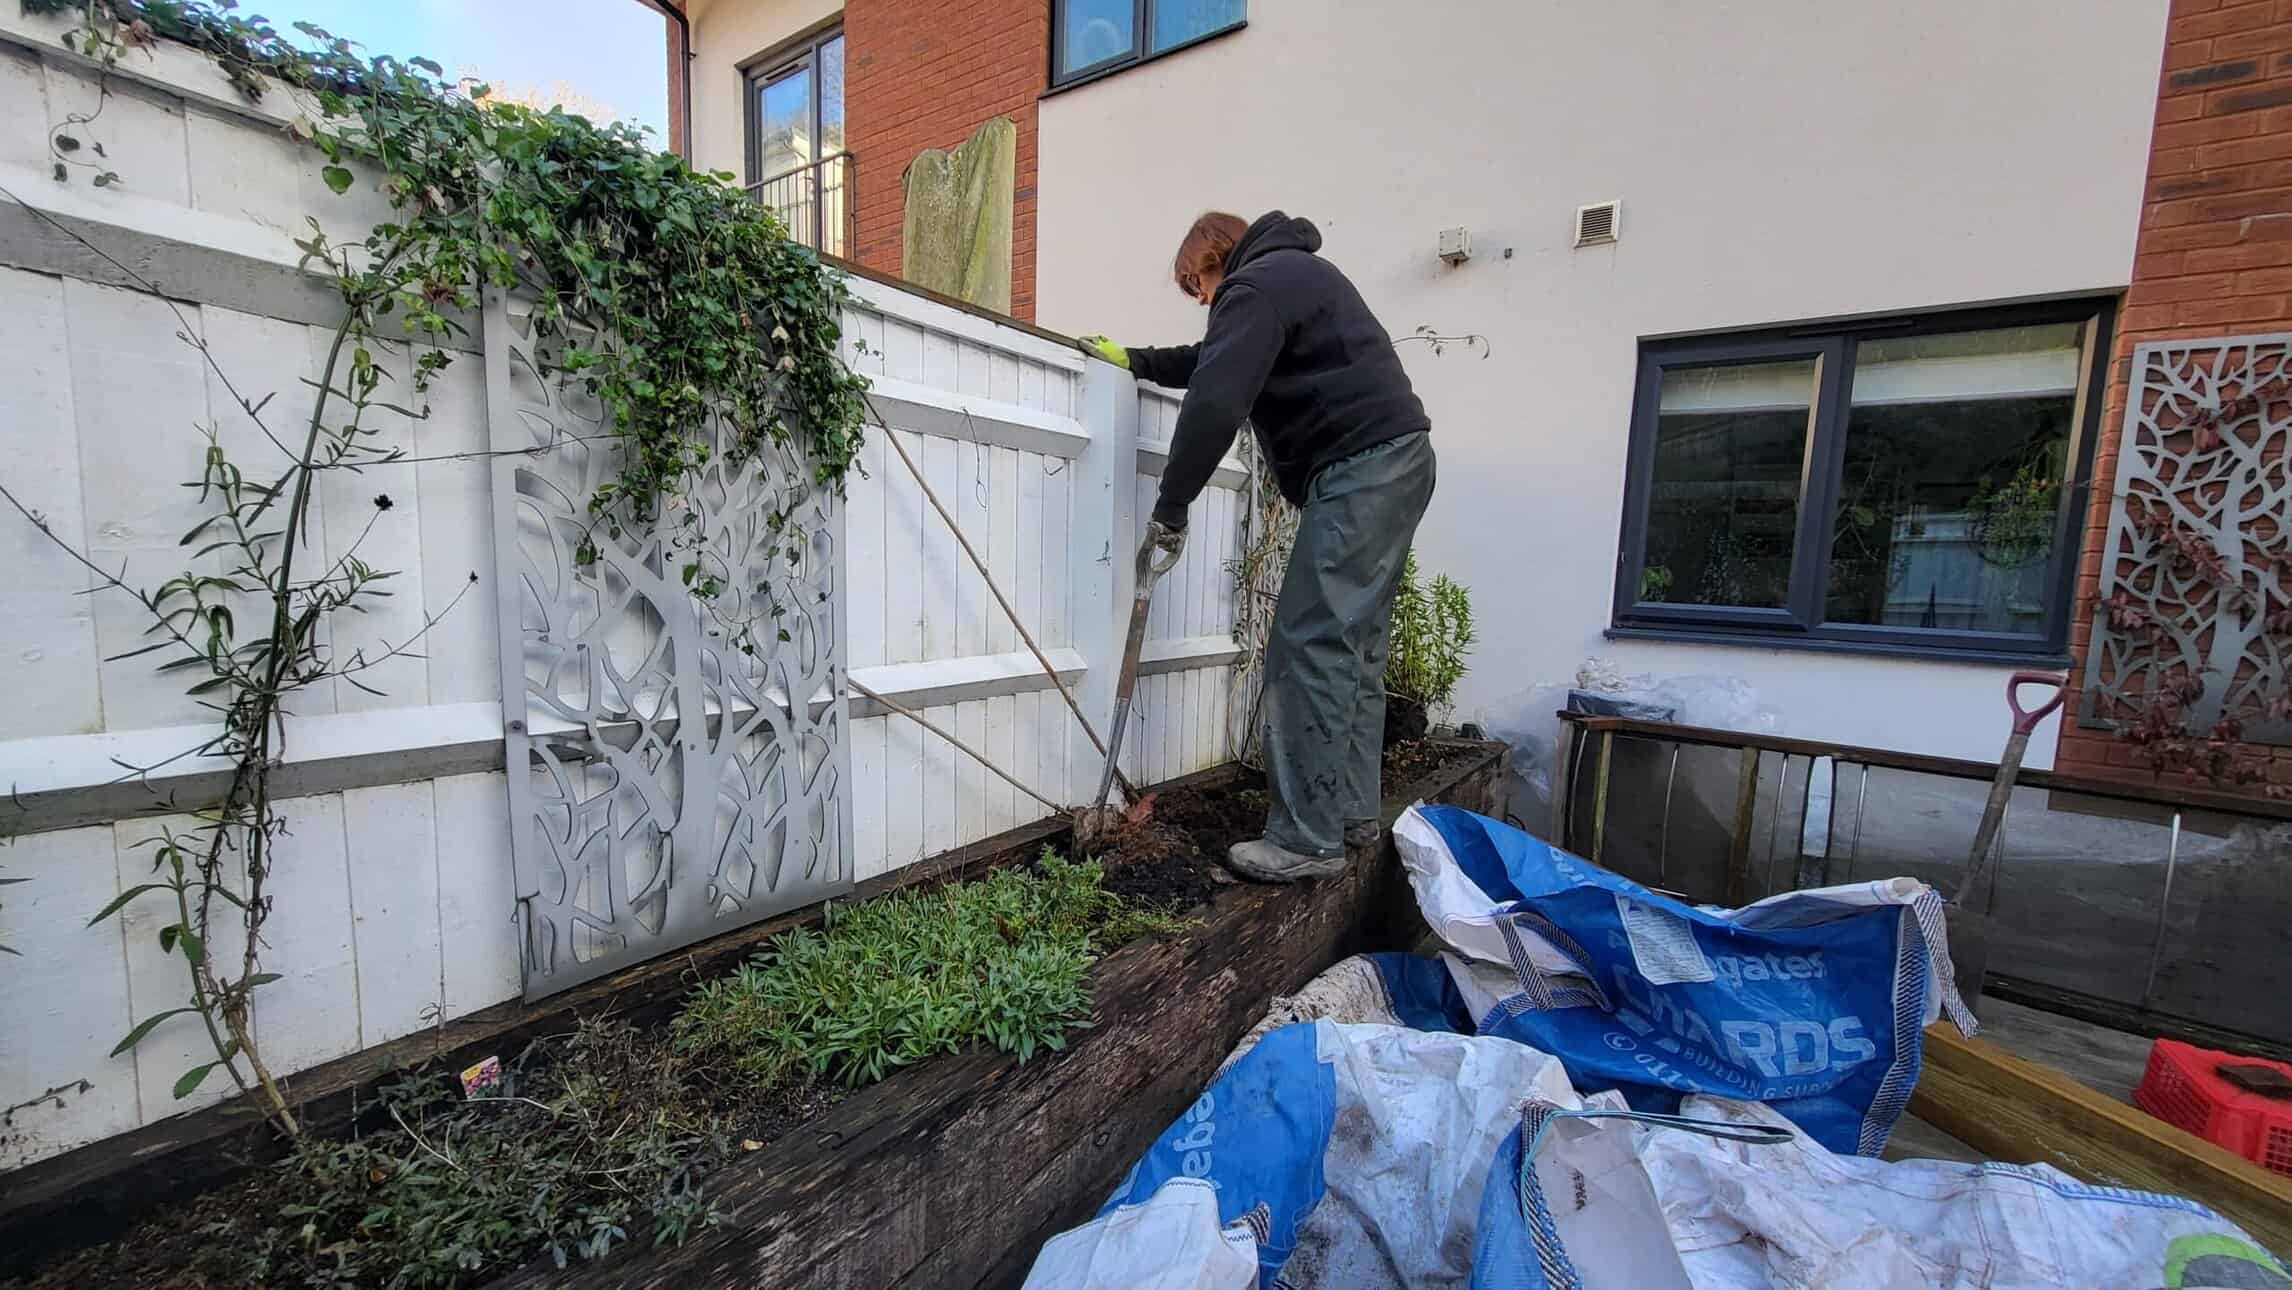
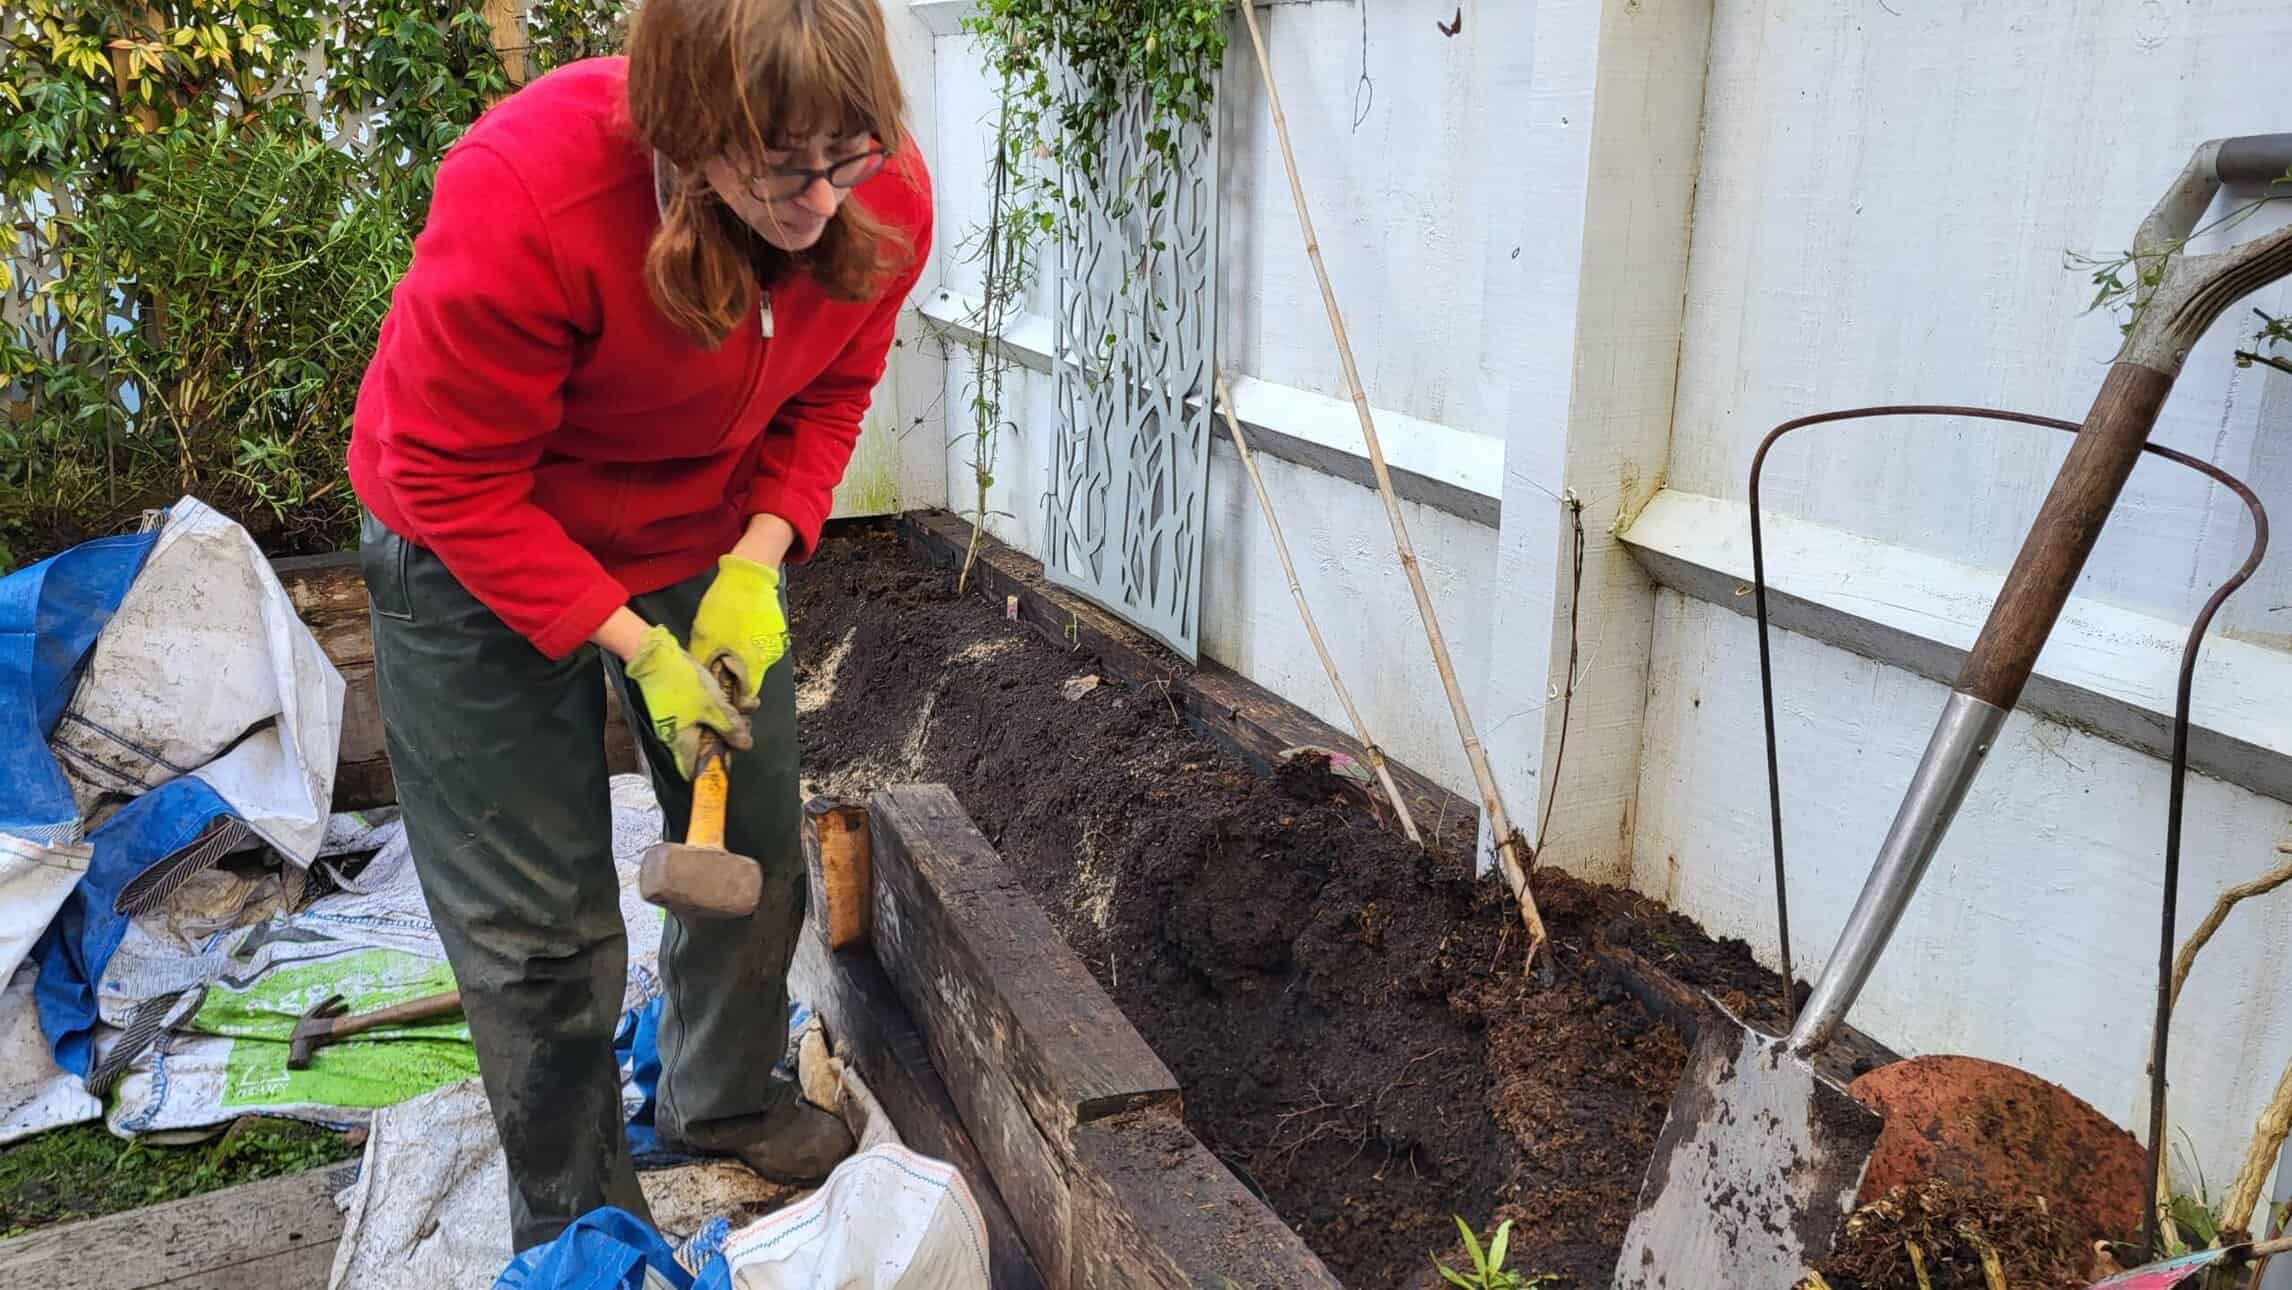
We dug out enough soil so that we could get the drill inside the border with ease. It also helped to have space to use a lump hammer, as we had difficulty removing the long timber locks that had been sunk through the top of the wood. We used a saw to cut down either side of the timber locks, then smashed them out with the hammer. We then used a mini disc cutter to remove the tops of the old screws.
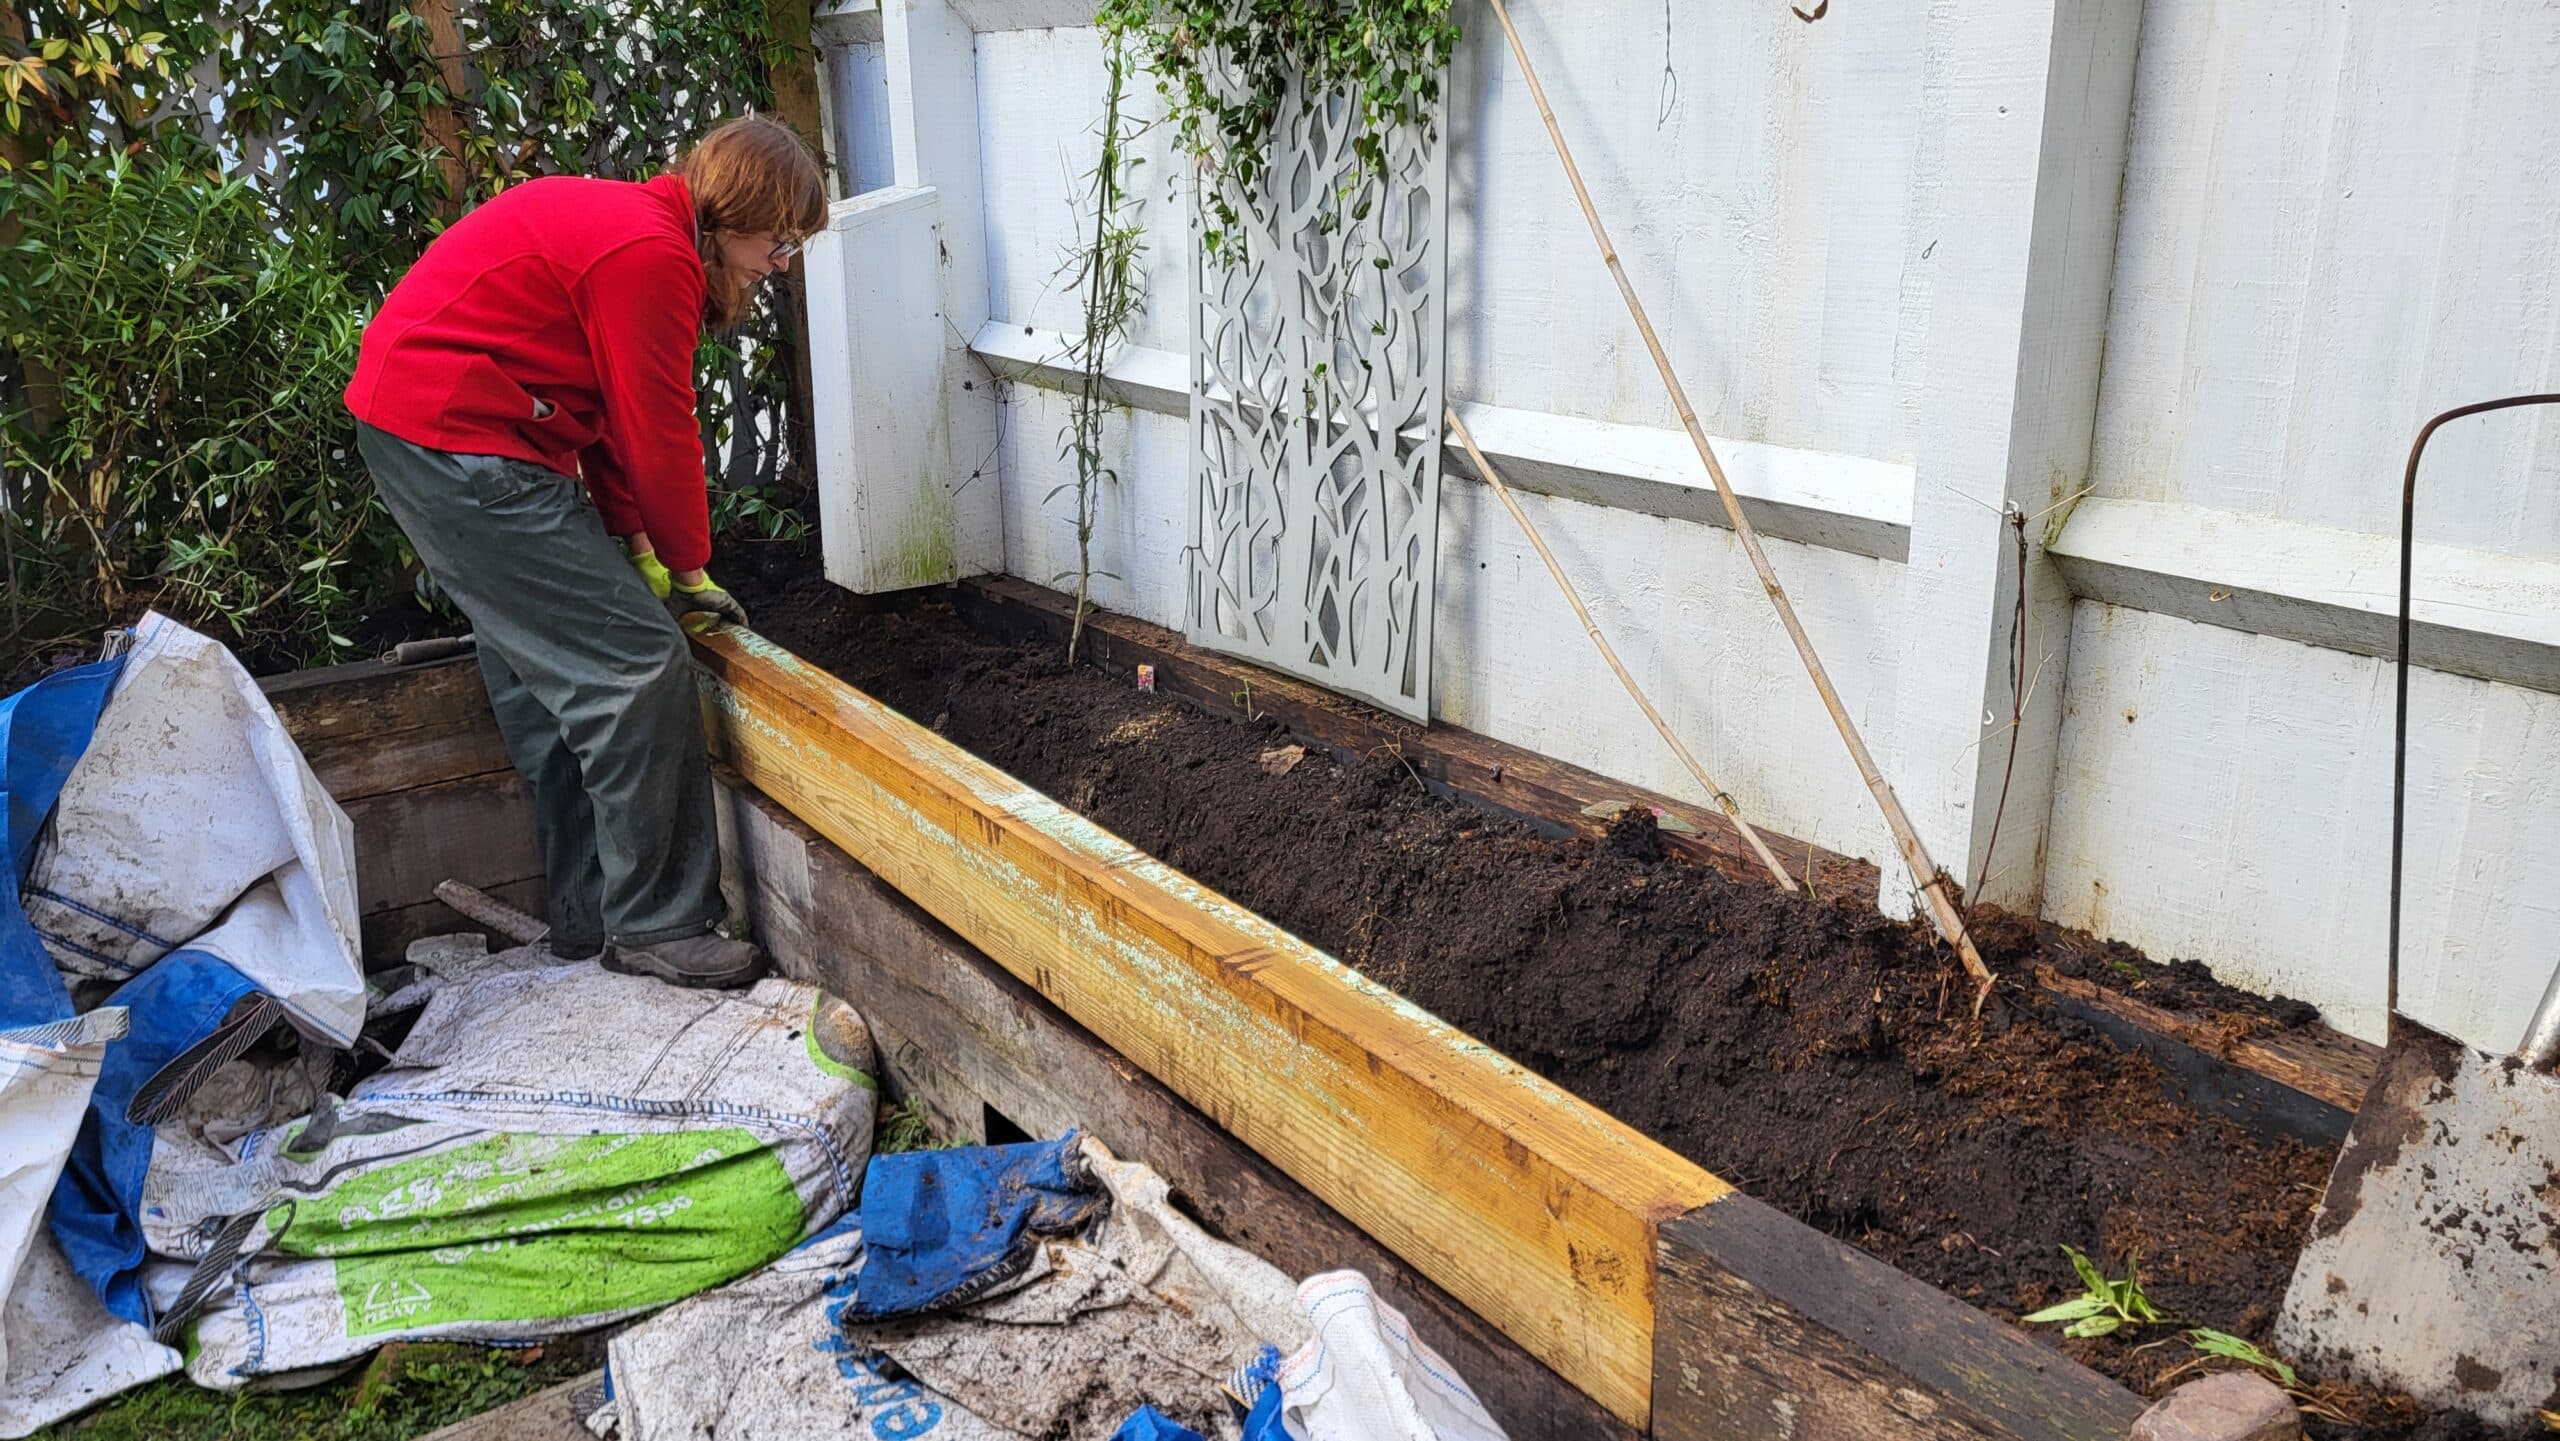
Once the screws were out it was simple to insert the new sleeper. We then added timber locks through the corner of the border, and then added braces – one on the corner edge, and then two on the joins.
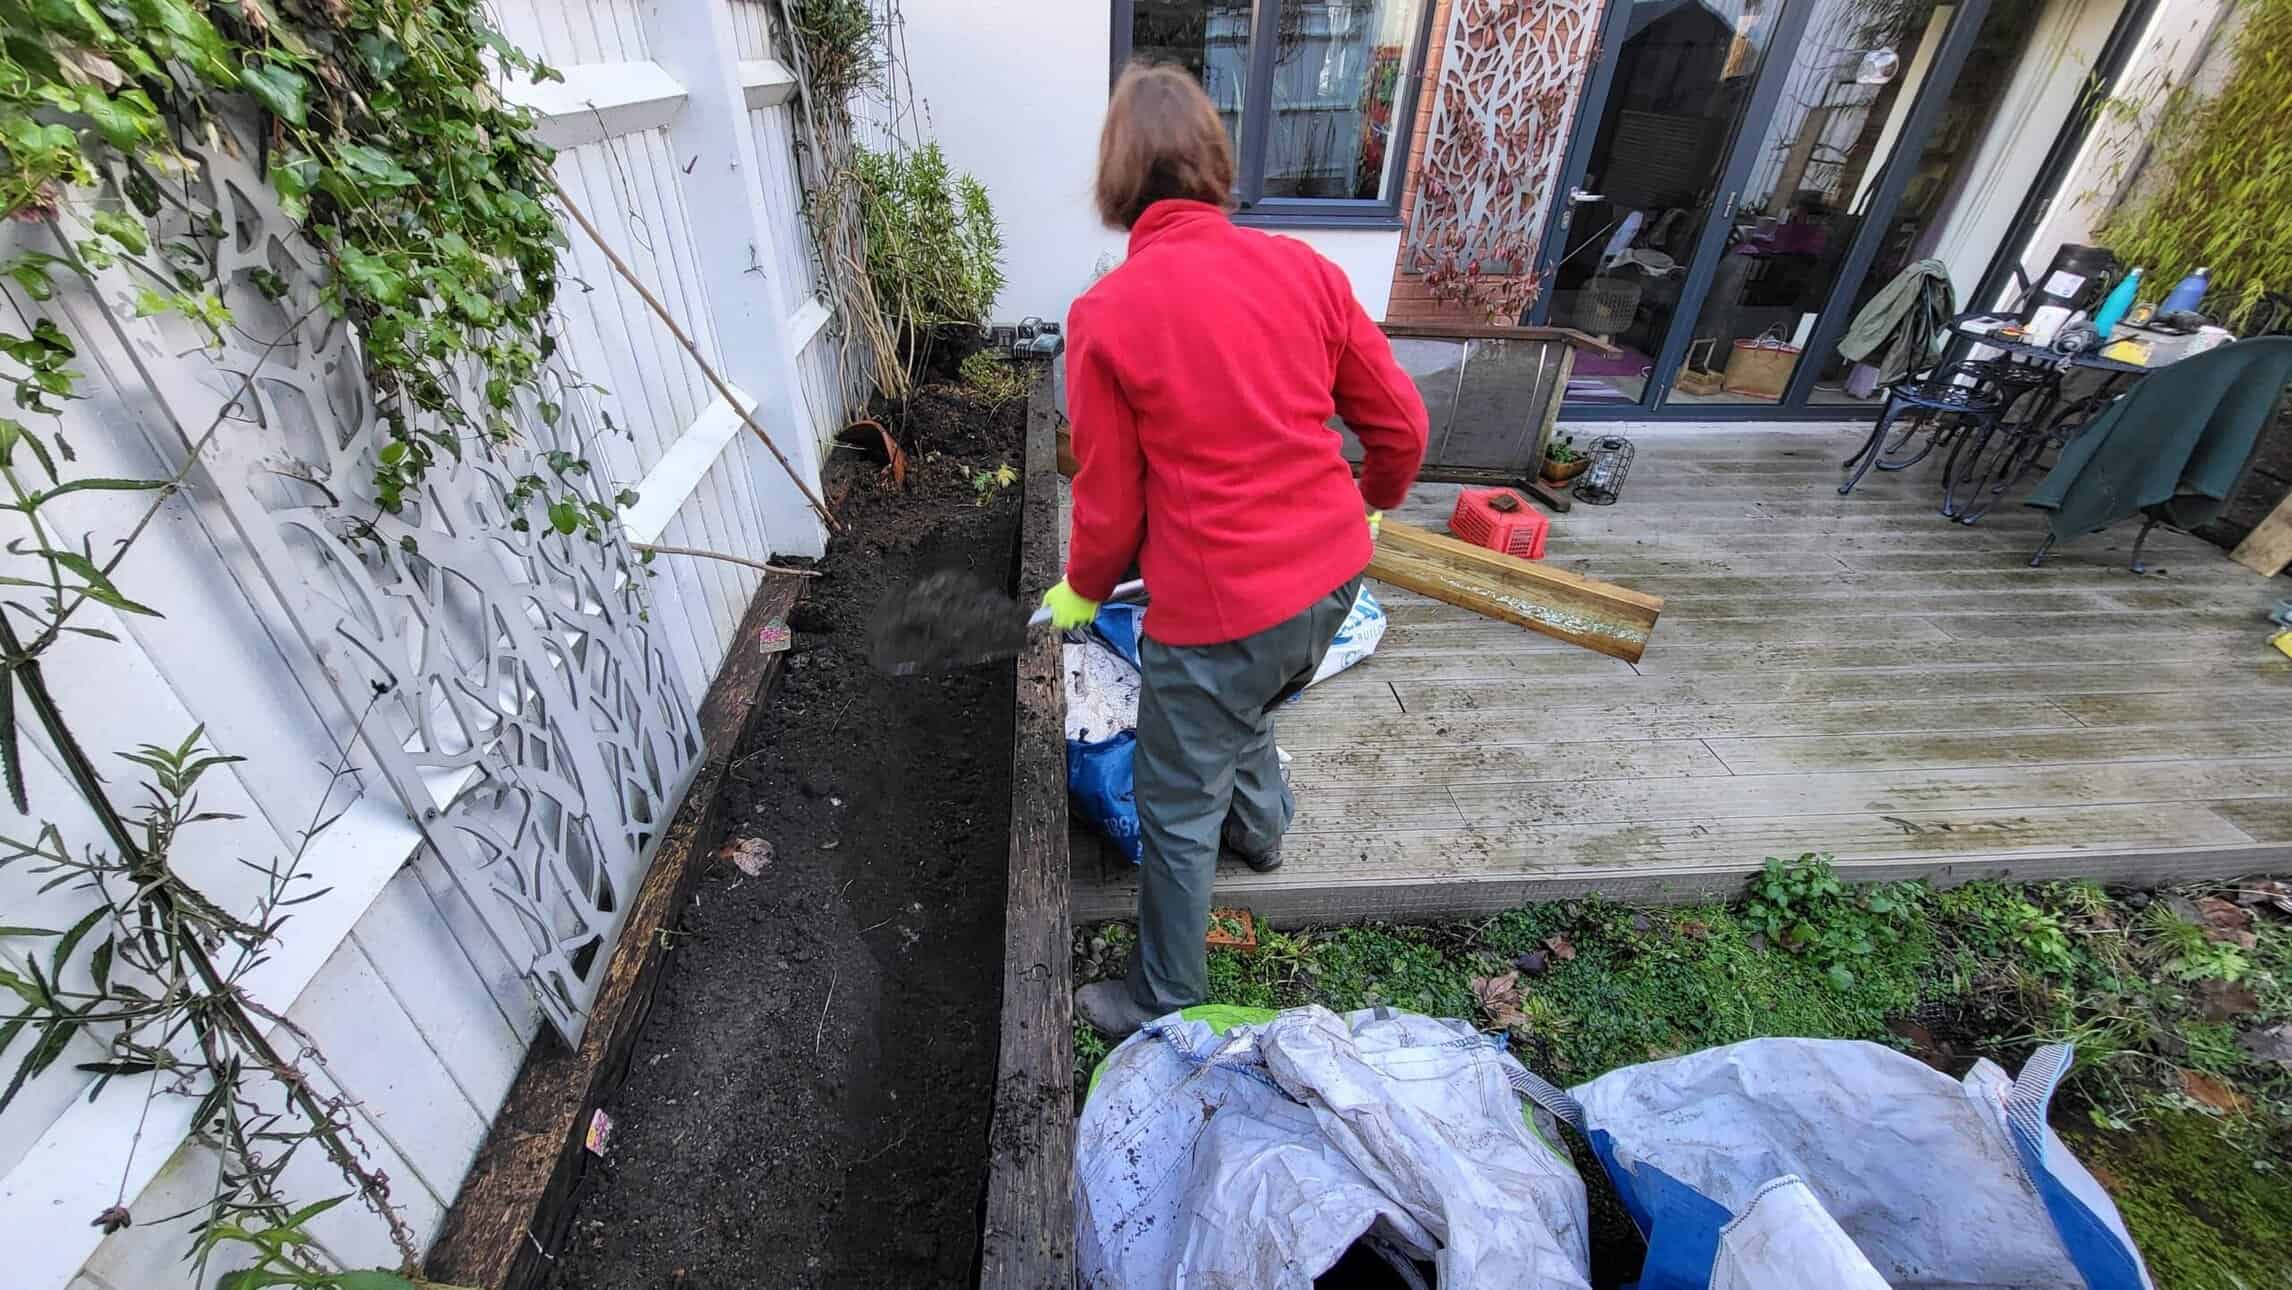
The last thing to do was to infill the soil and add the plants. We then gave the decking a good clean. Very pleased with this repair job. Come back soon to see what we’re up to next…