
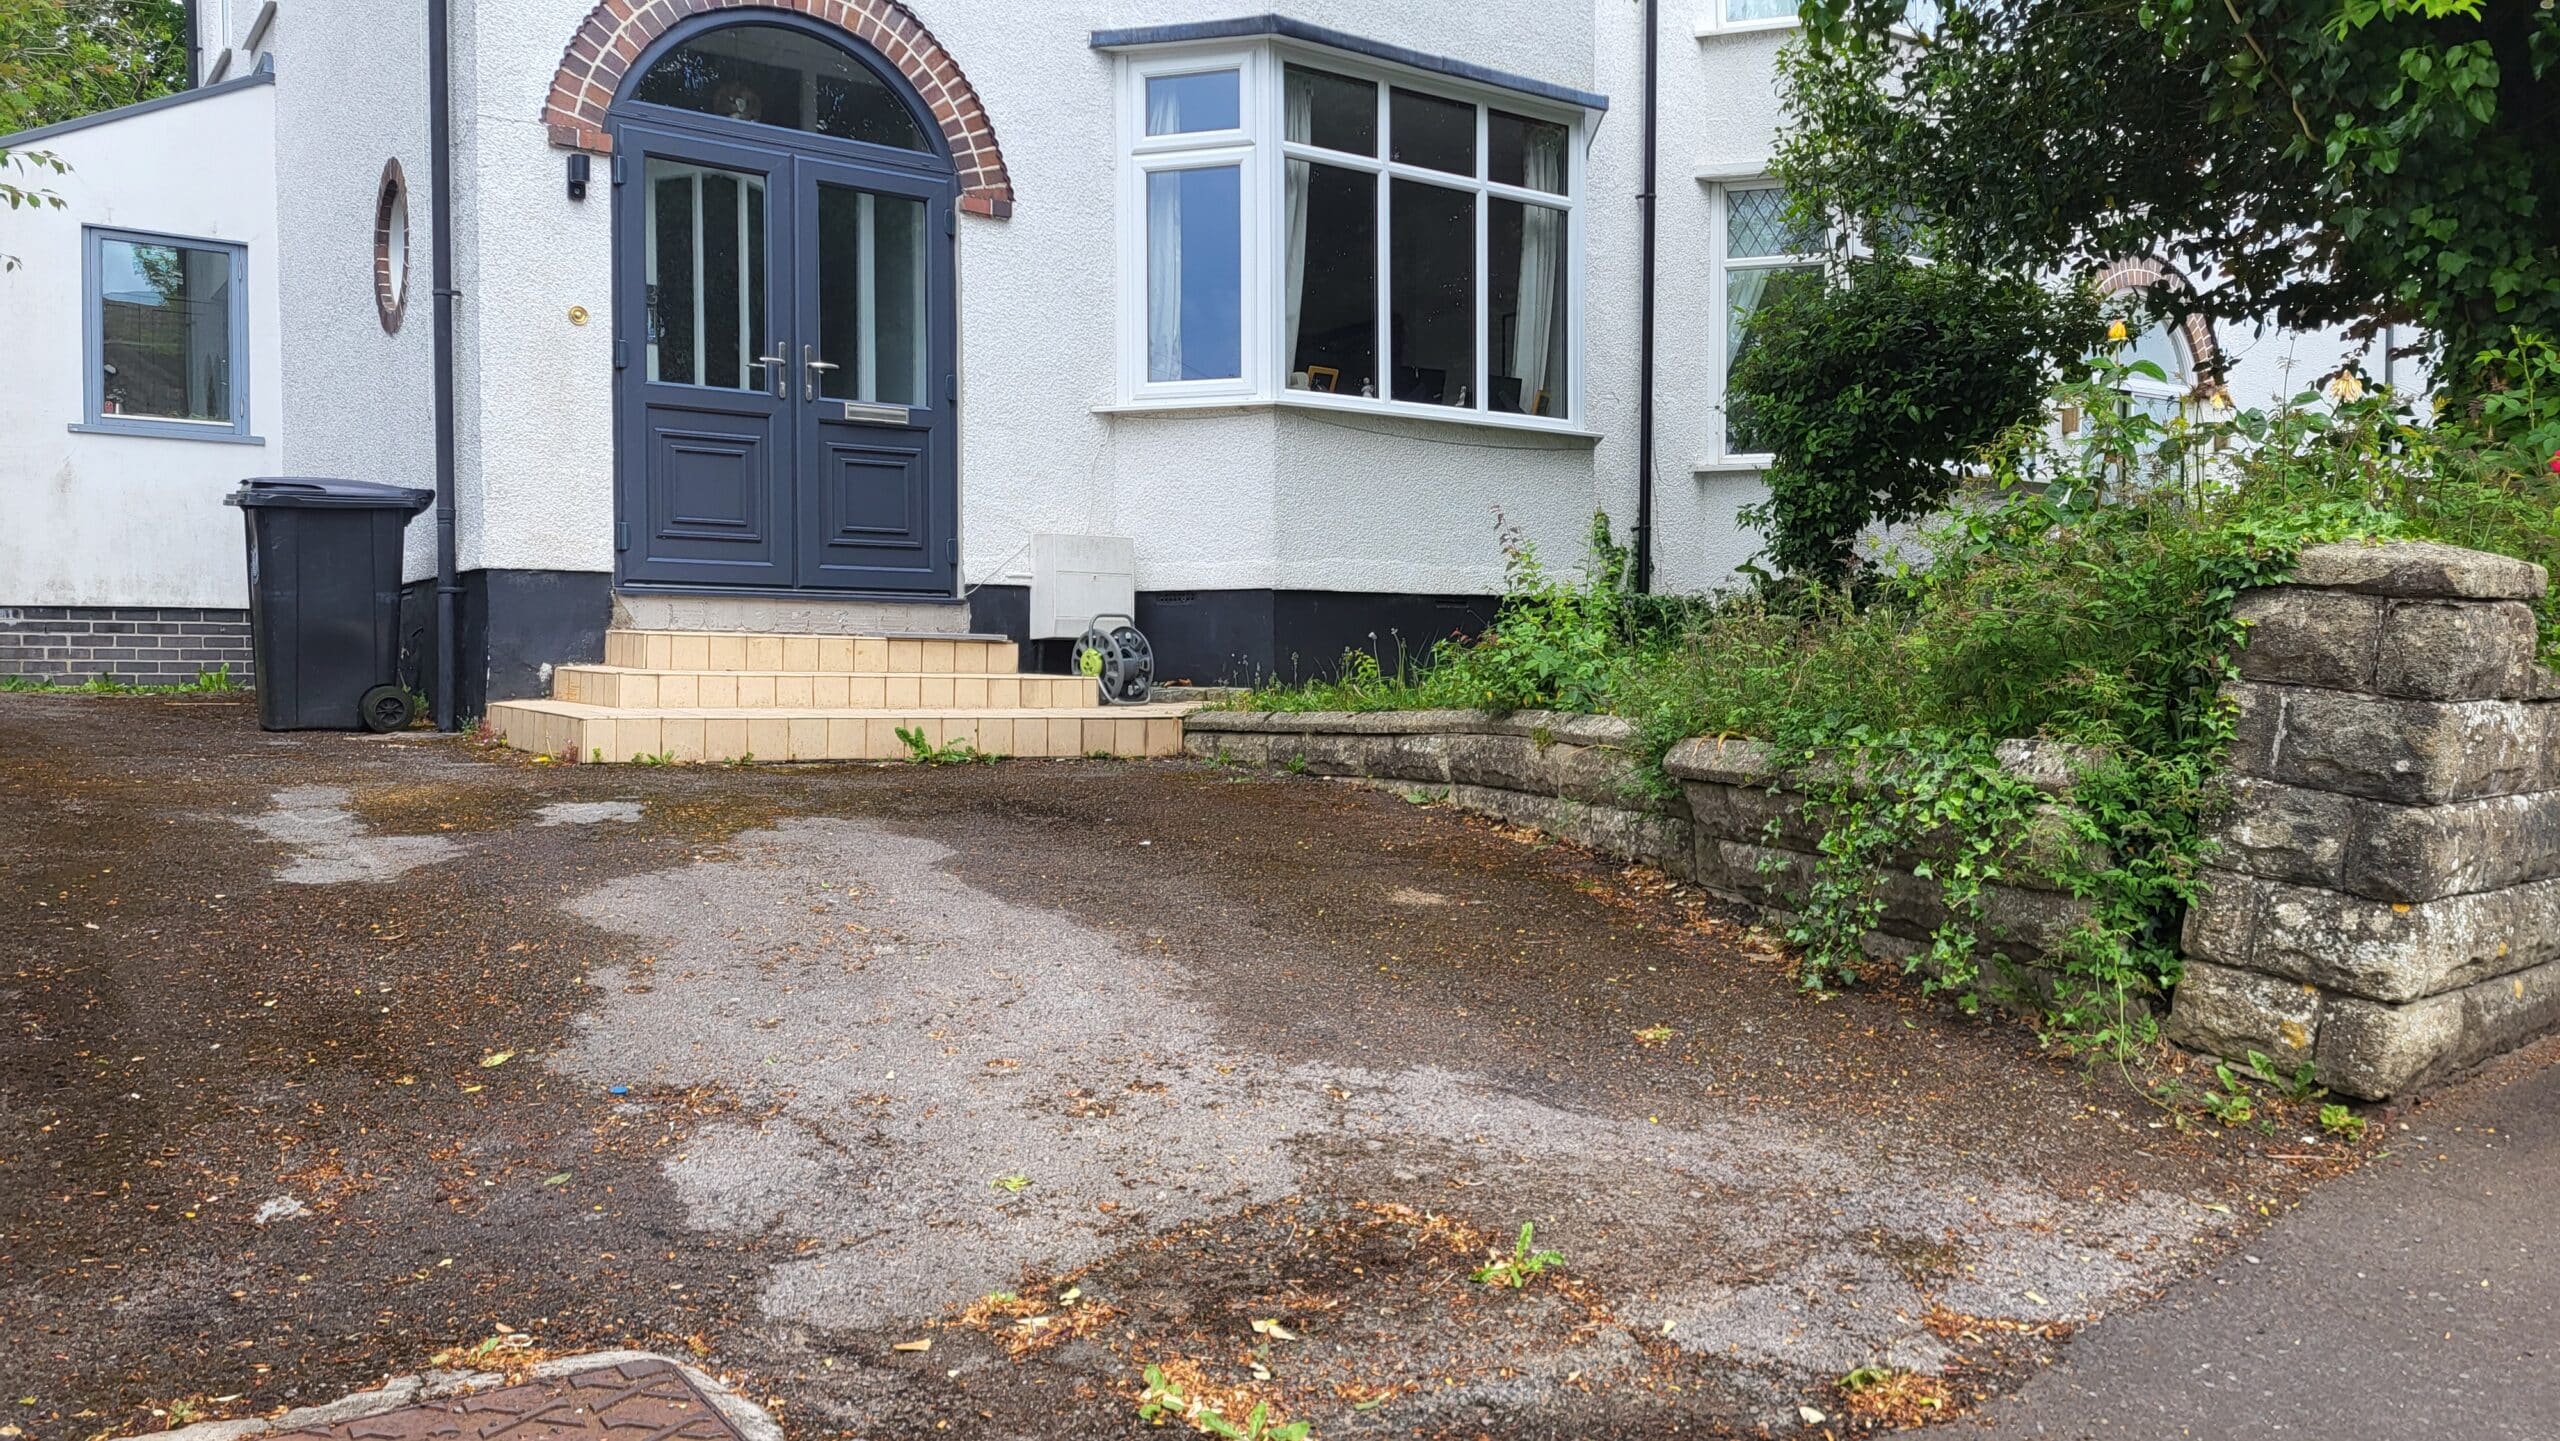
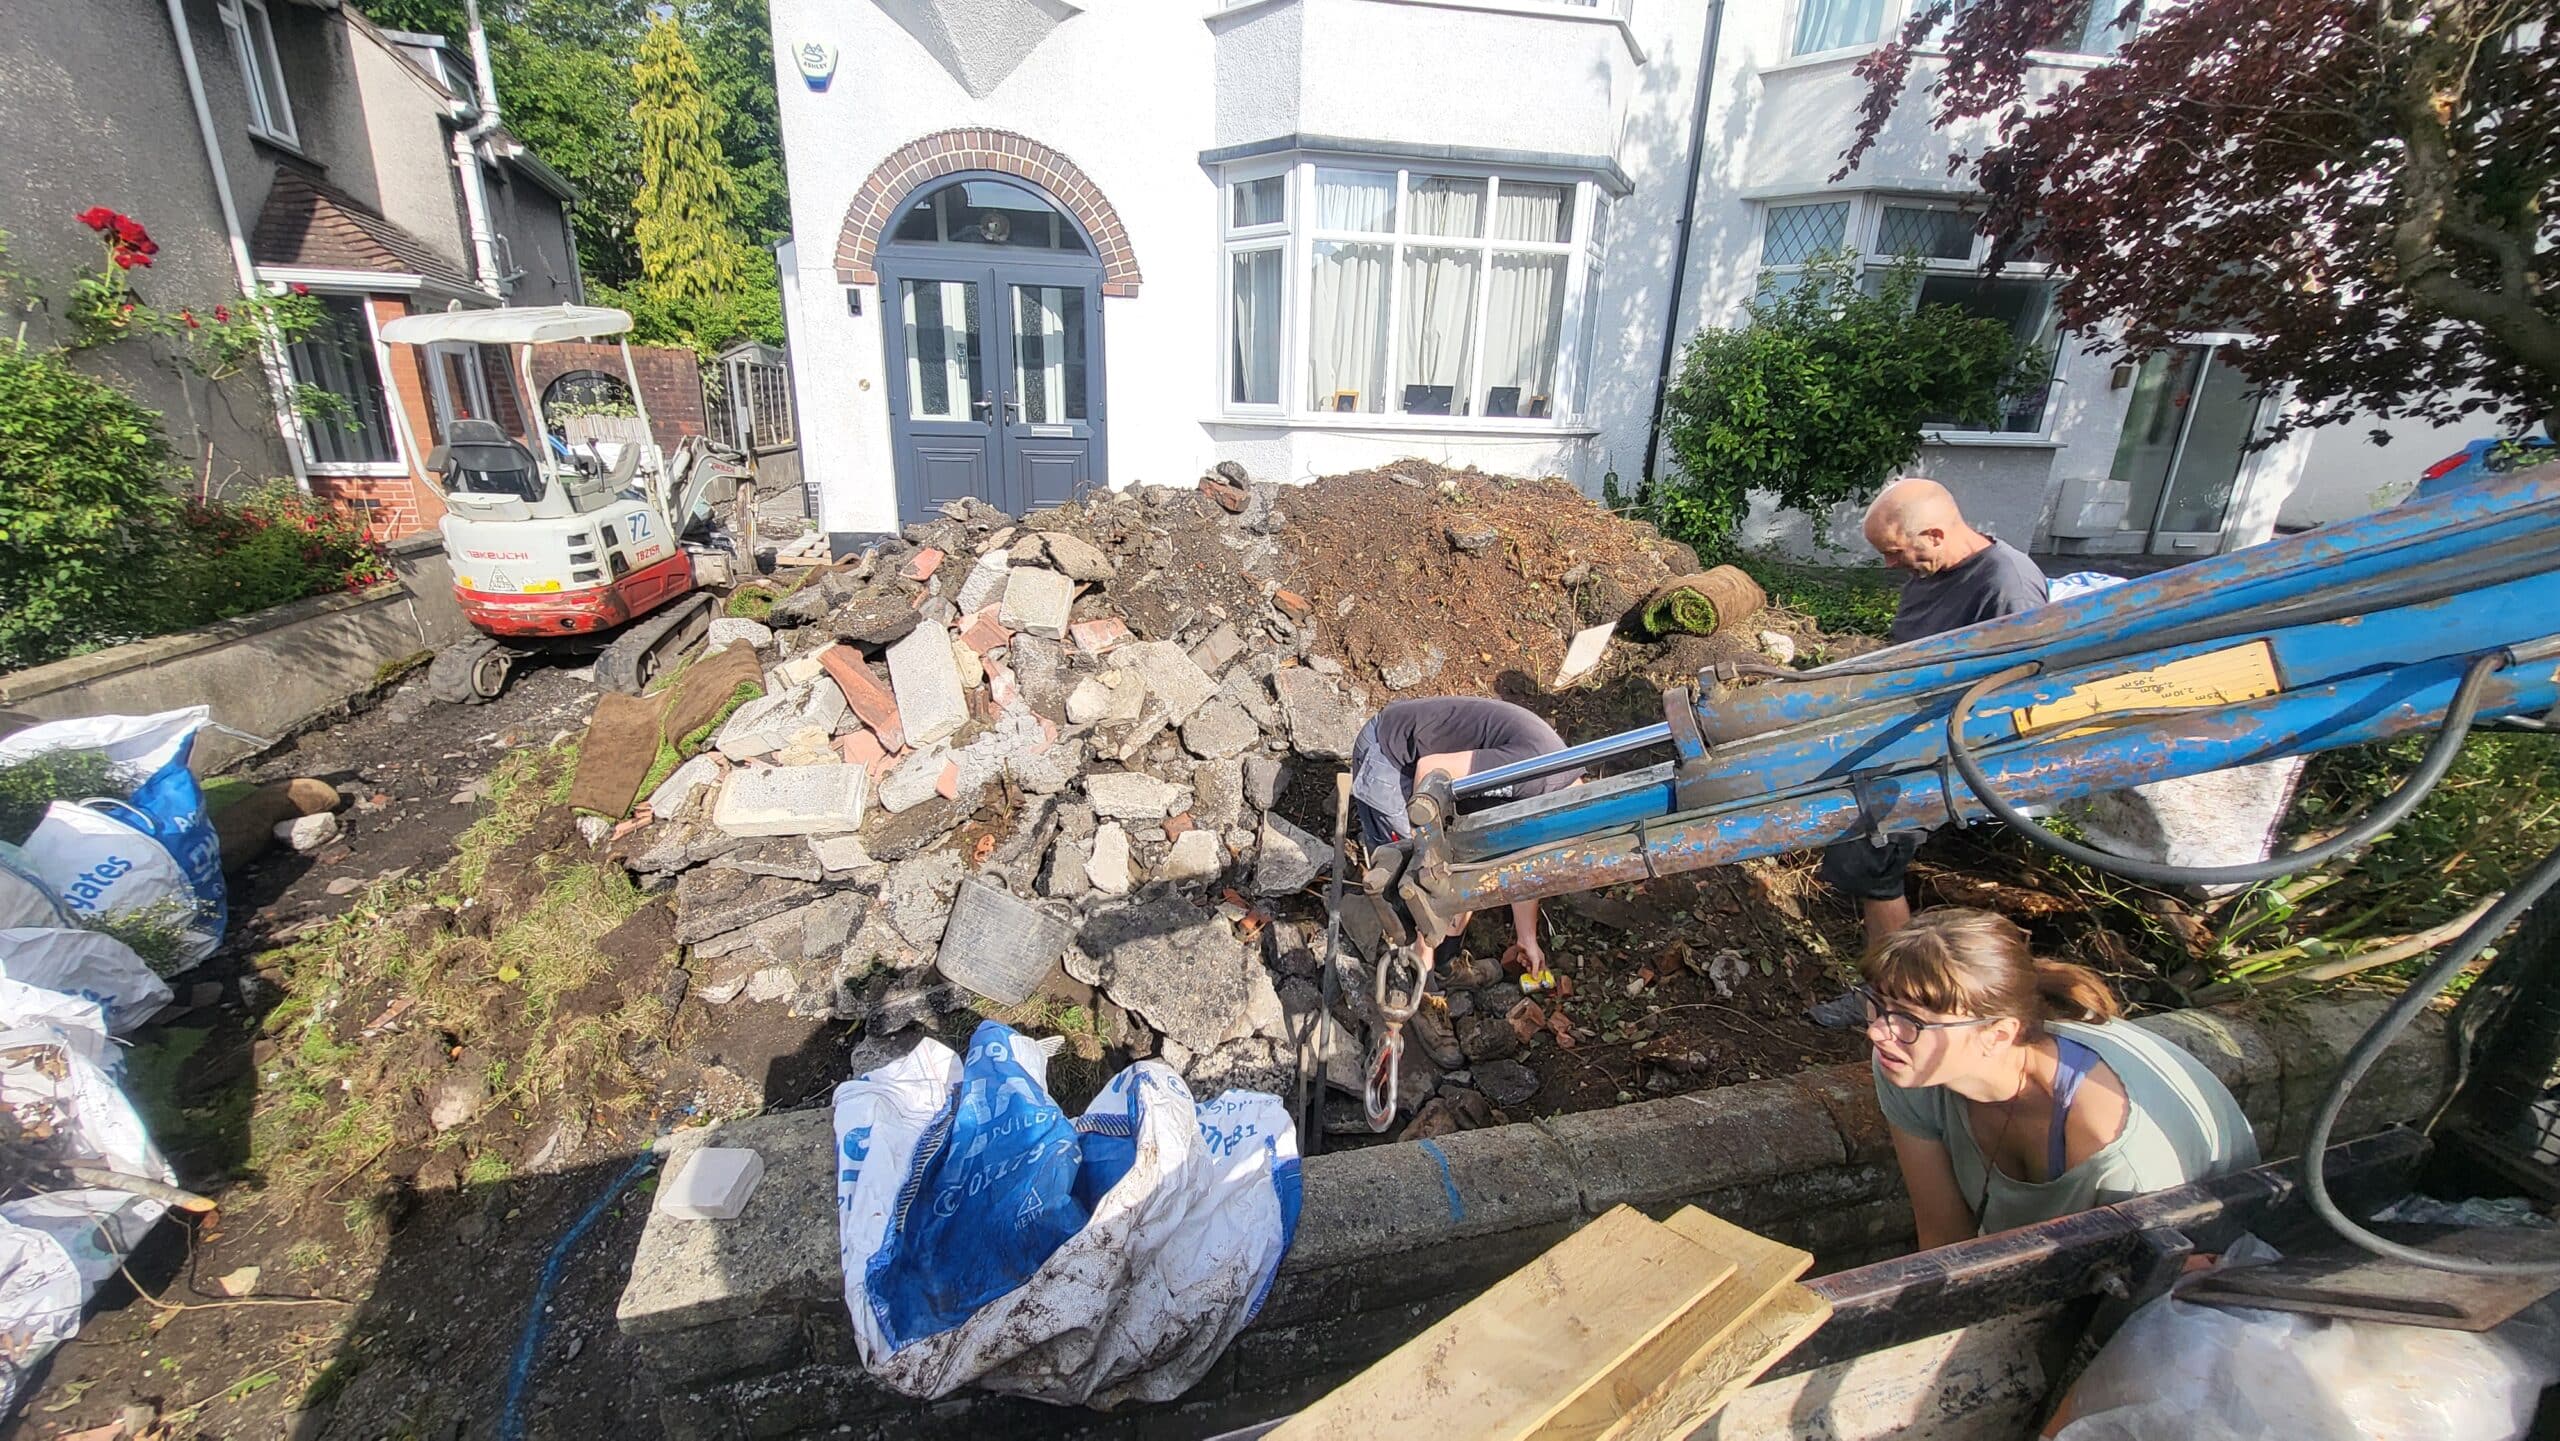
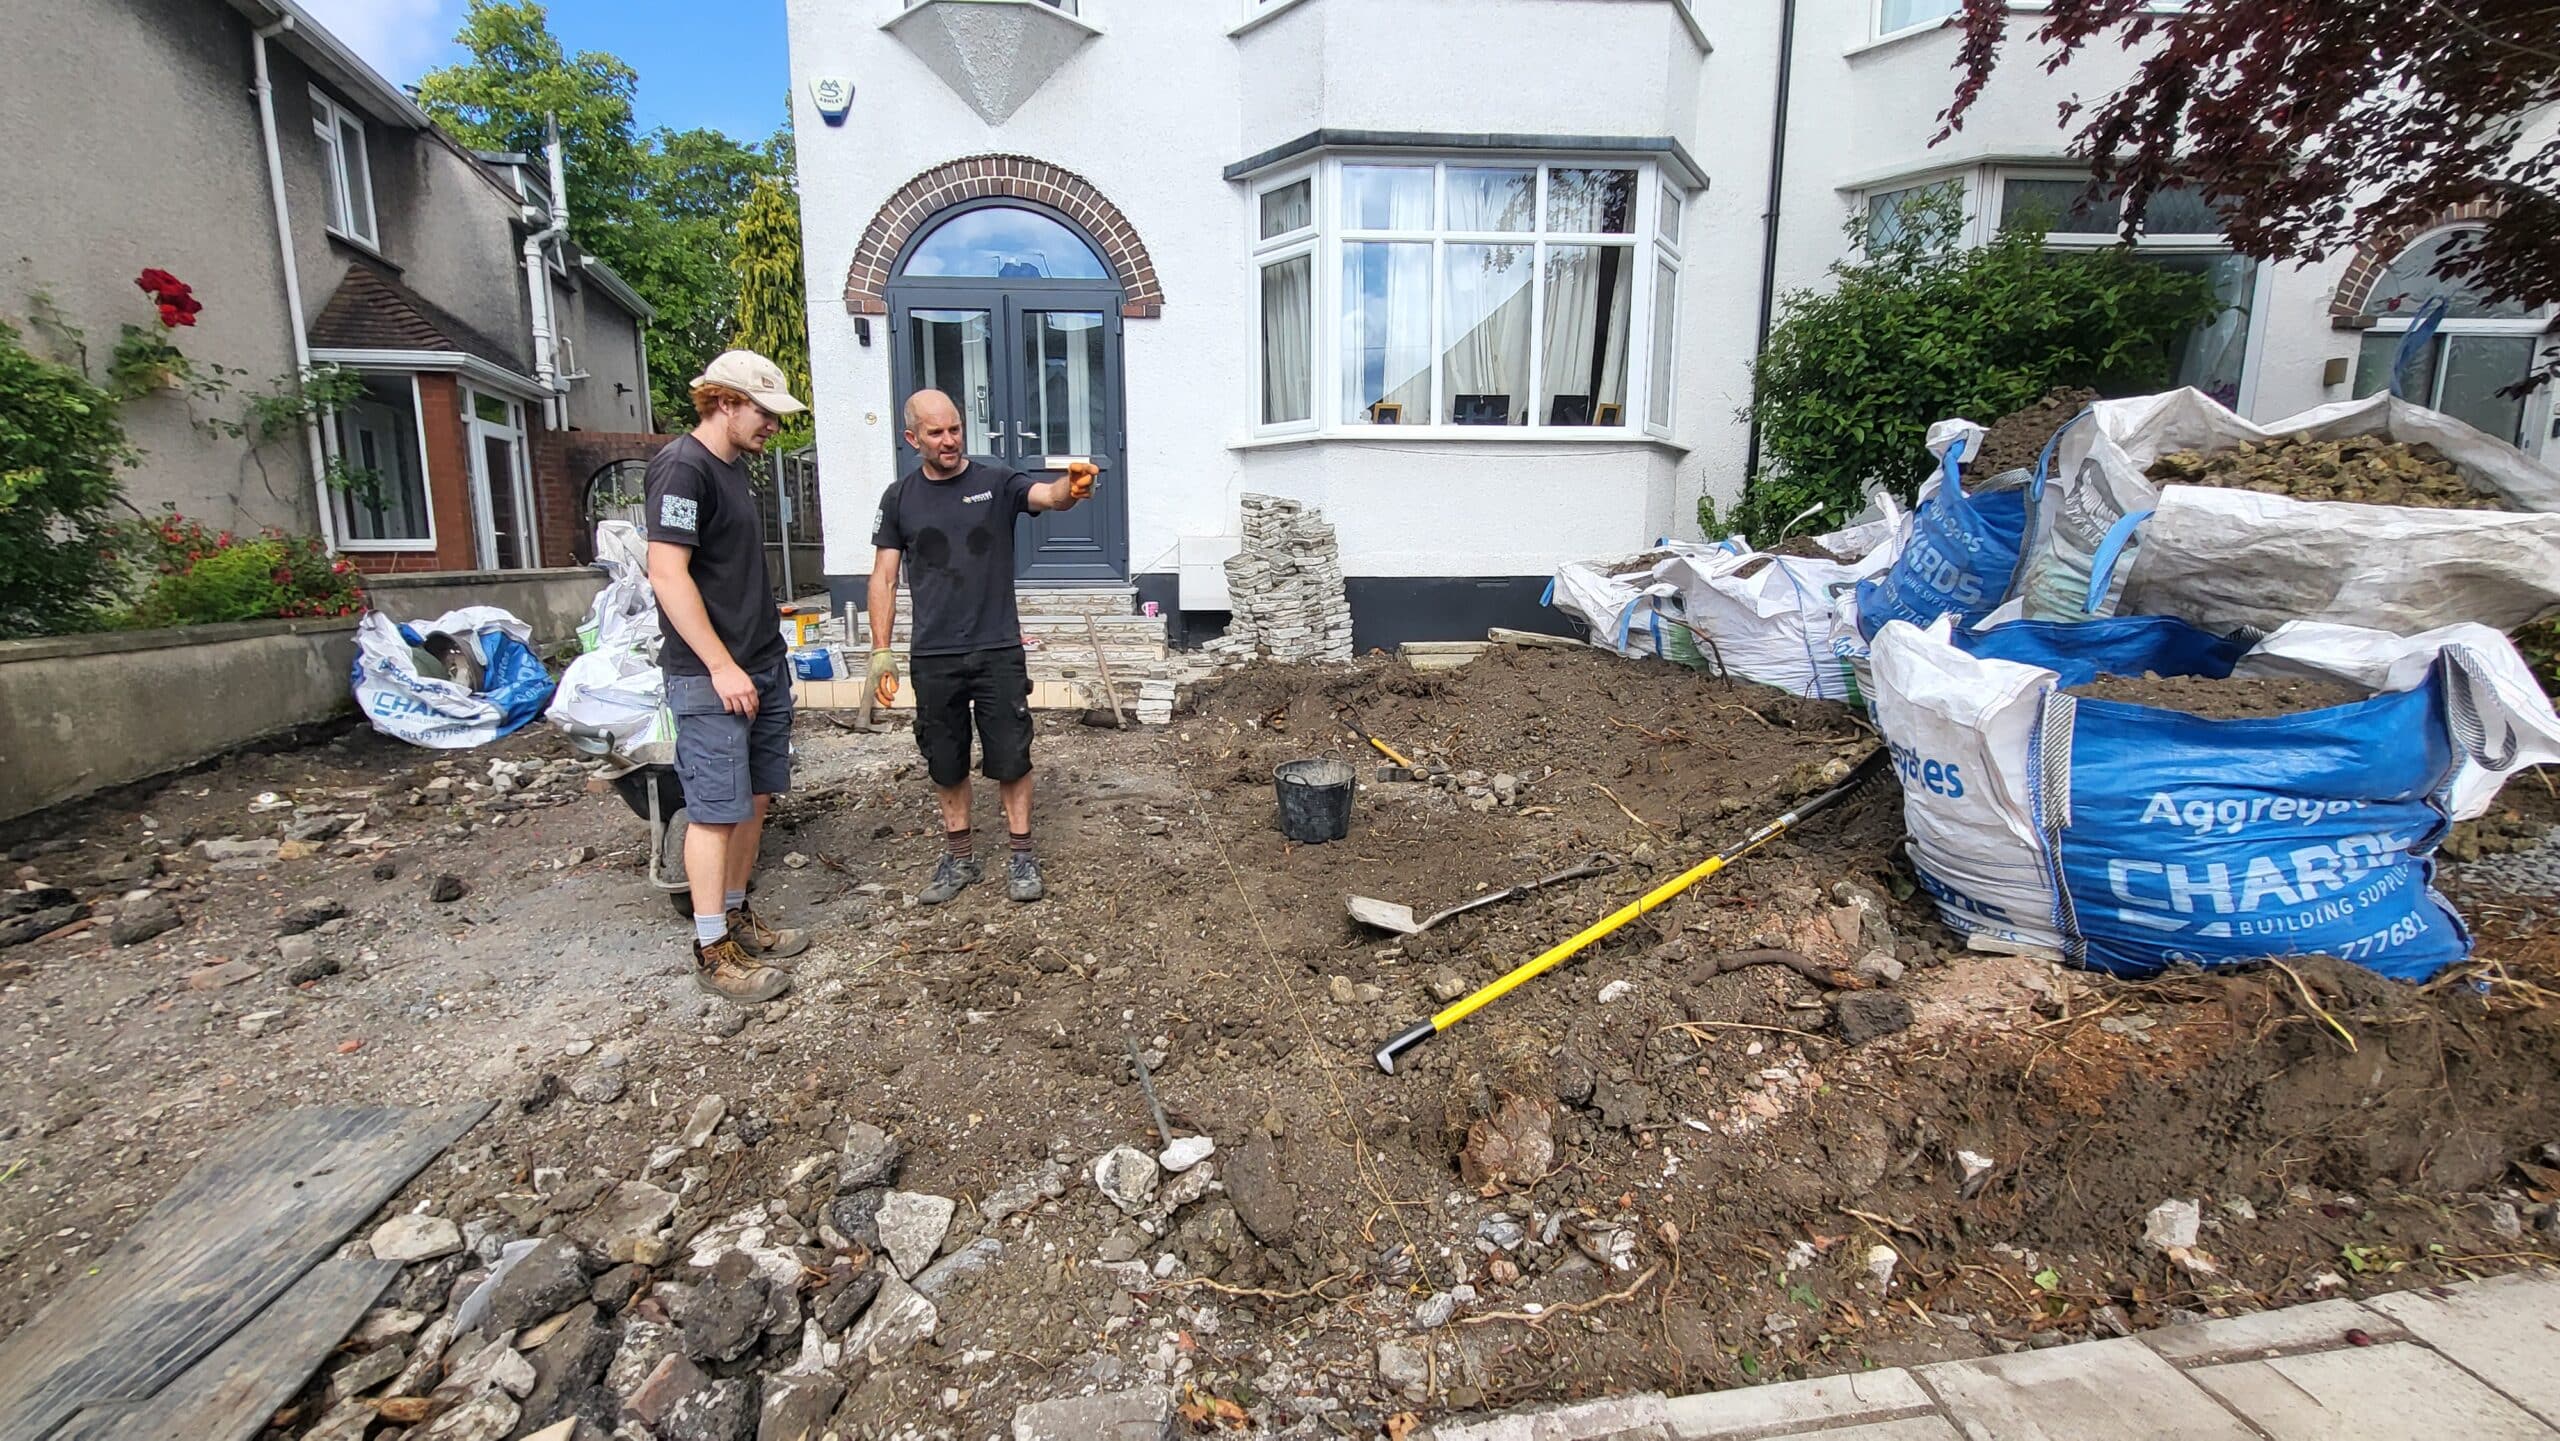
As you can see, the driveway and front garden of this property left much to the imagination. The border was unkempt and unloved and needed some serious TLC. The steps up to the front door appear to have been clad in tiles that you used to see in swimming pools in the 80’s, and the driveway itself was very lumpy and bumpy. The space required cohesion and care.
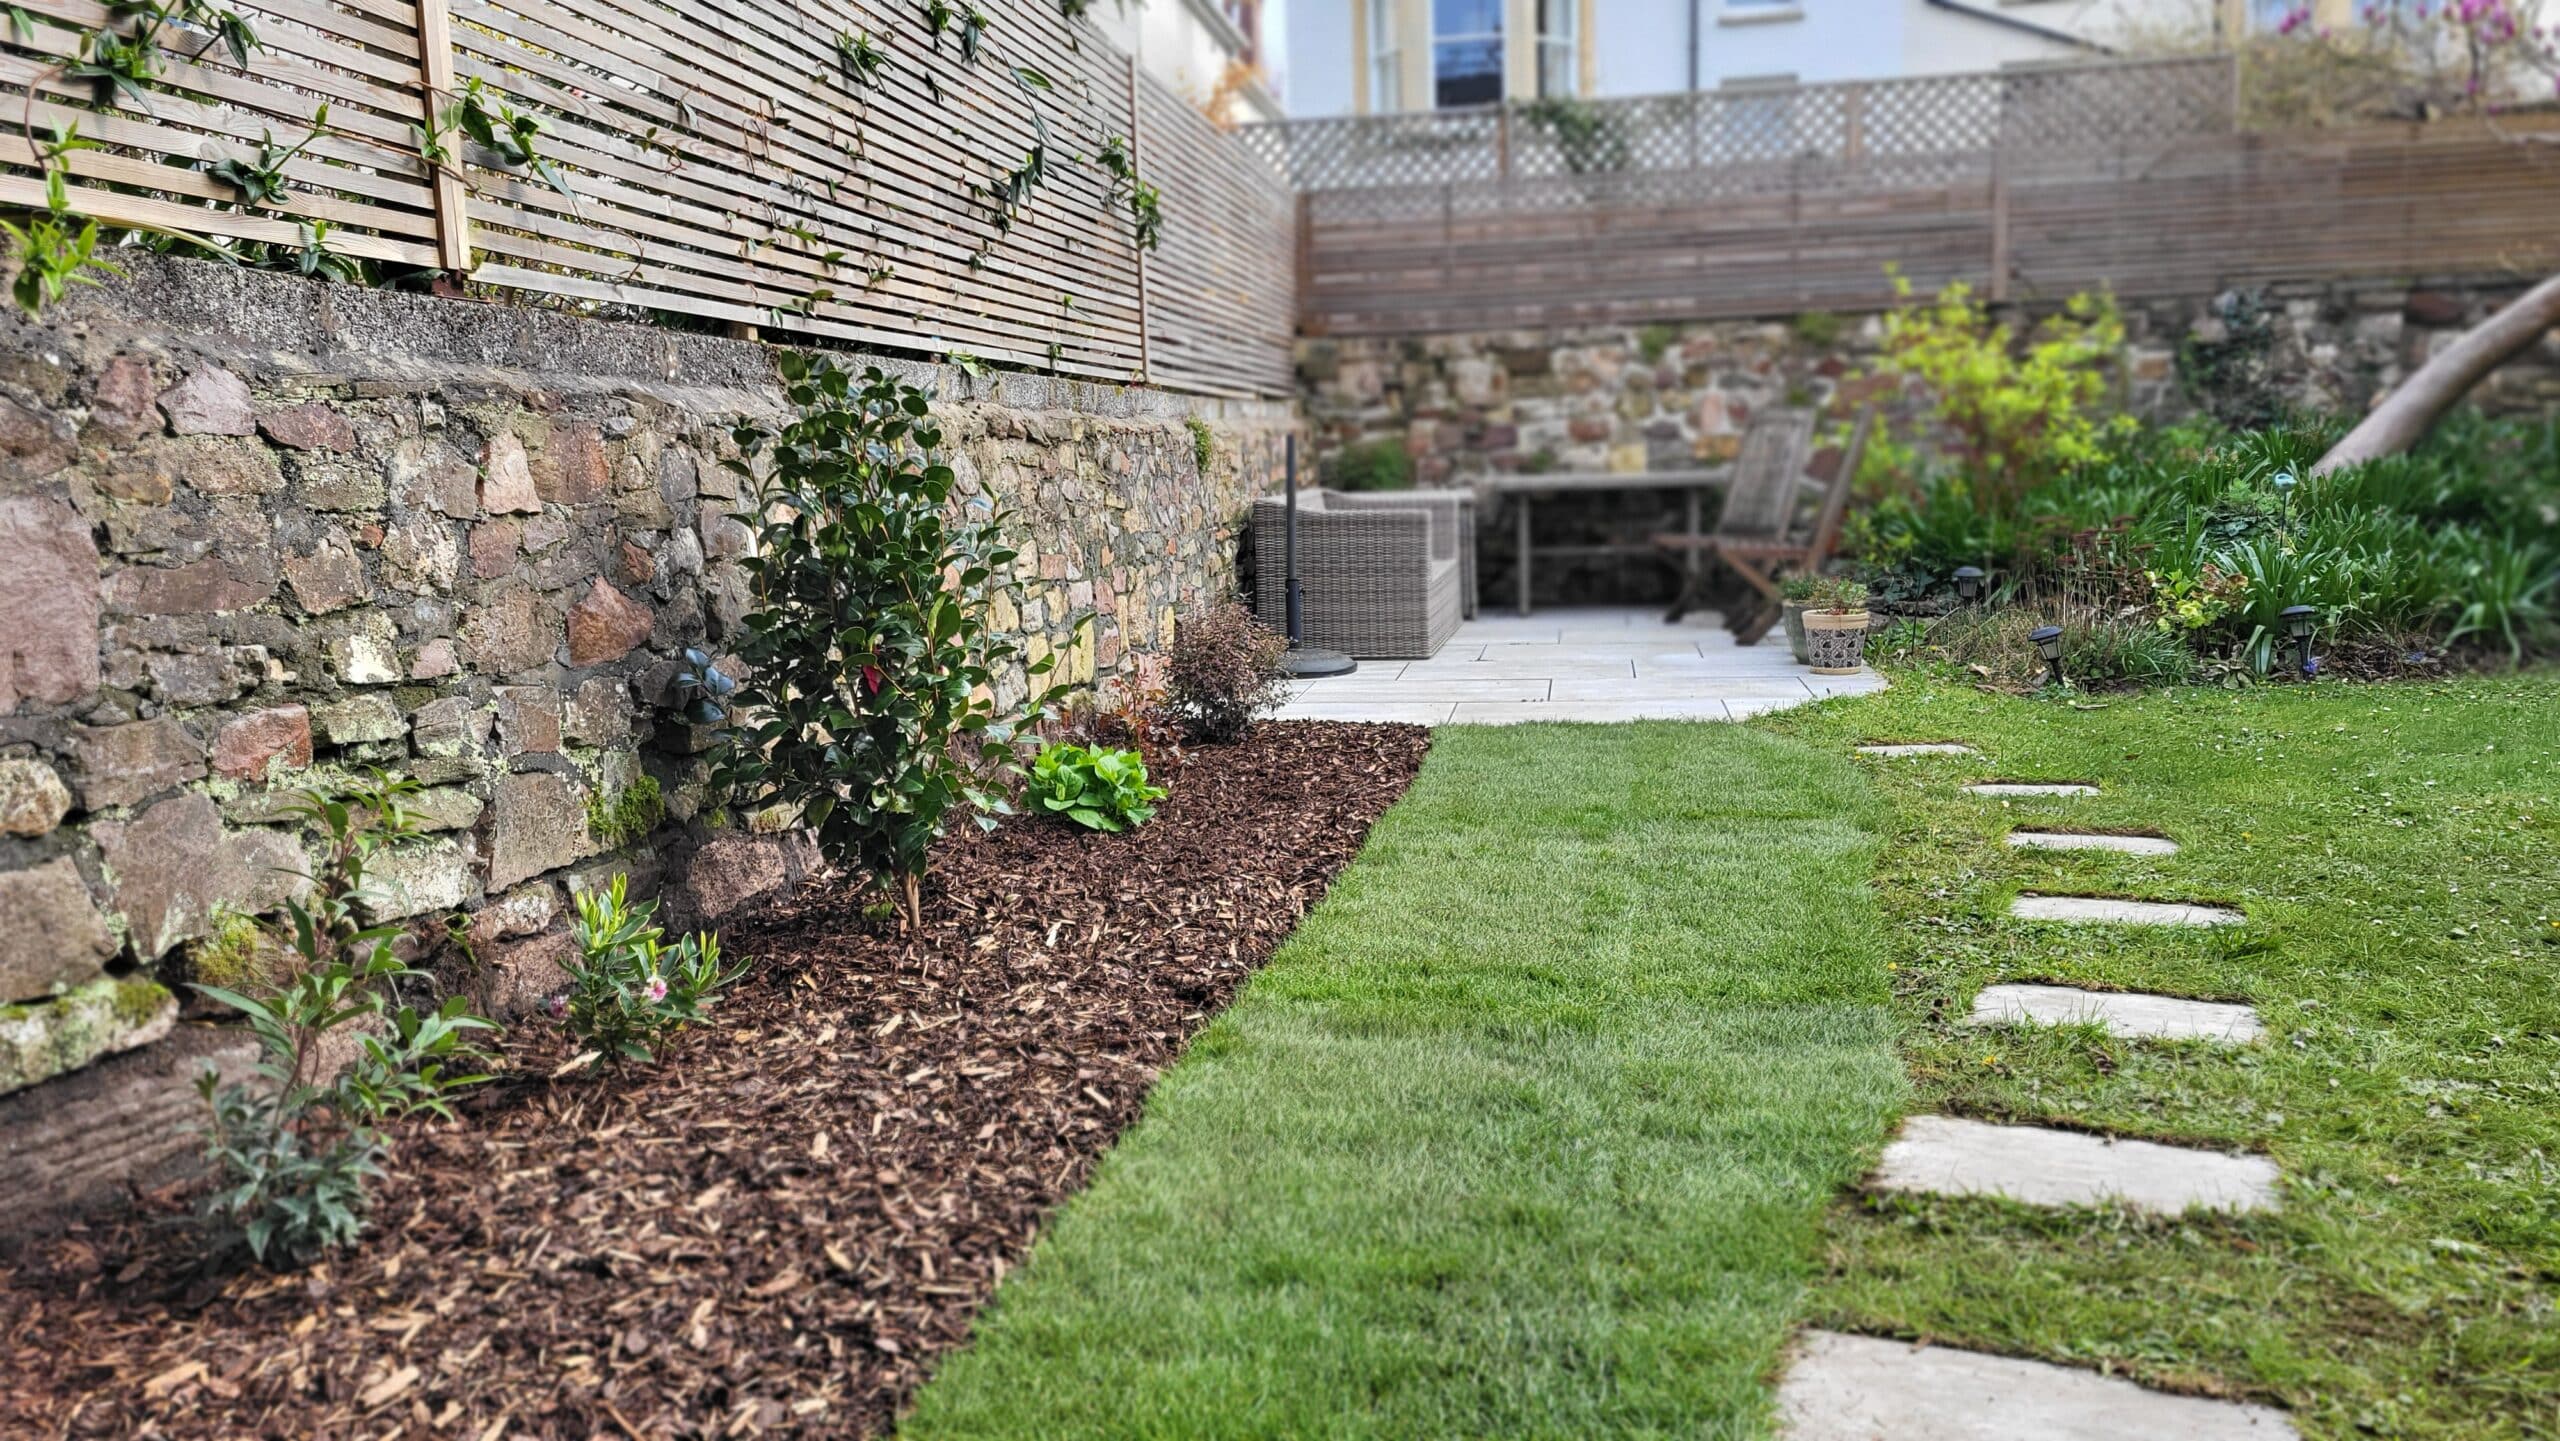
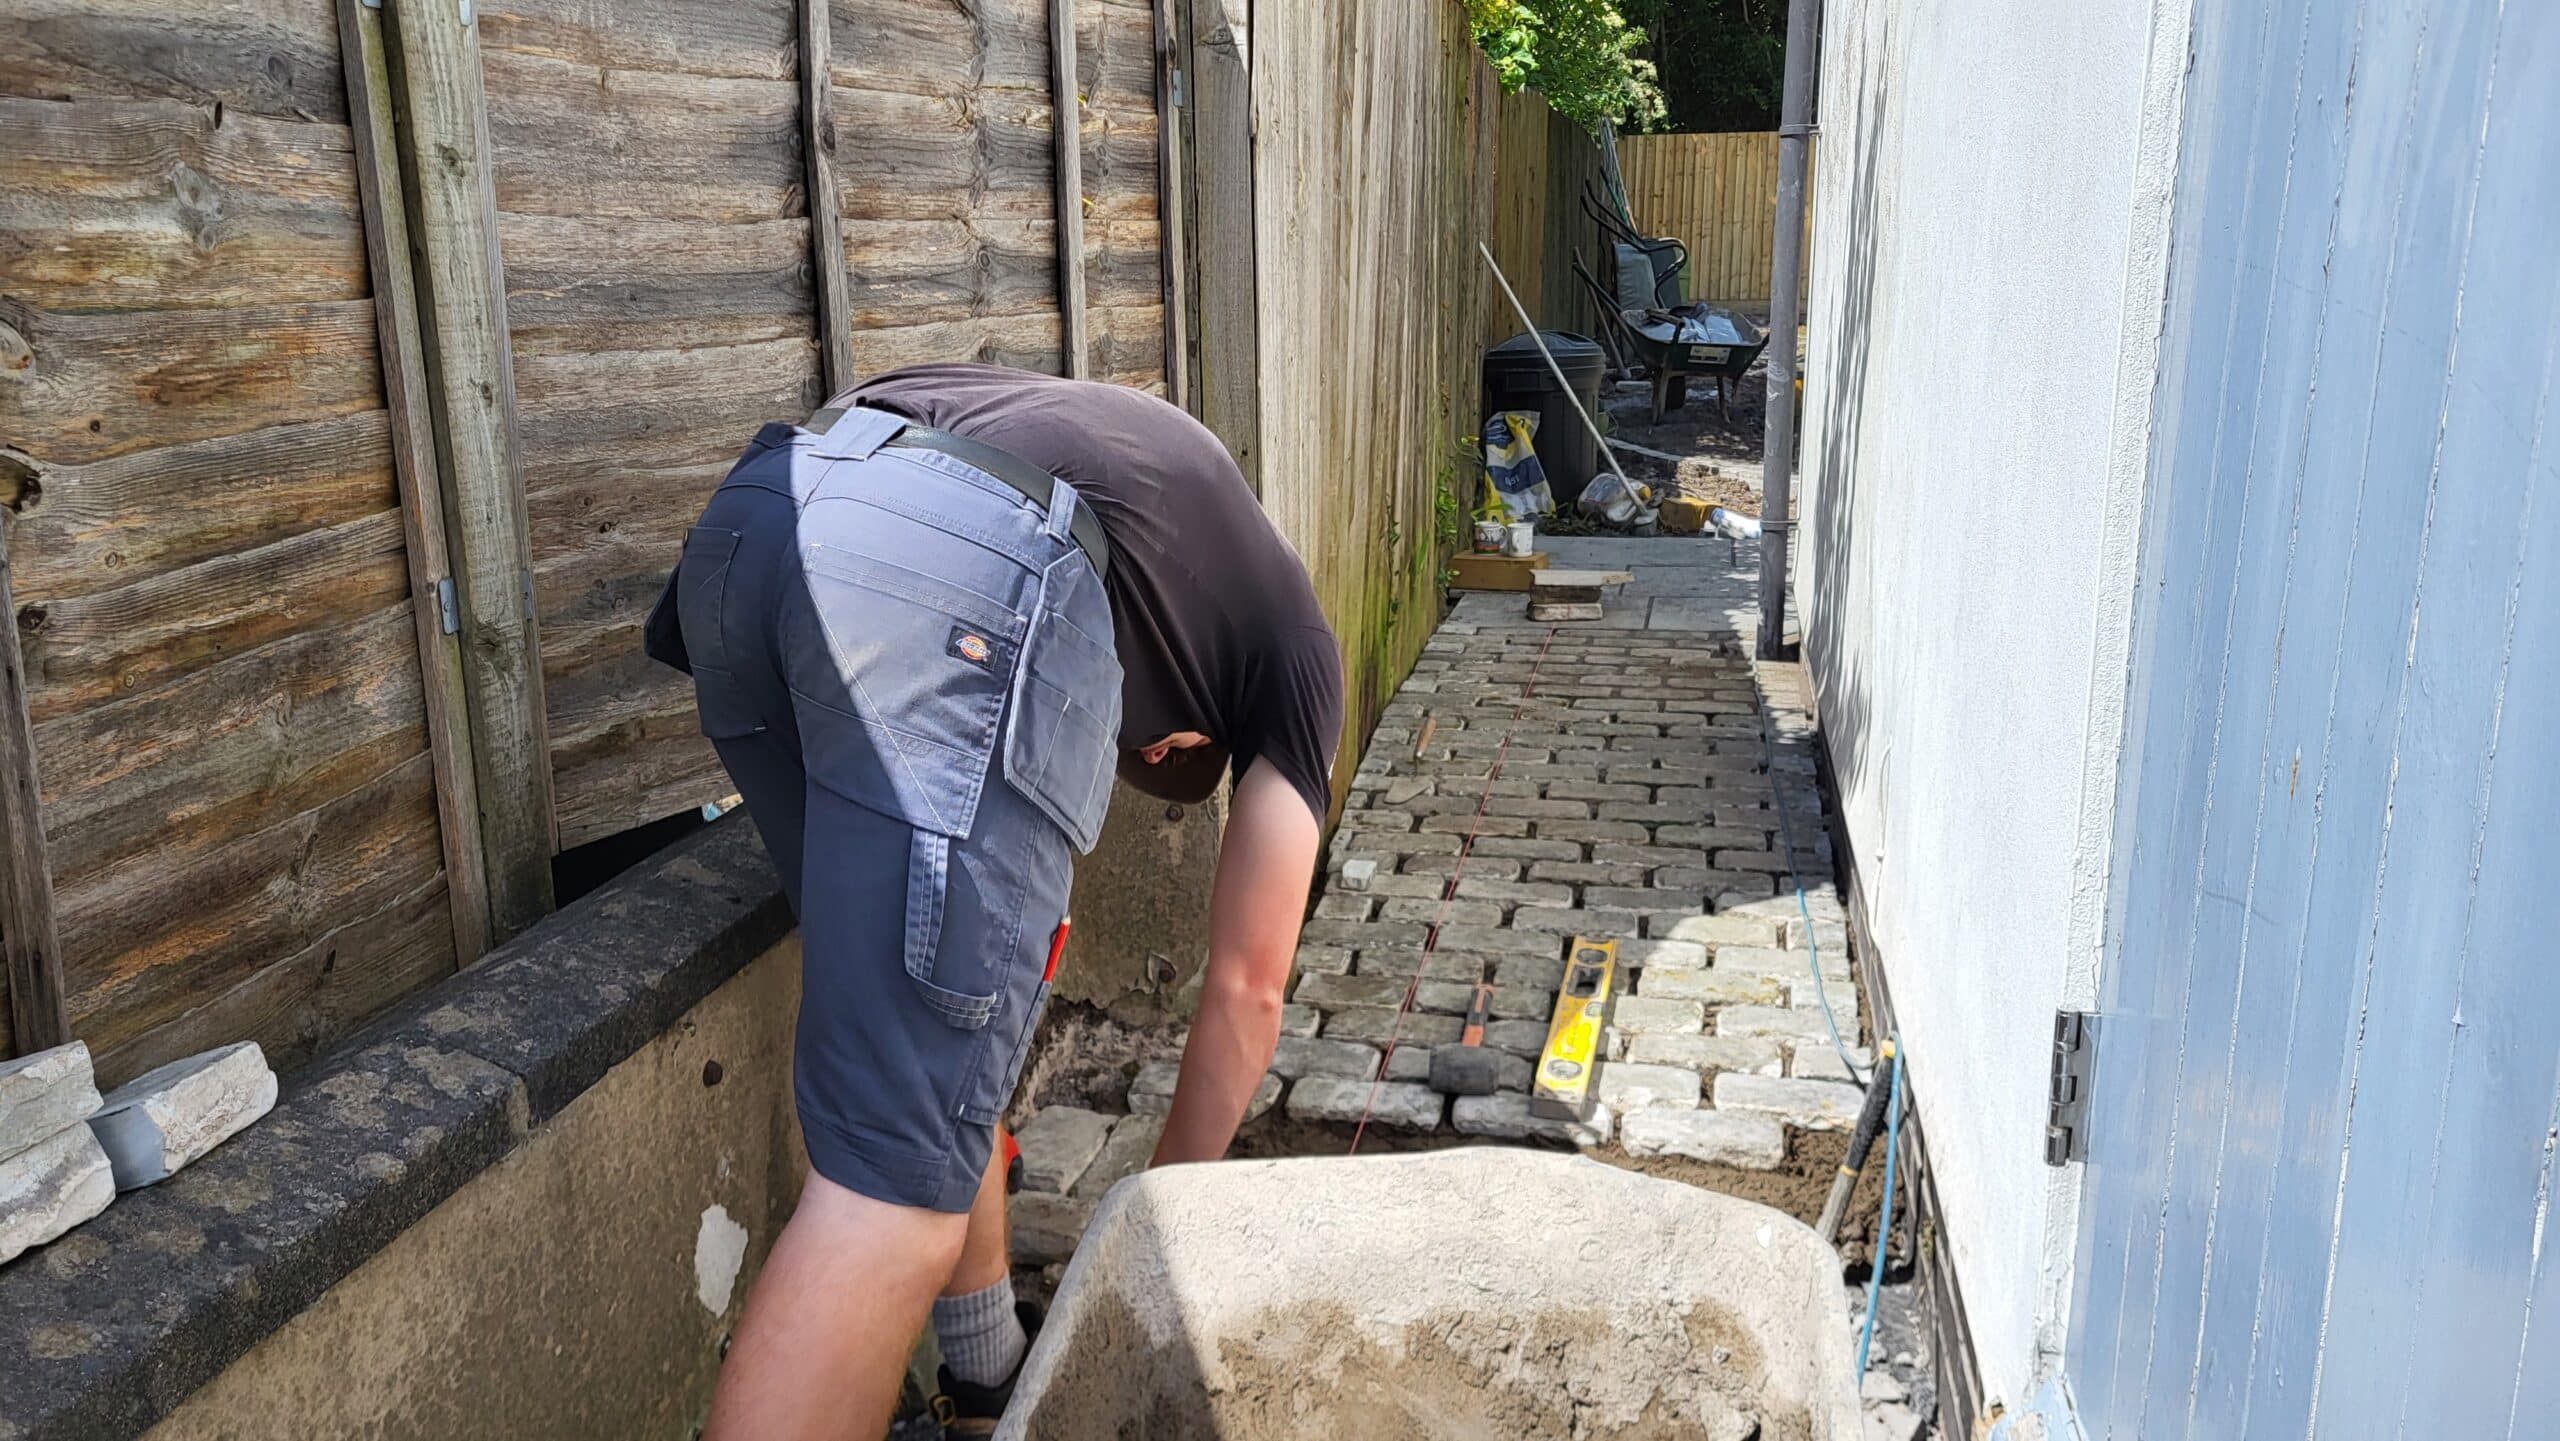
Ali our designer, designed the new driveway, with a low retaining wall for a new garden border, and discussed the ideas with Jerry, who is head of our landscaping teams. Whilst this was being prepared, Sam constructed a new pathway leading from the back garden that we’ve just completed.
This leads between the garden and drive, and will match the overall look of the driveway, bringing cohesion to both areas.

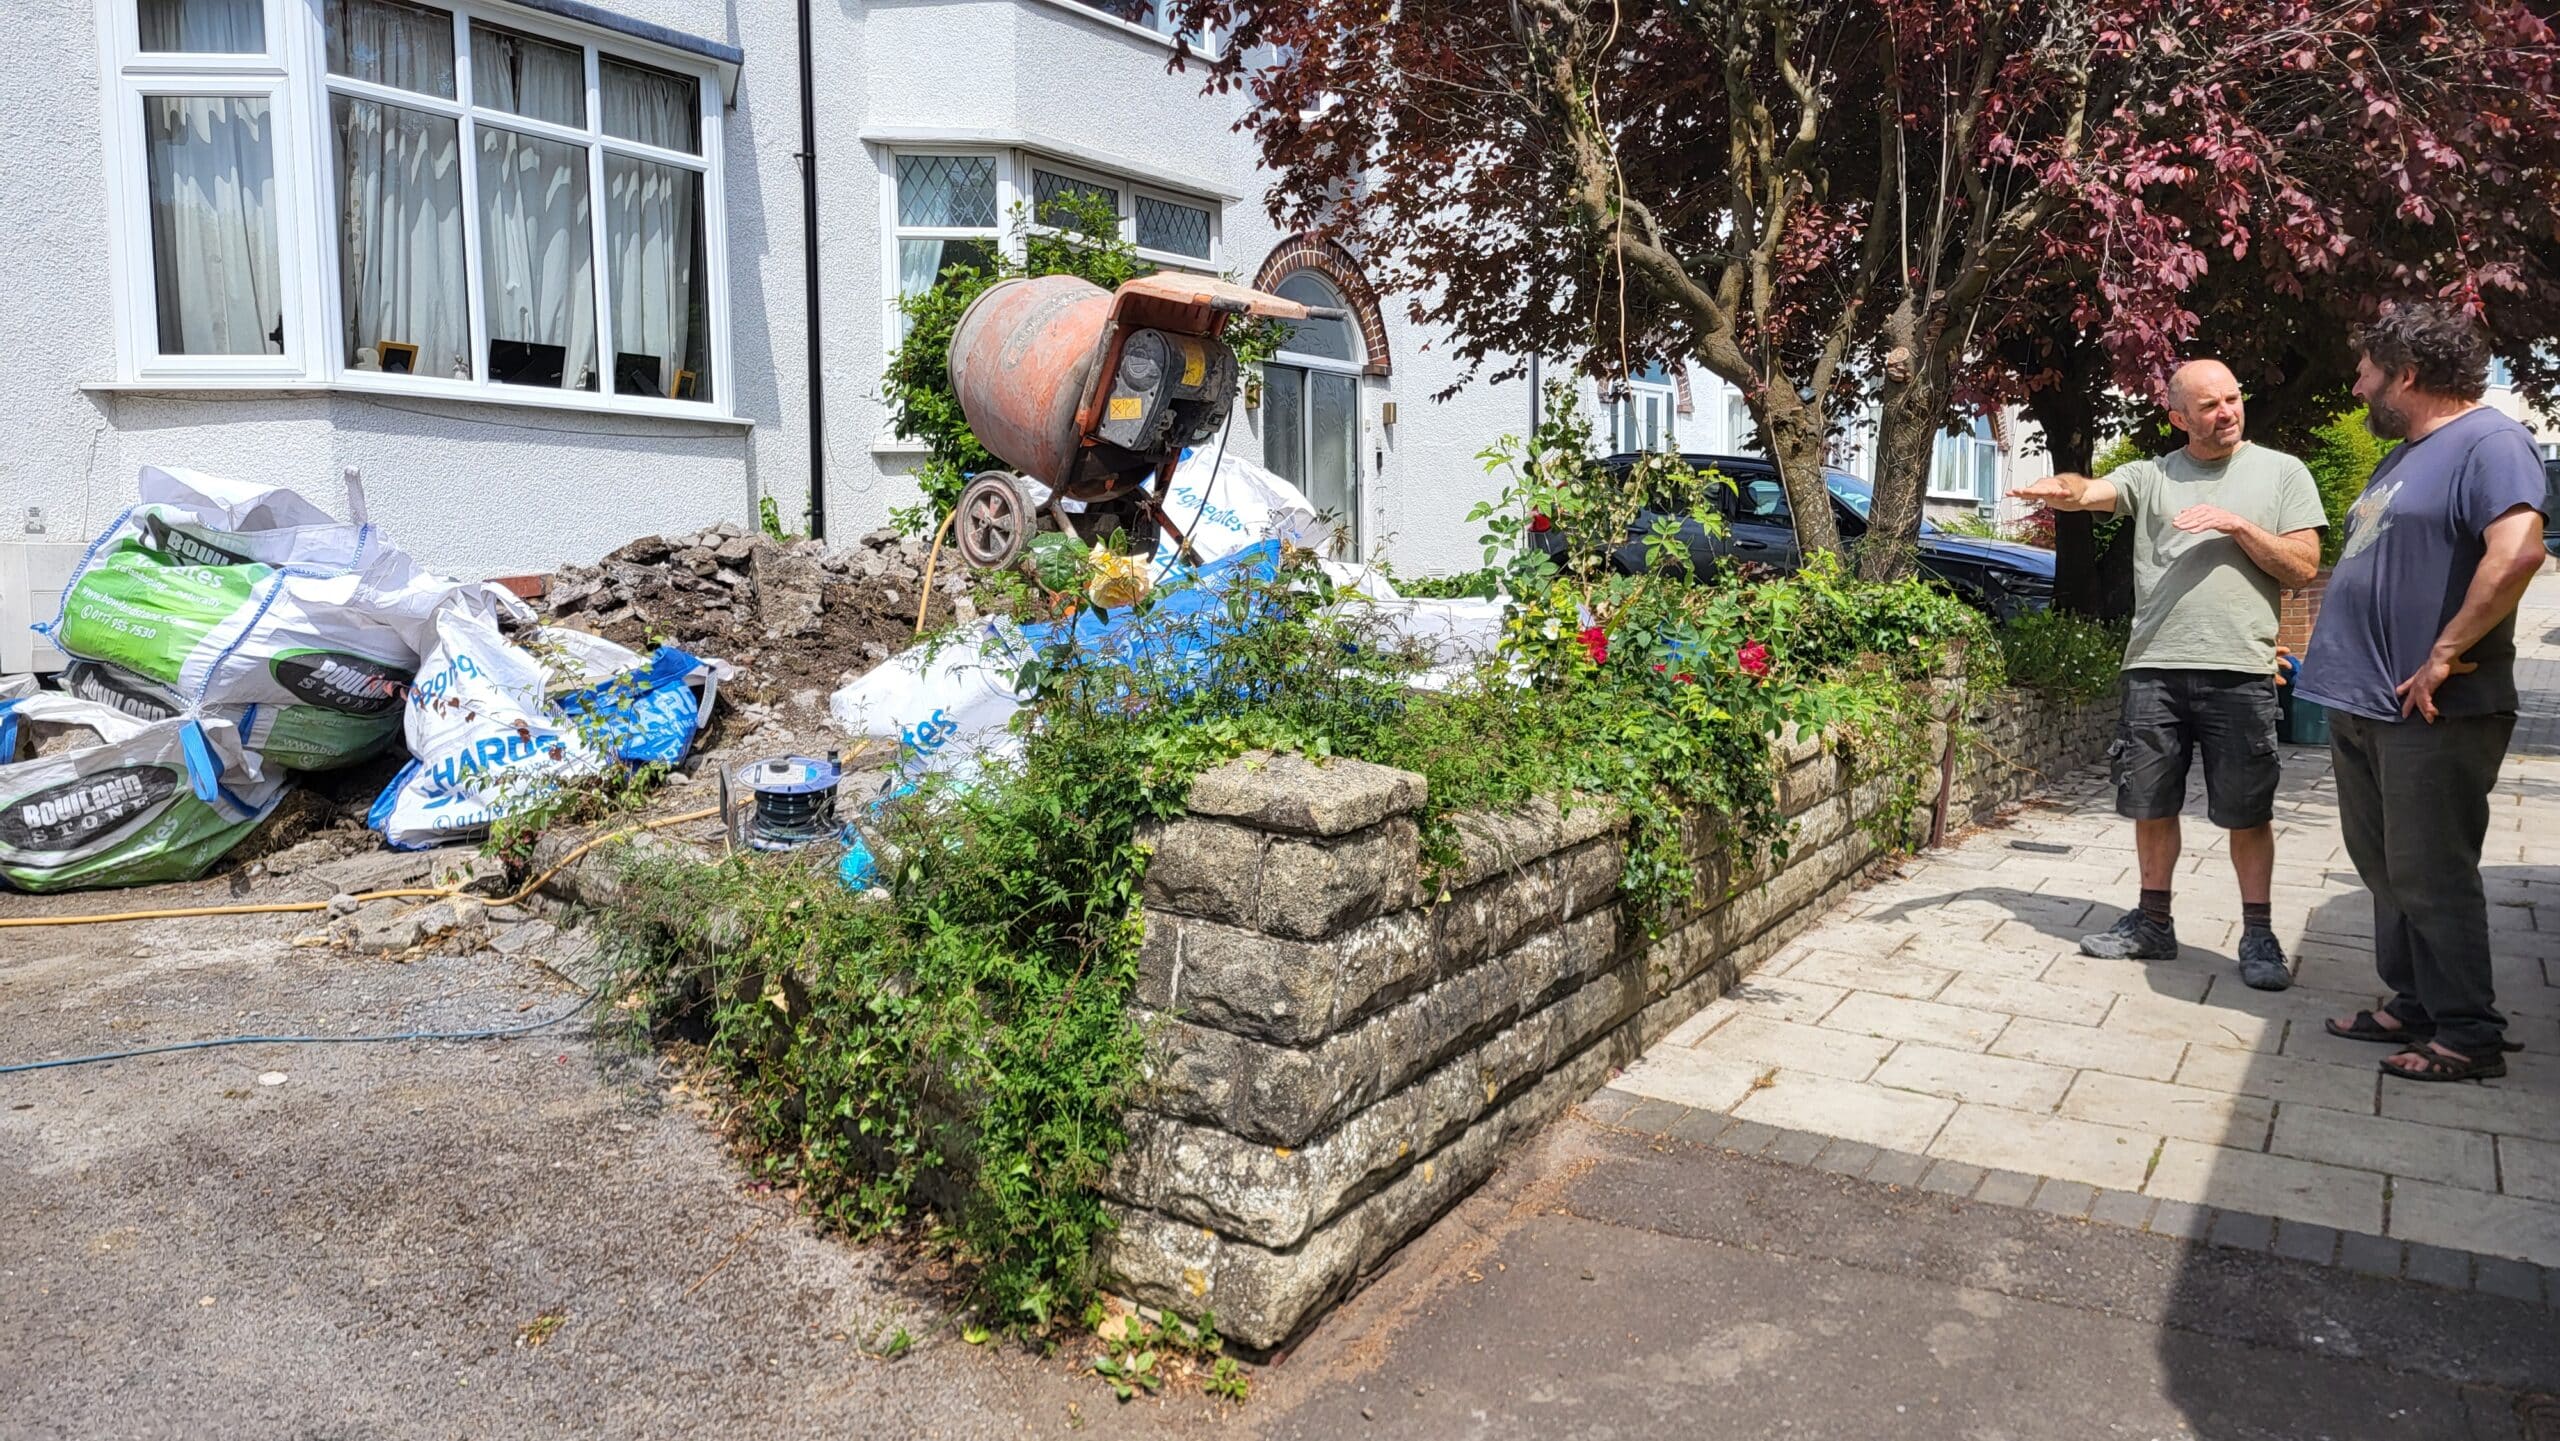
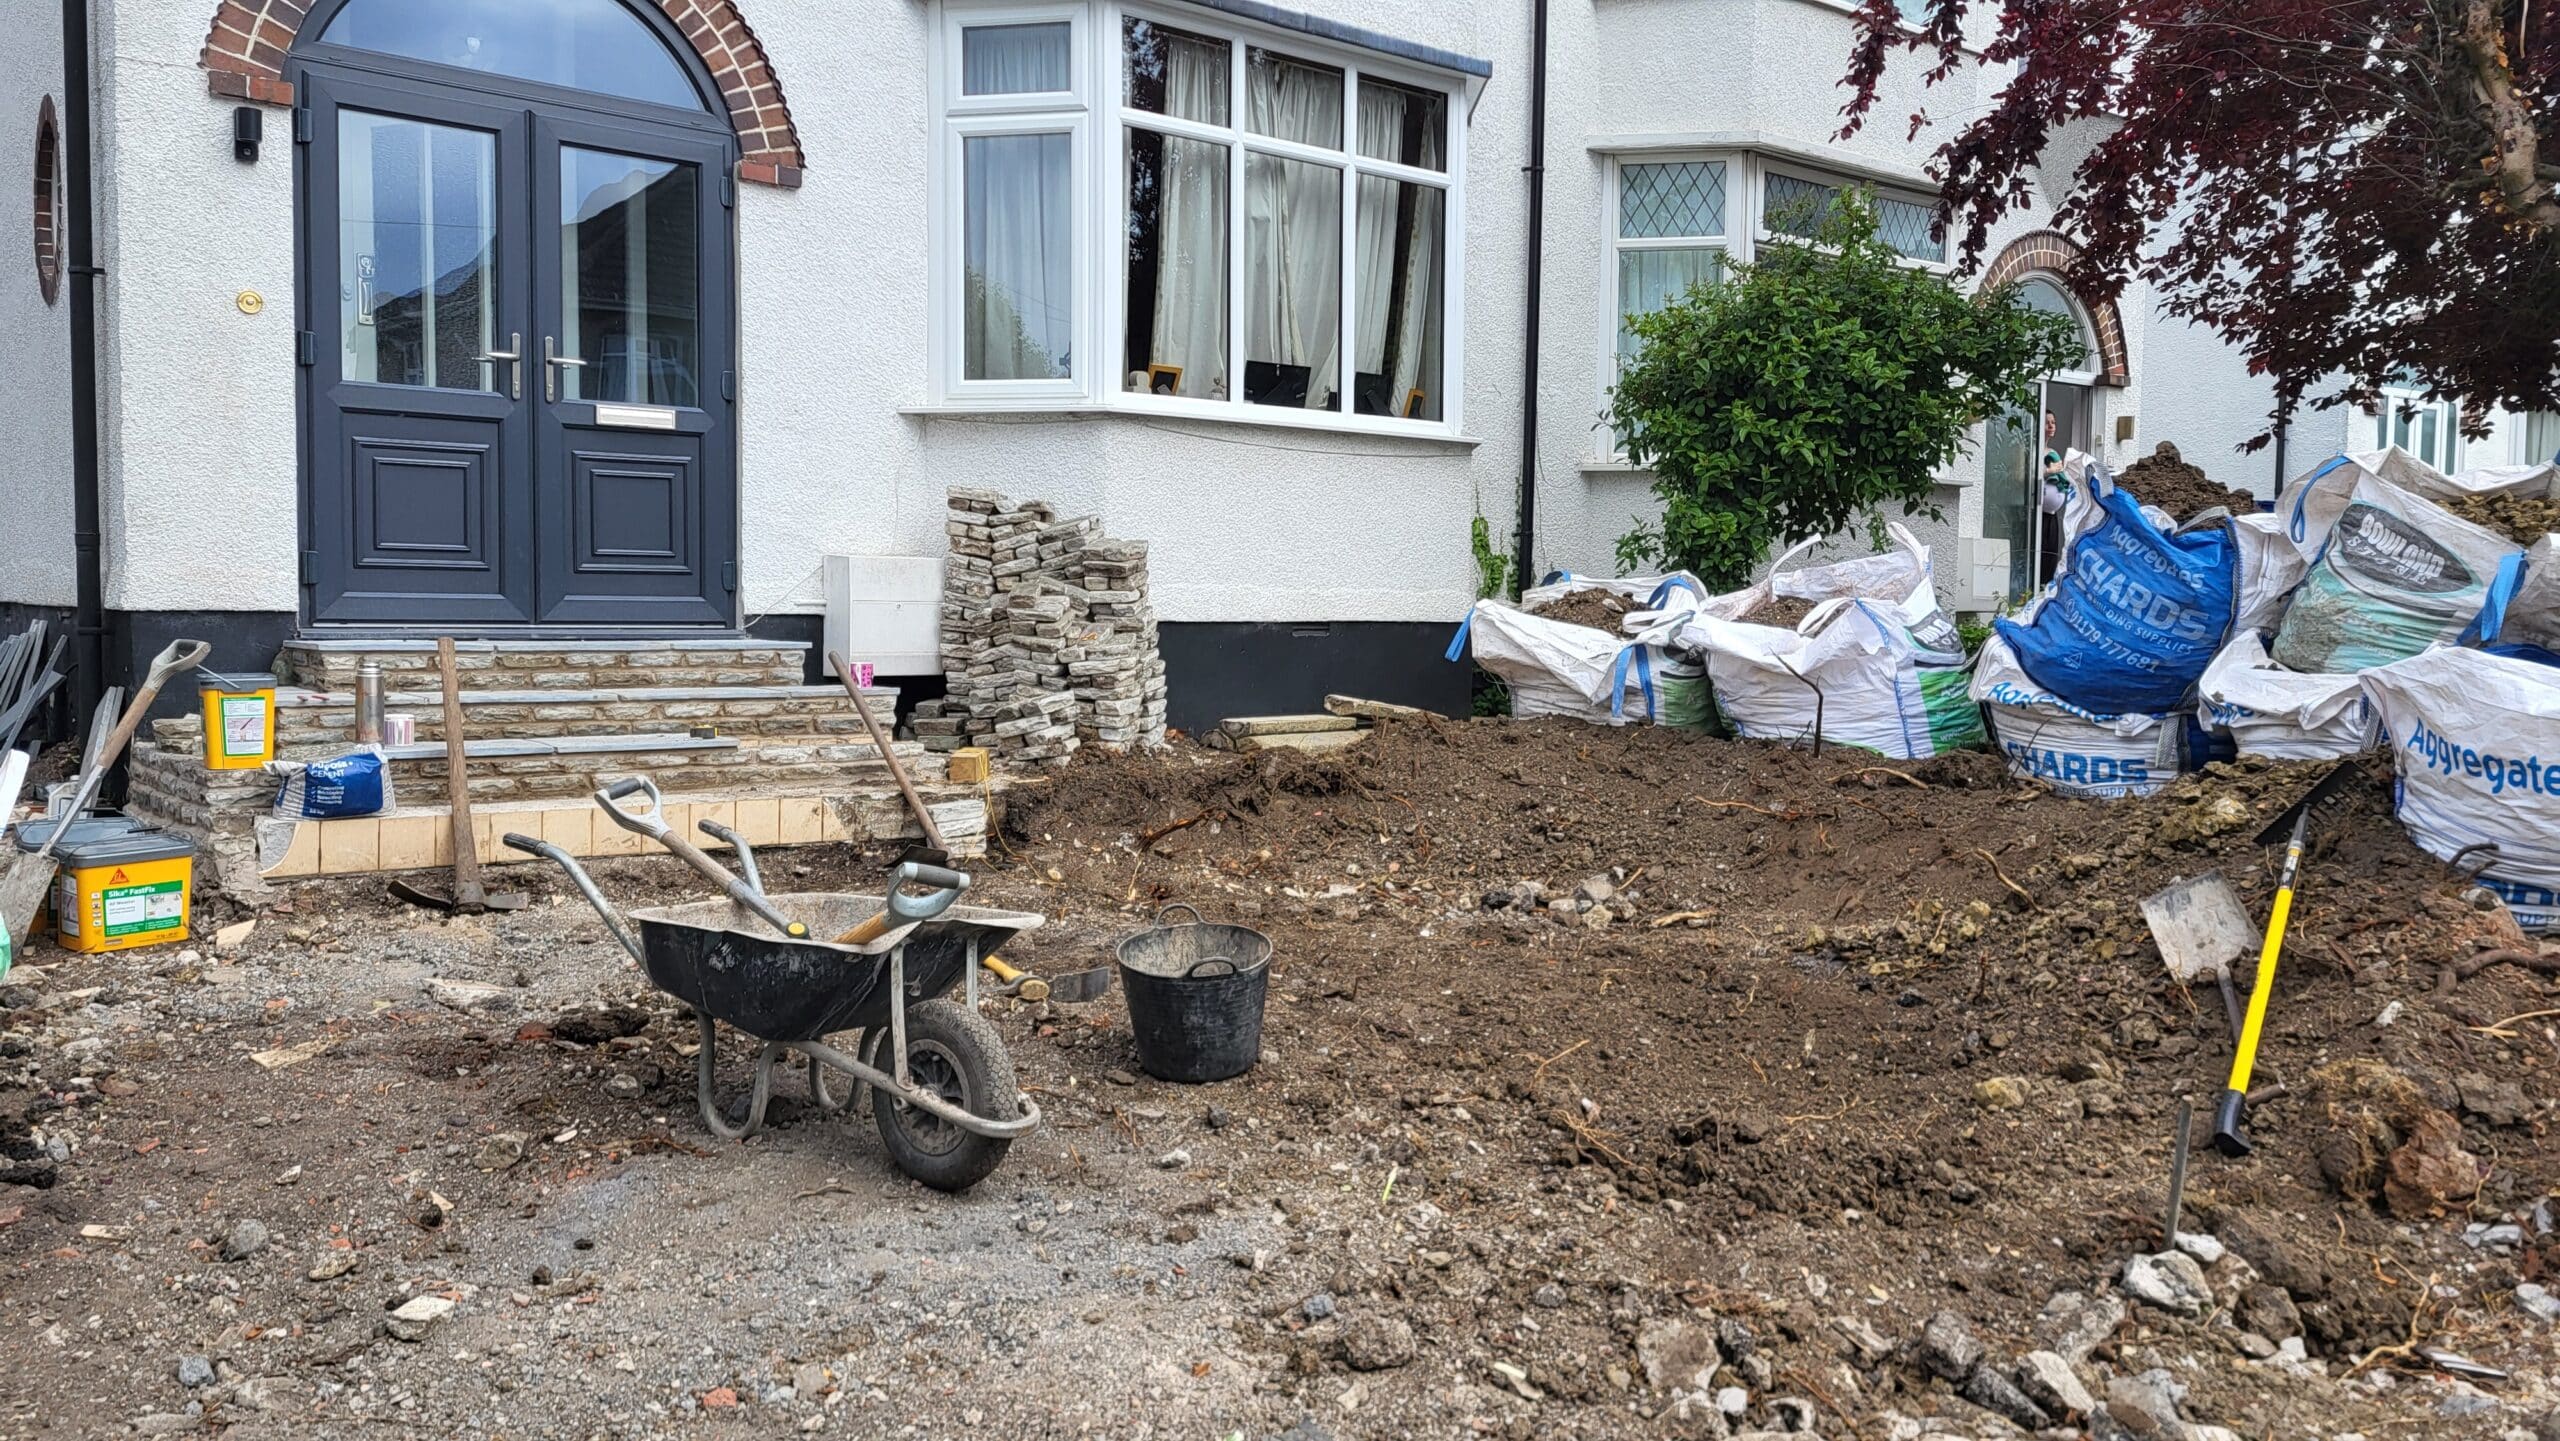
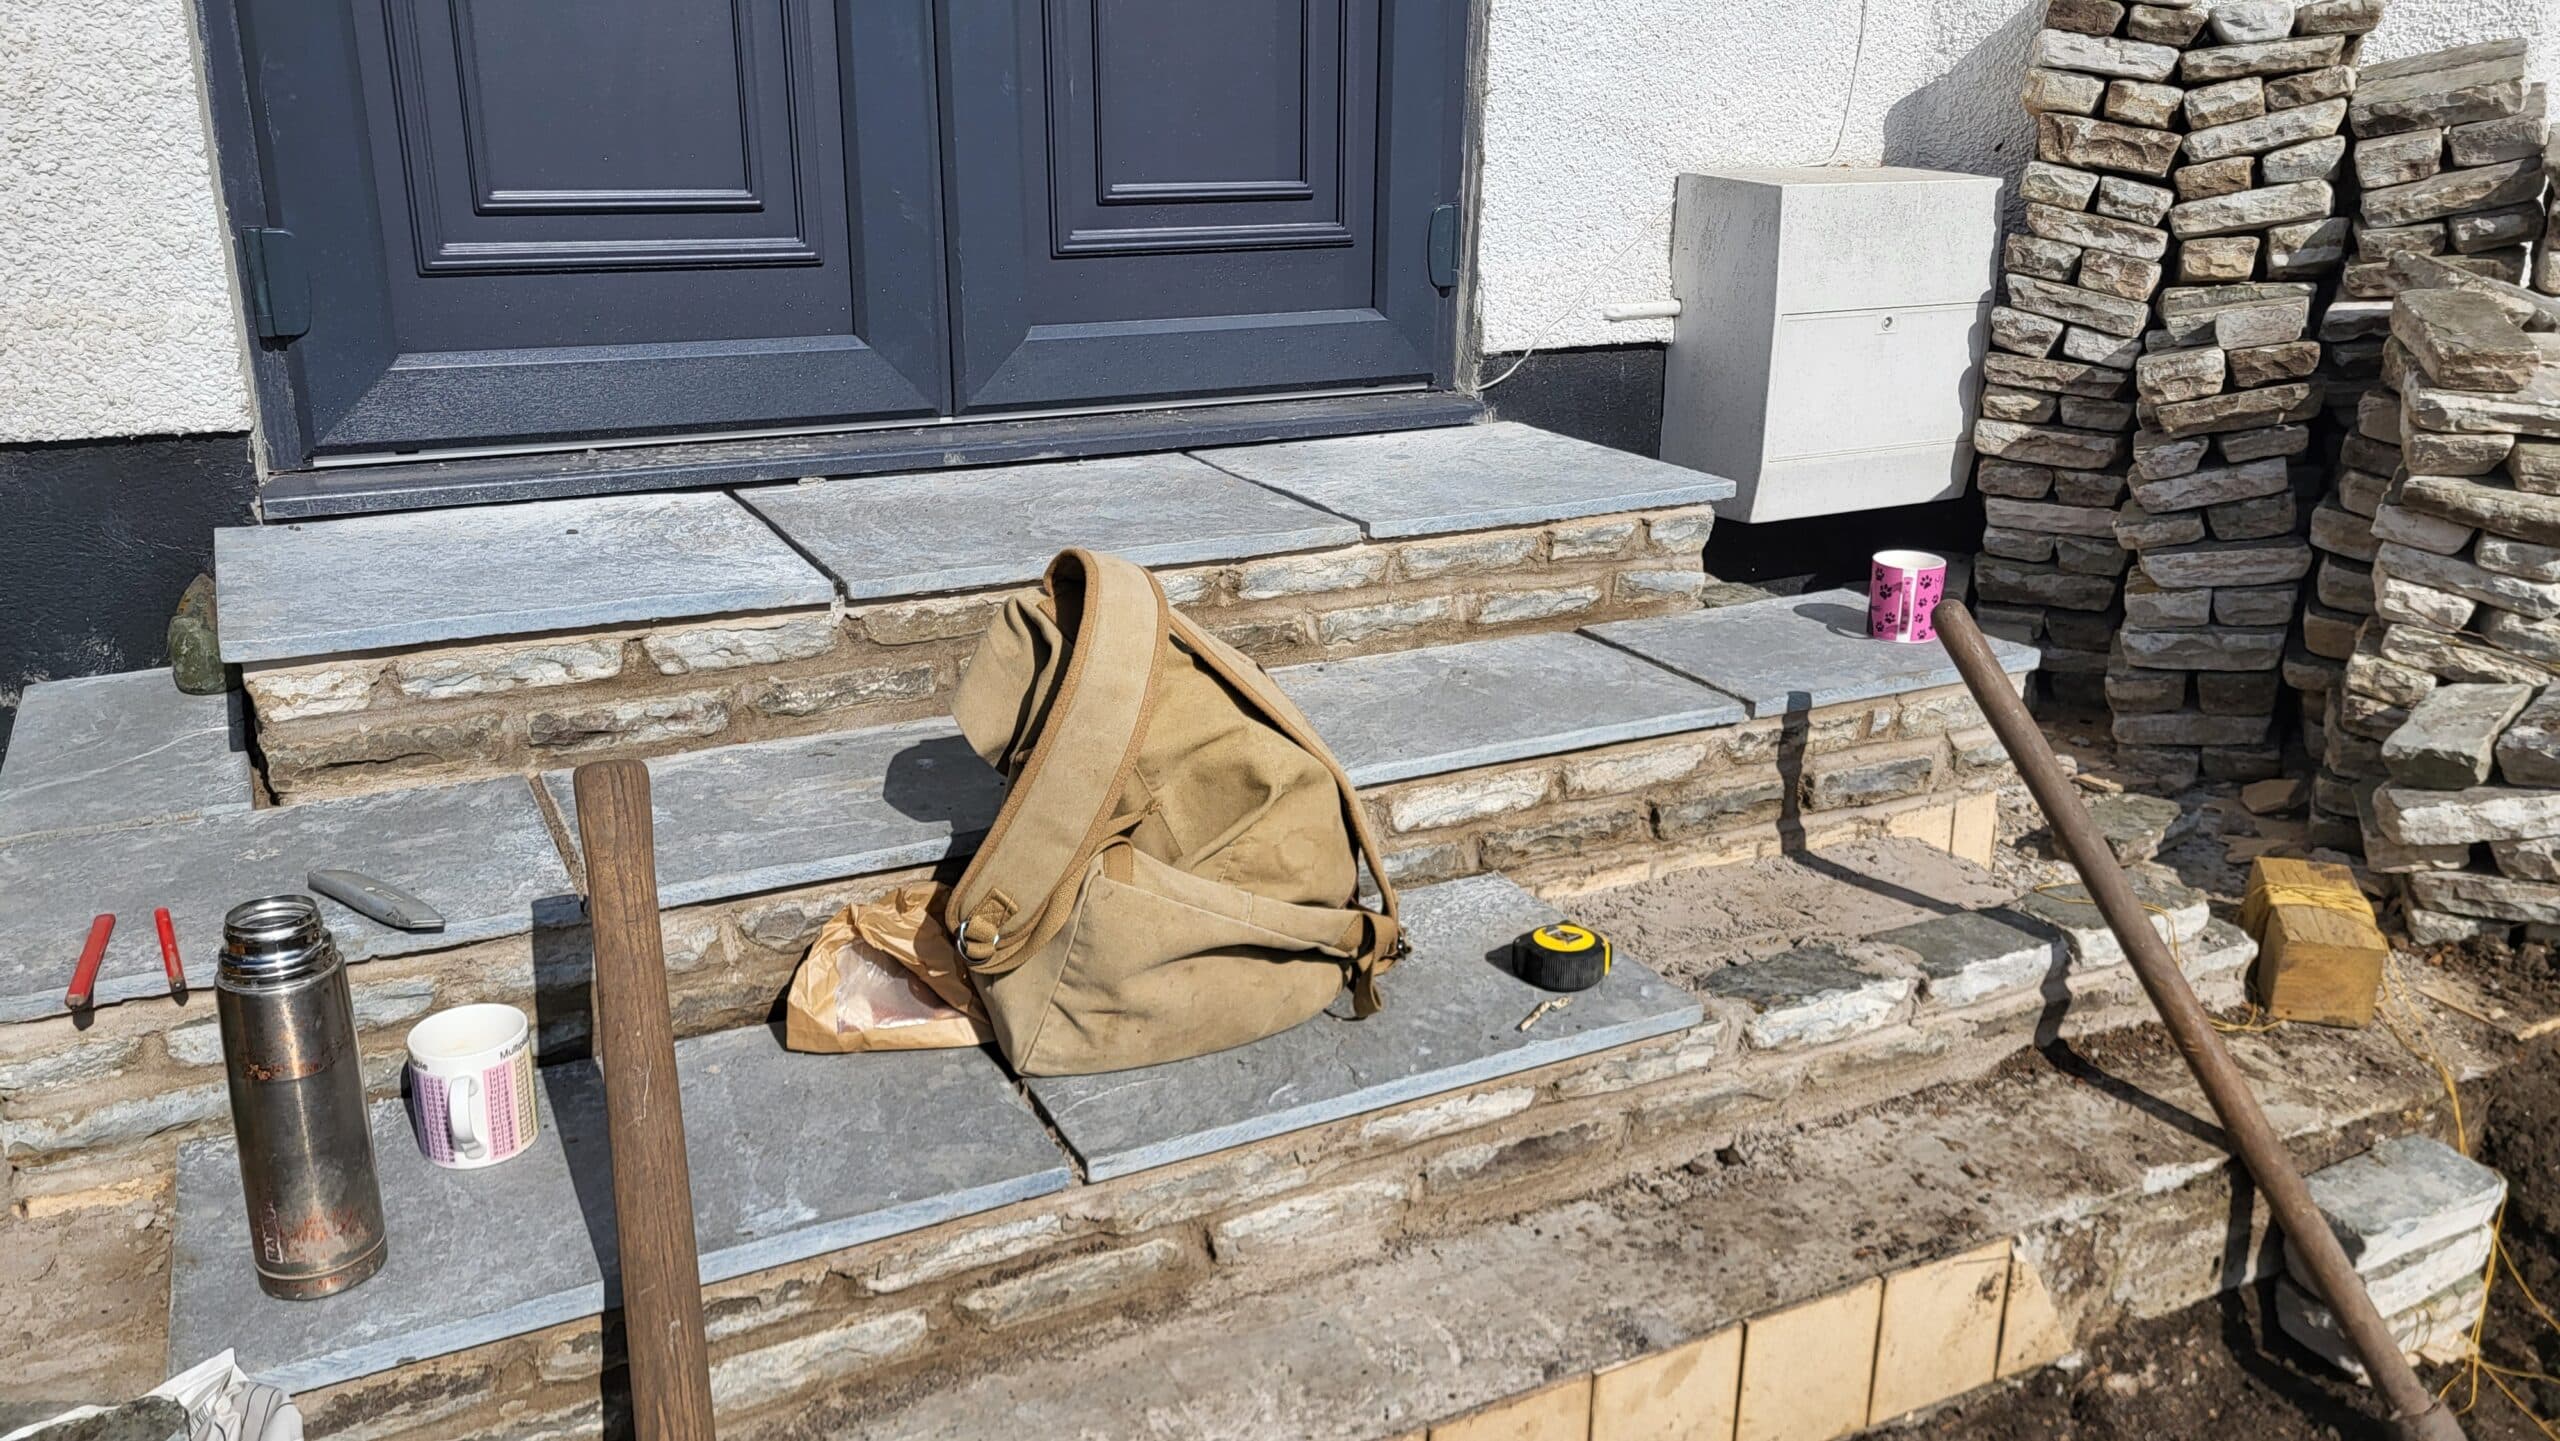
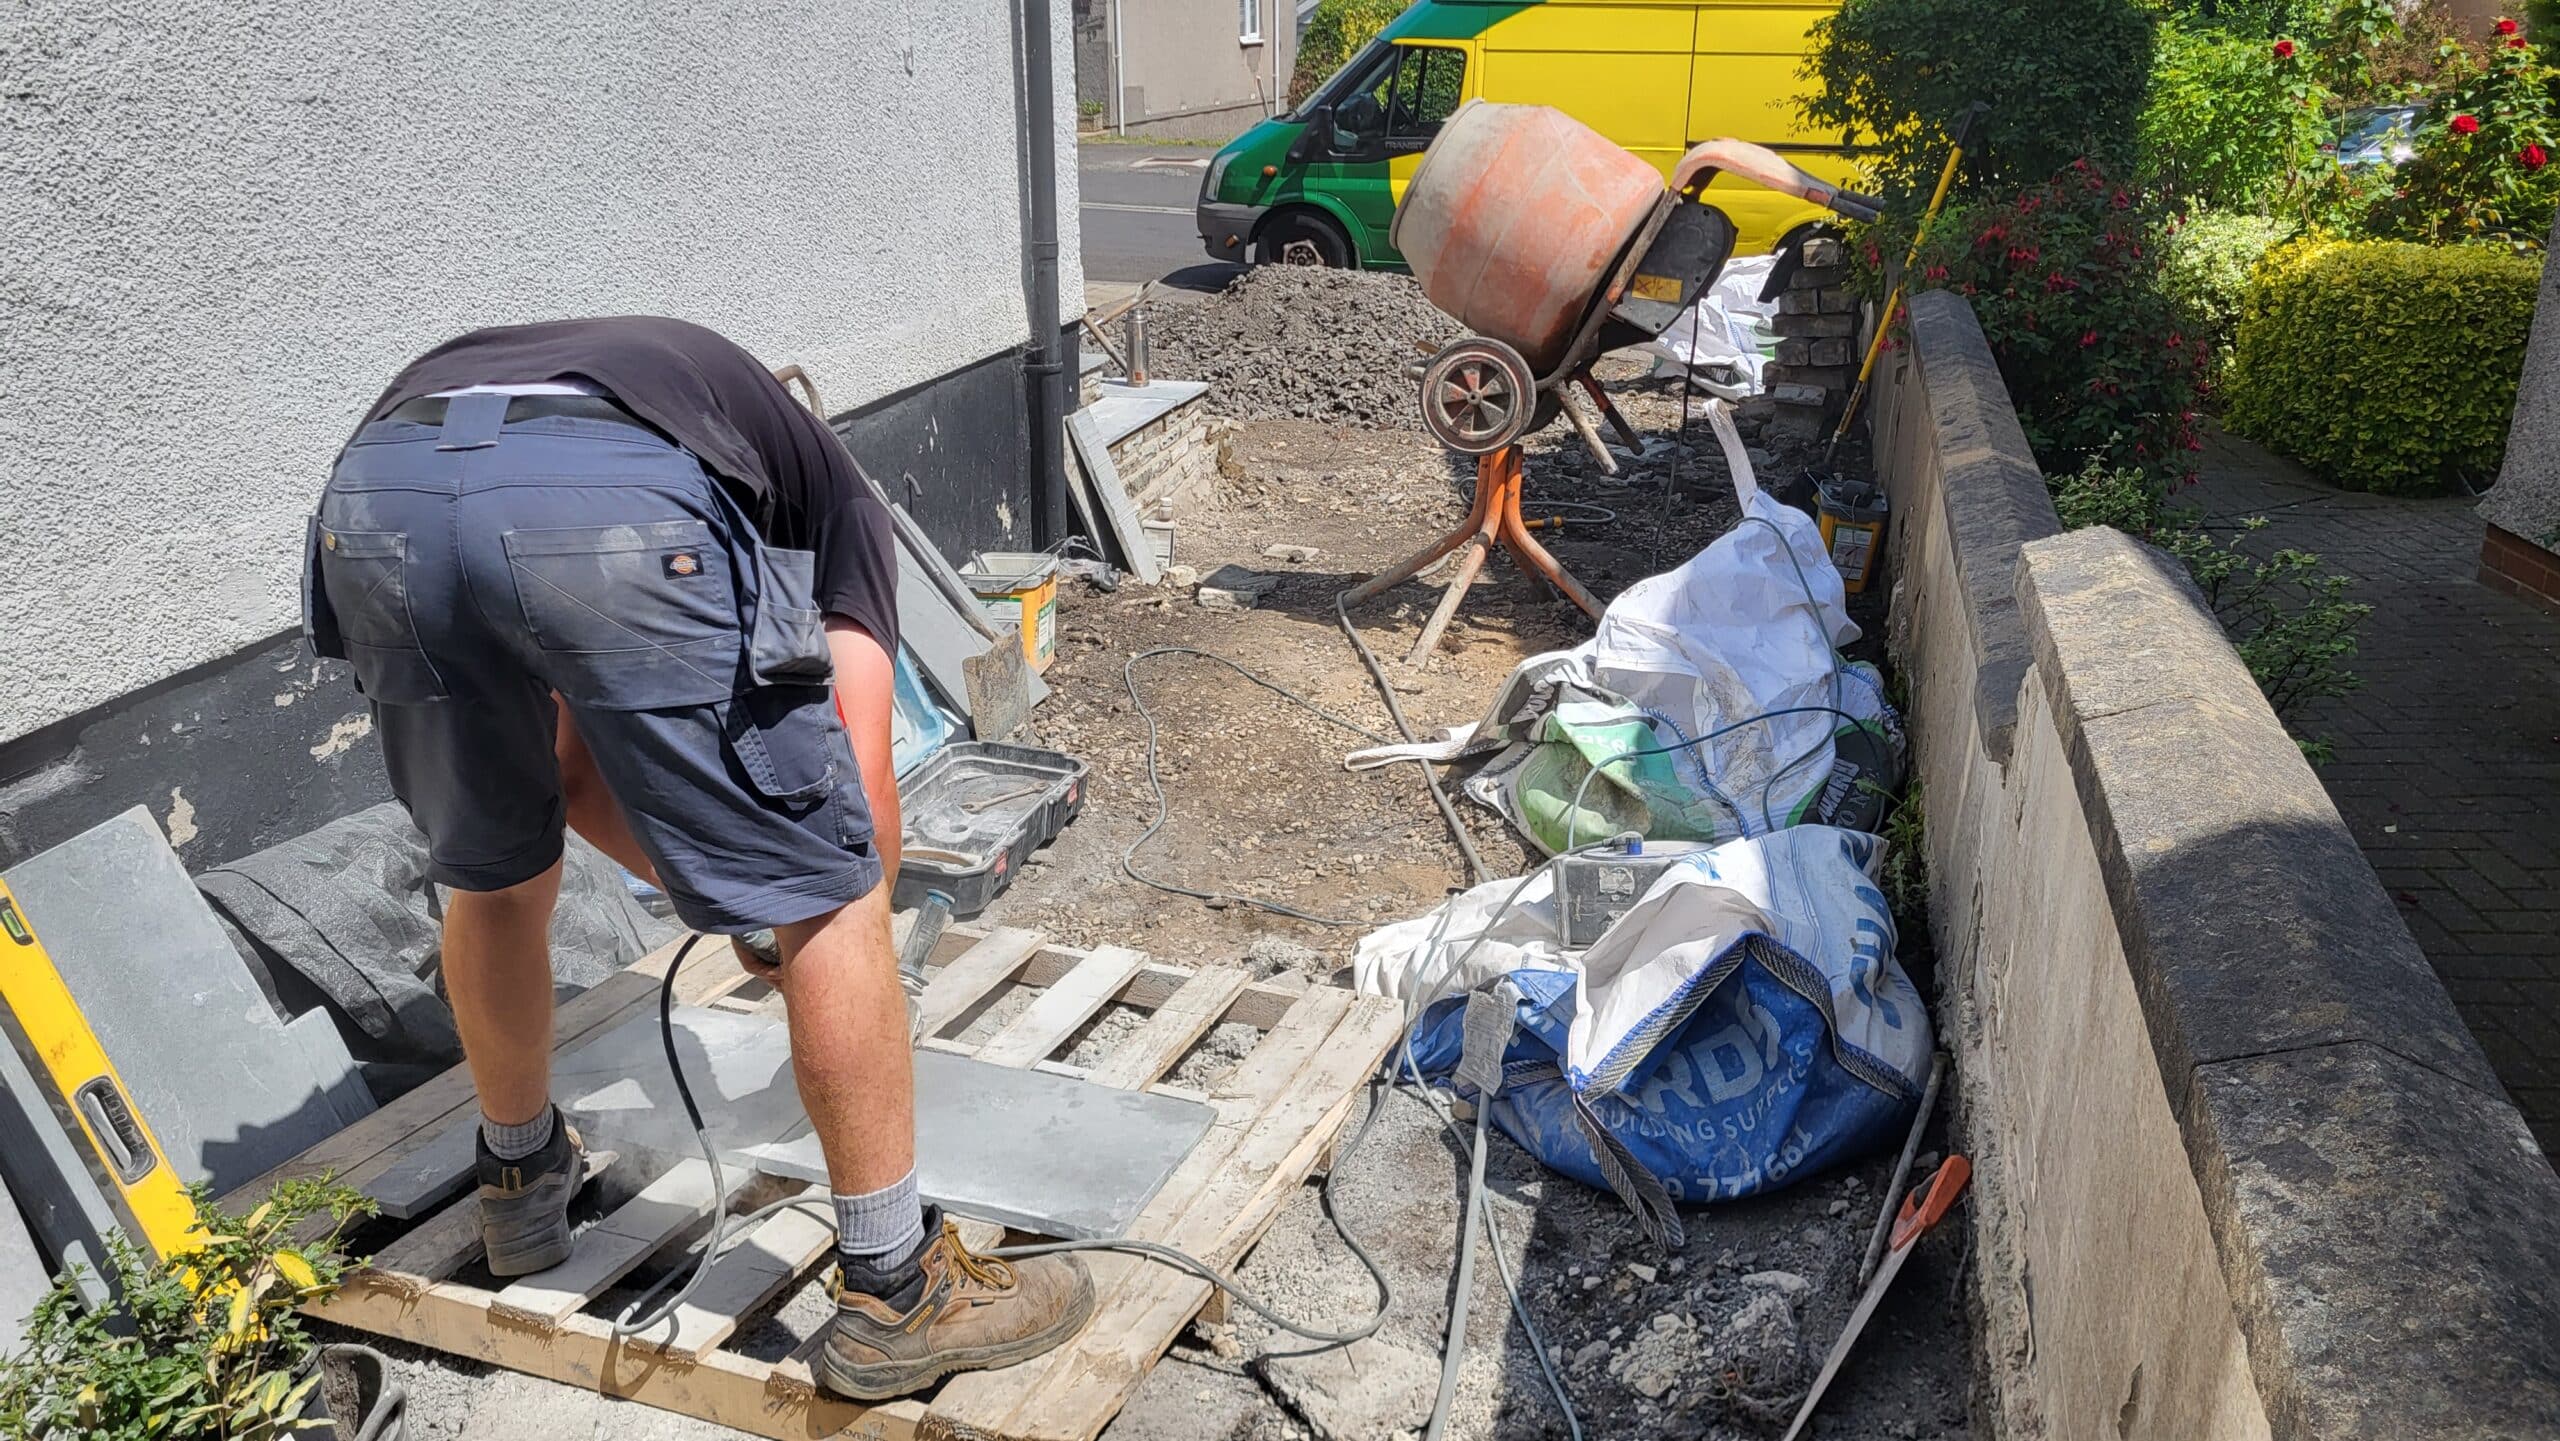
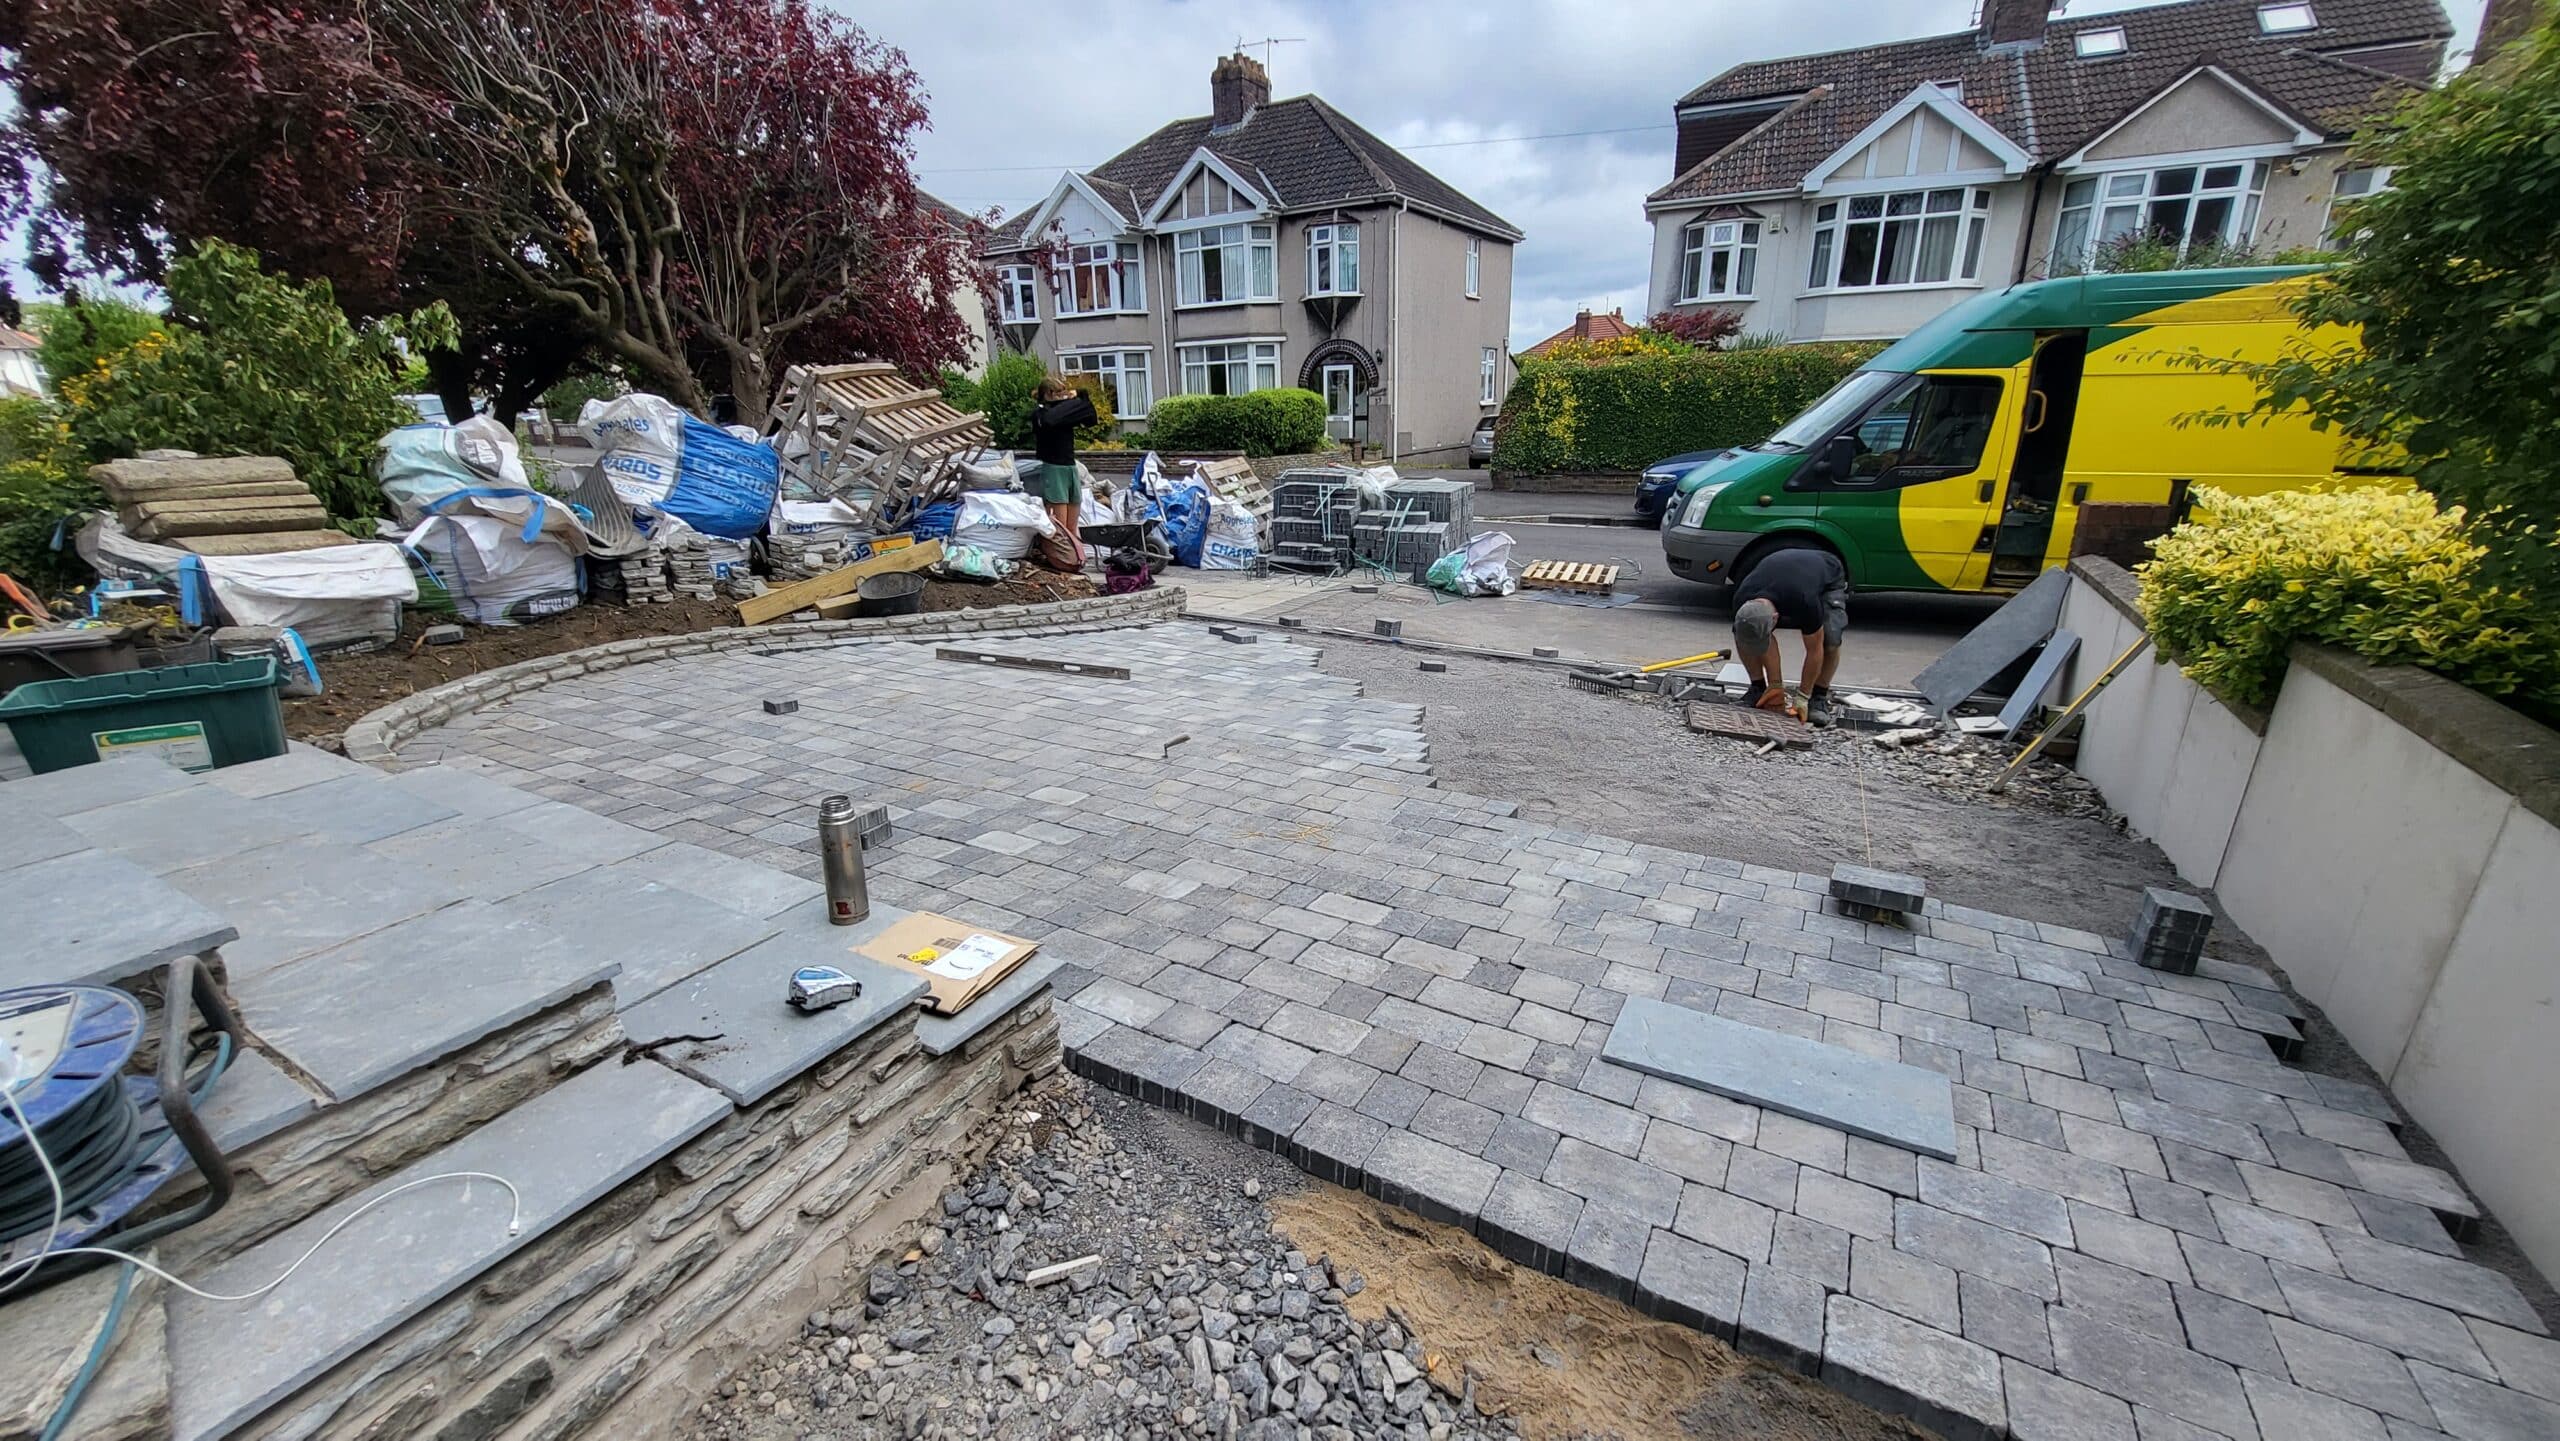
The driveway was ripped up, along with the old inner wall. The boys started by paving the steps up to the front door with grey limestone slabs. We craned in materials during this process, and a grab came to take away the waste.
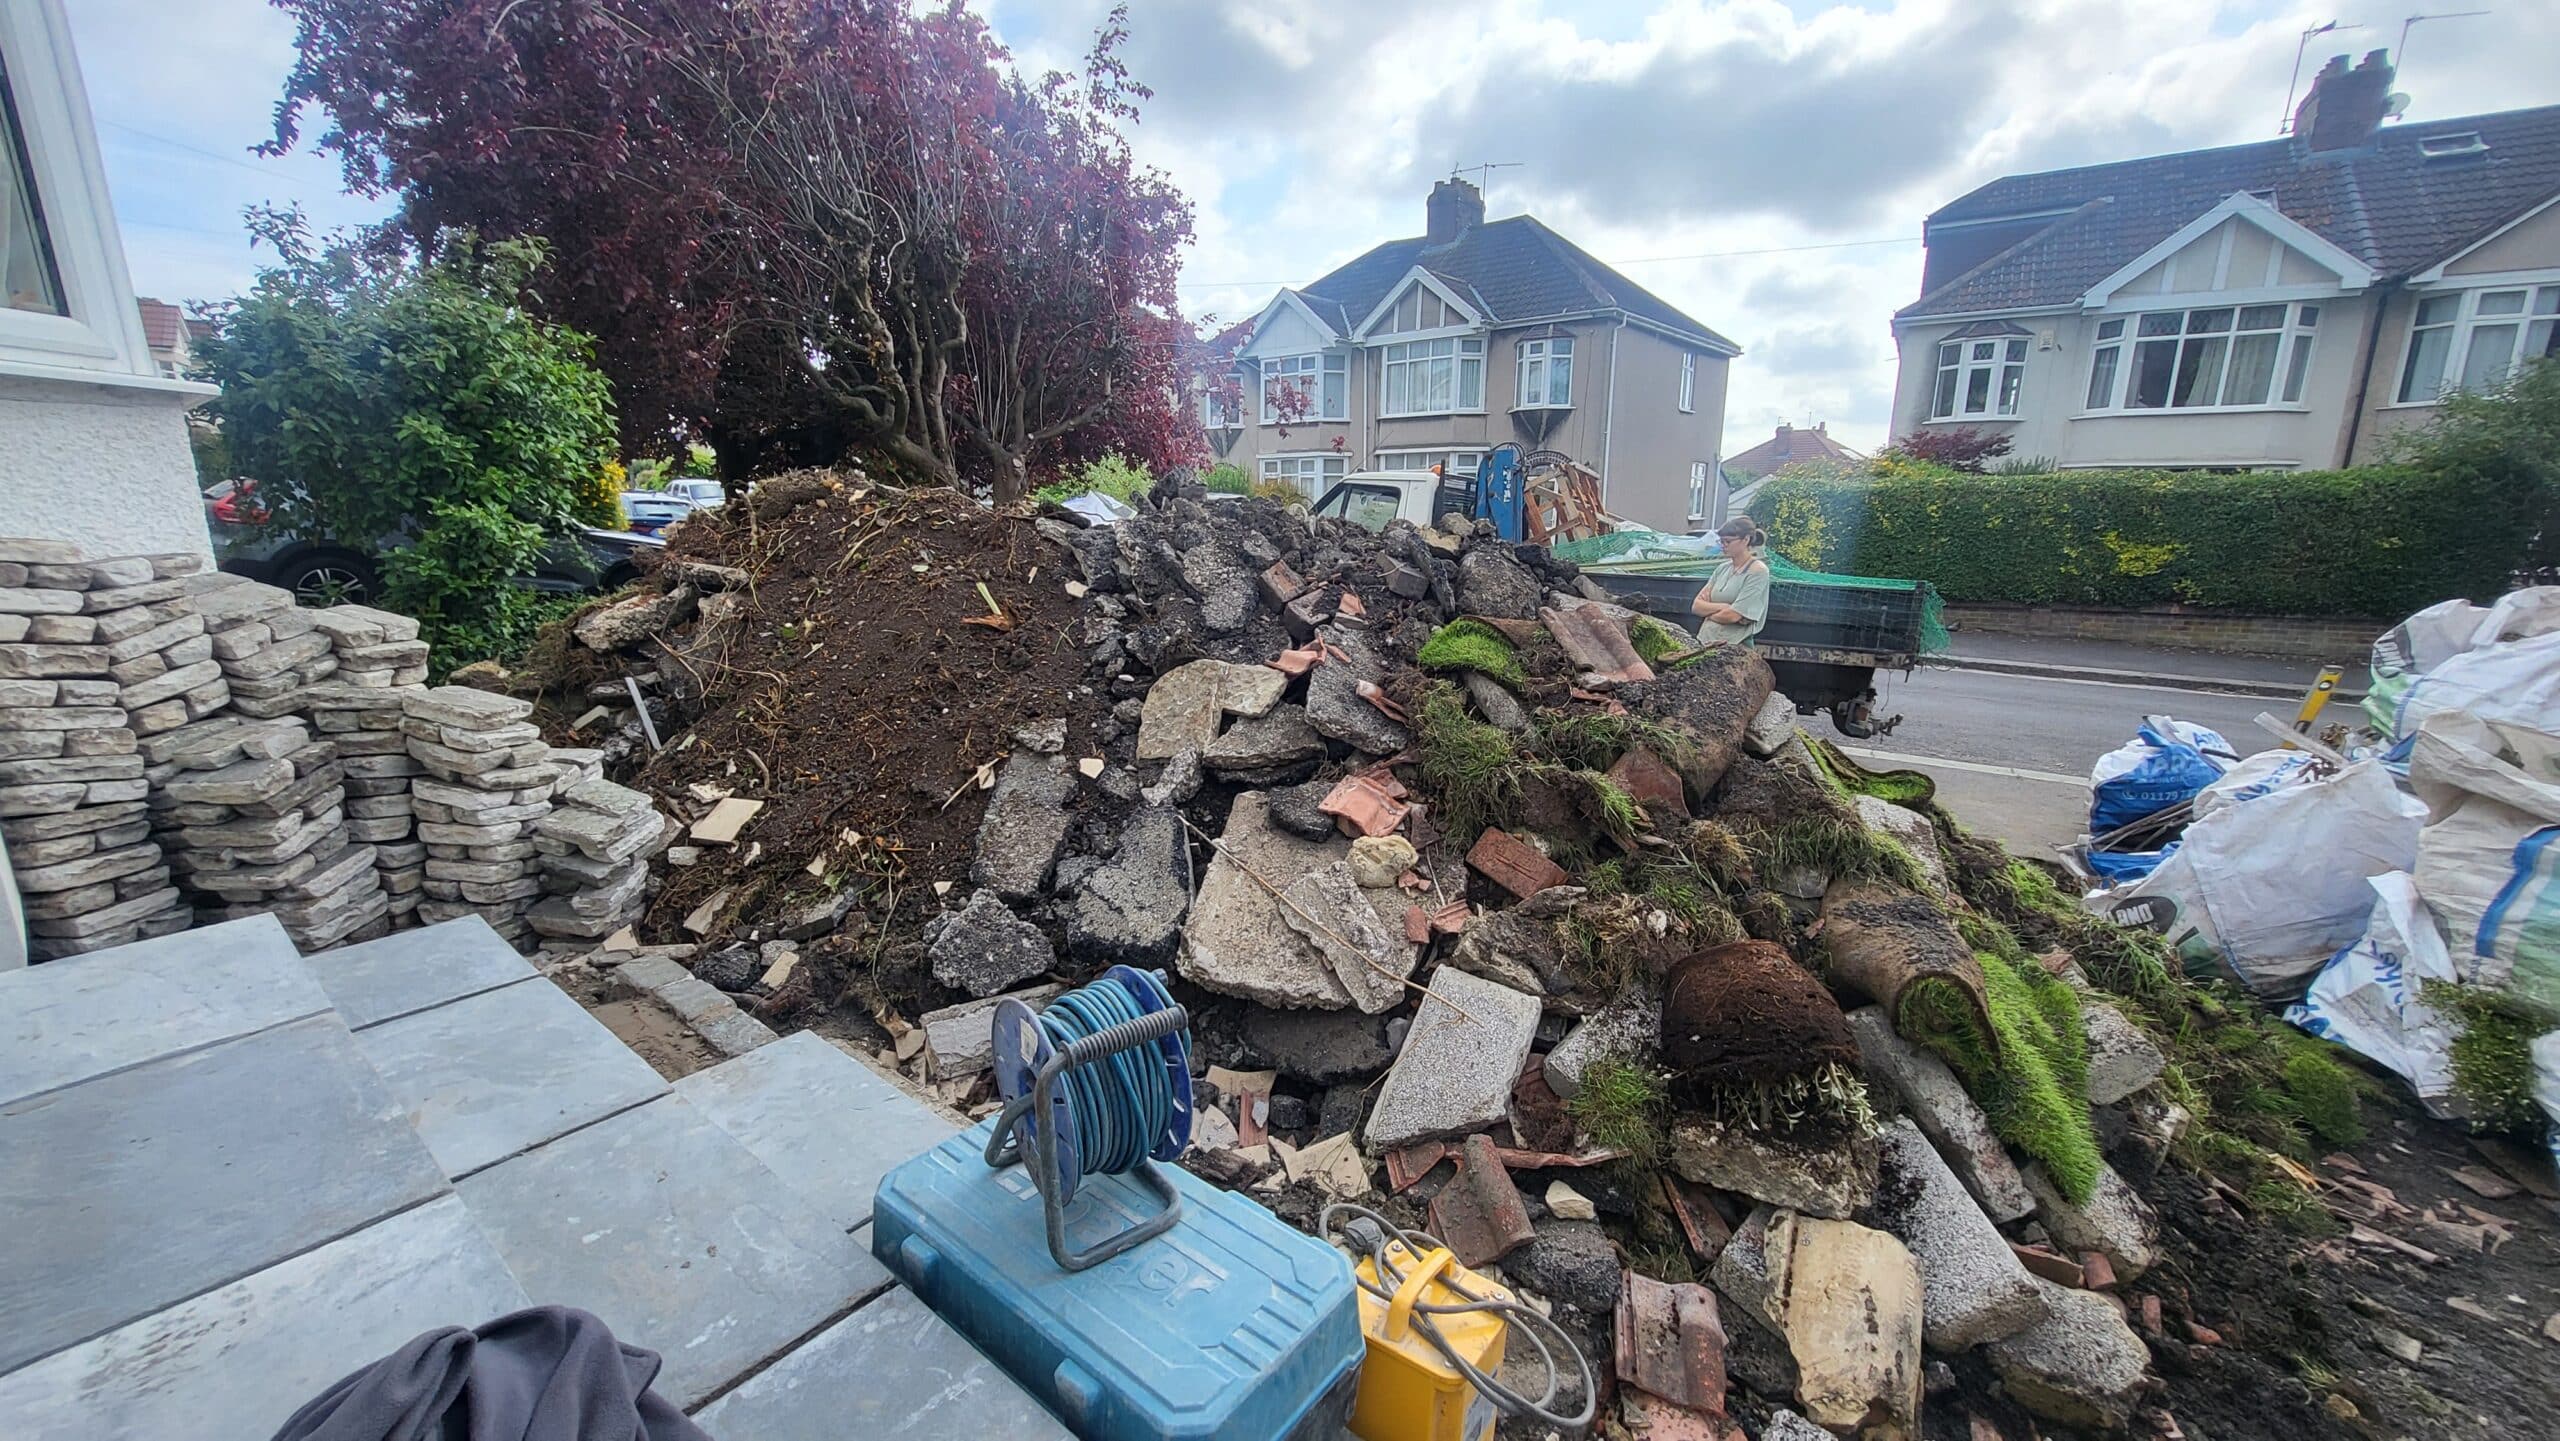
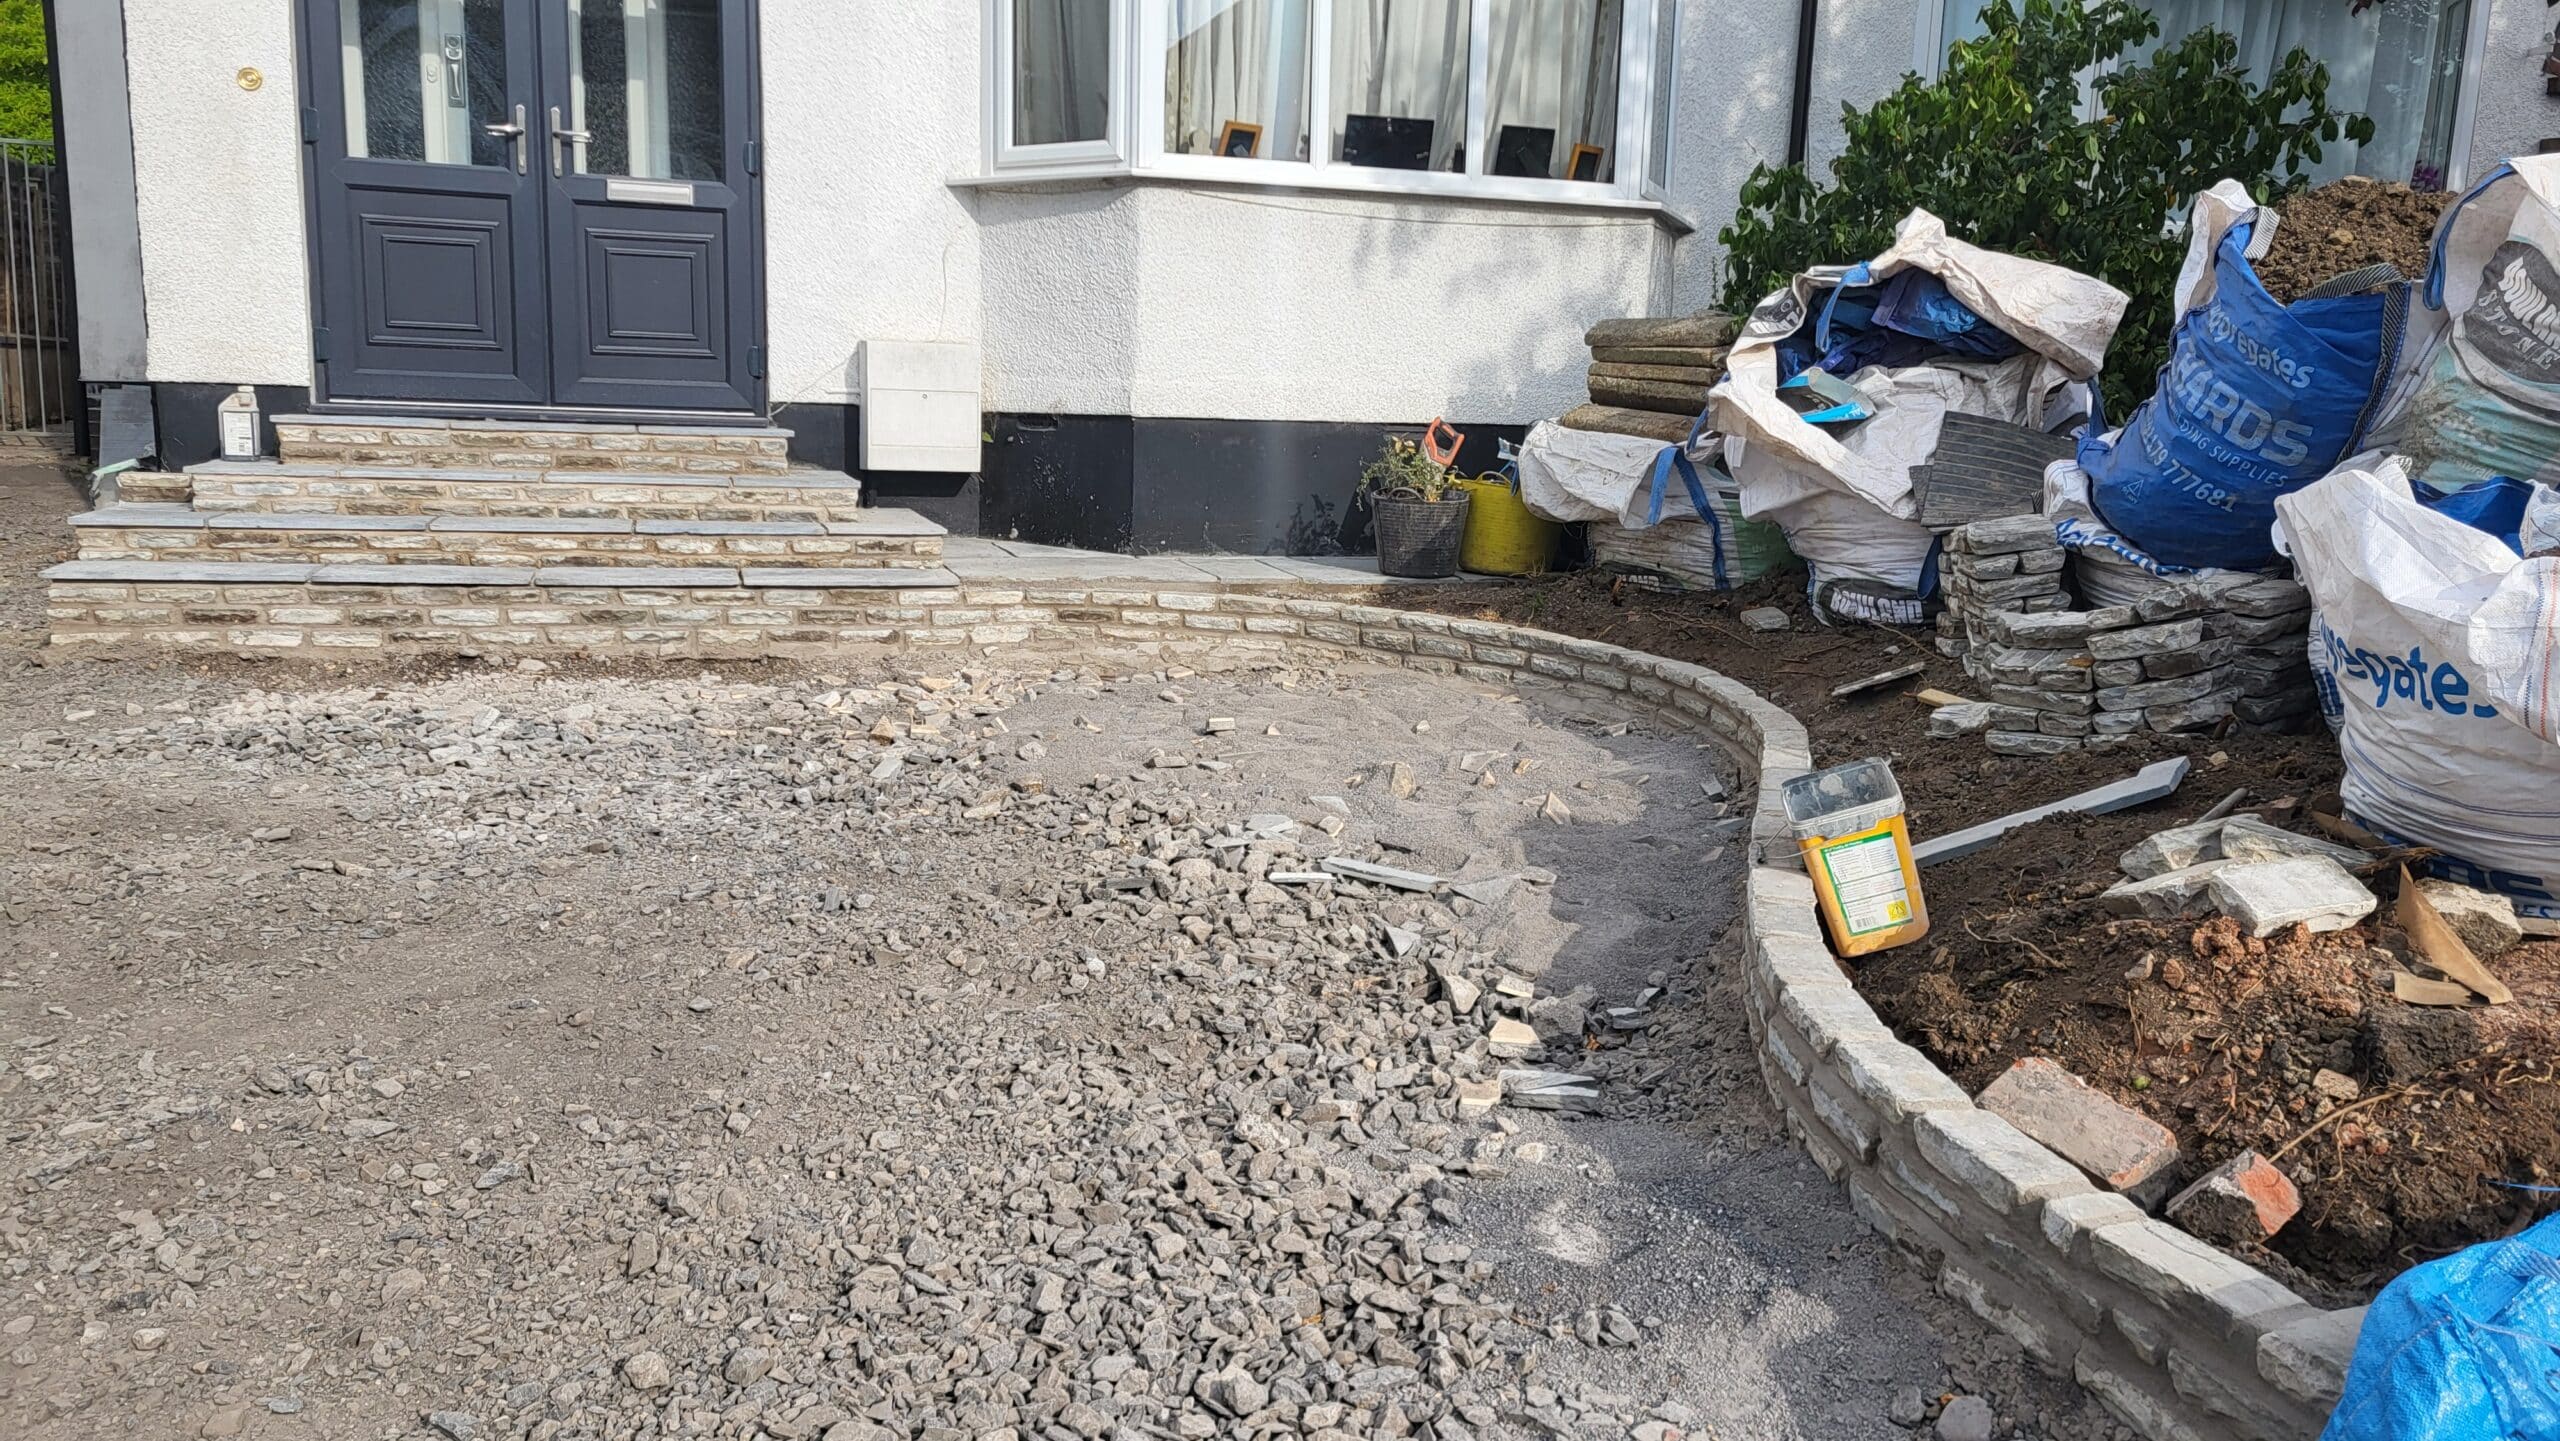
We gave a sigh of relief to see the old ‘swimming pool’ tiles disappear. The pavers that are being used along the edge of the steps compliment the arched brick work over the top of the front door, as well as looking good with the dark blue/grey of the door. These were originally the patio in the back garden, that were kept and have been used for the pathway and this edging.
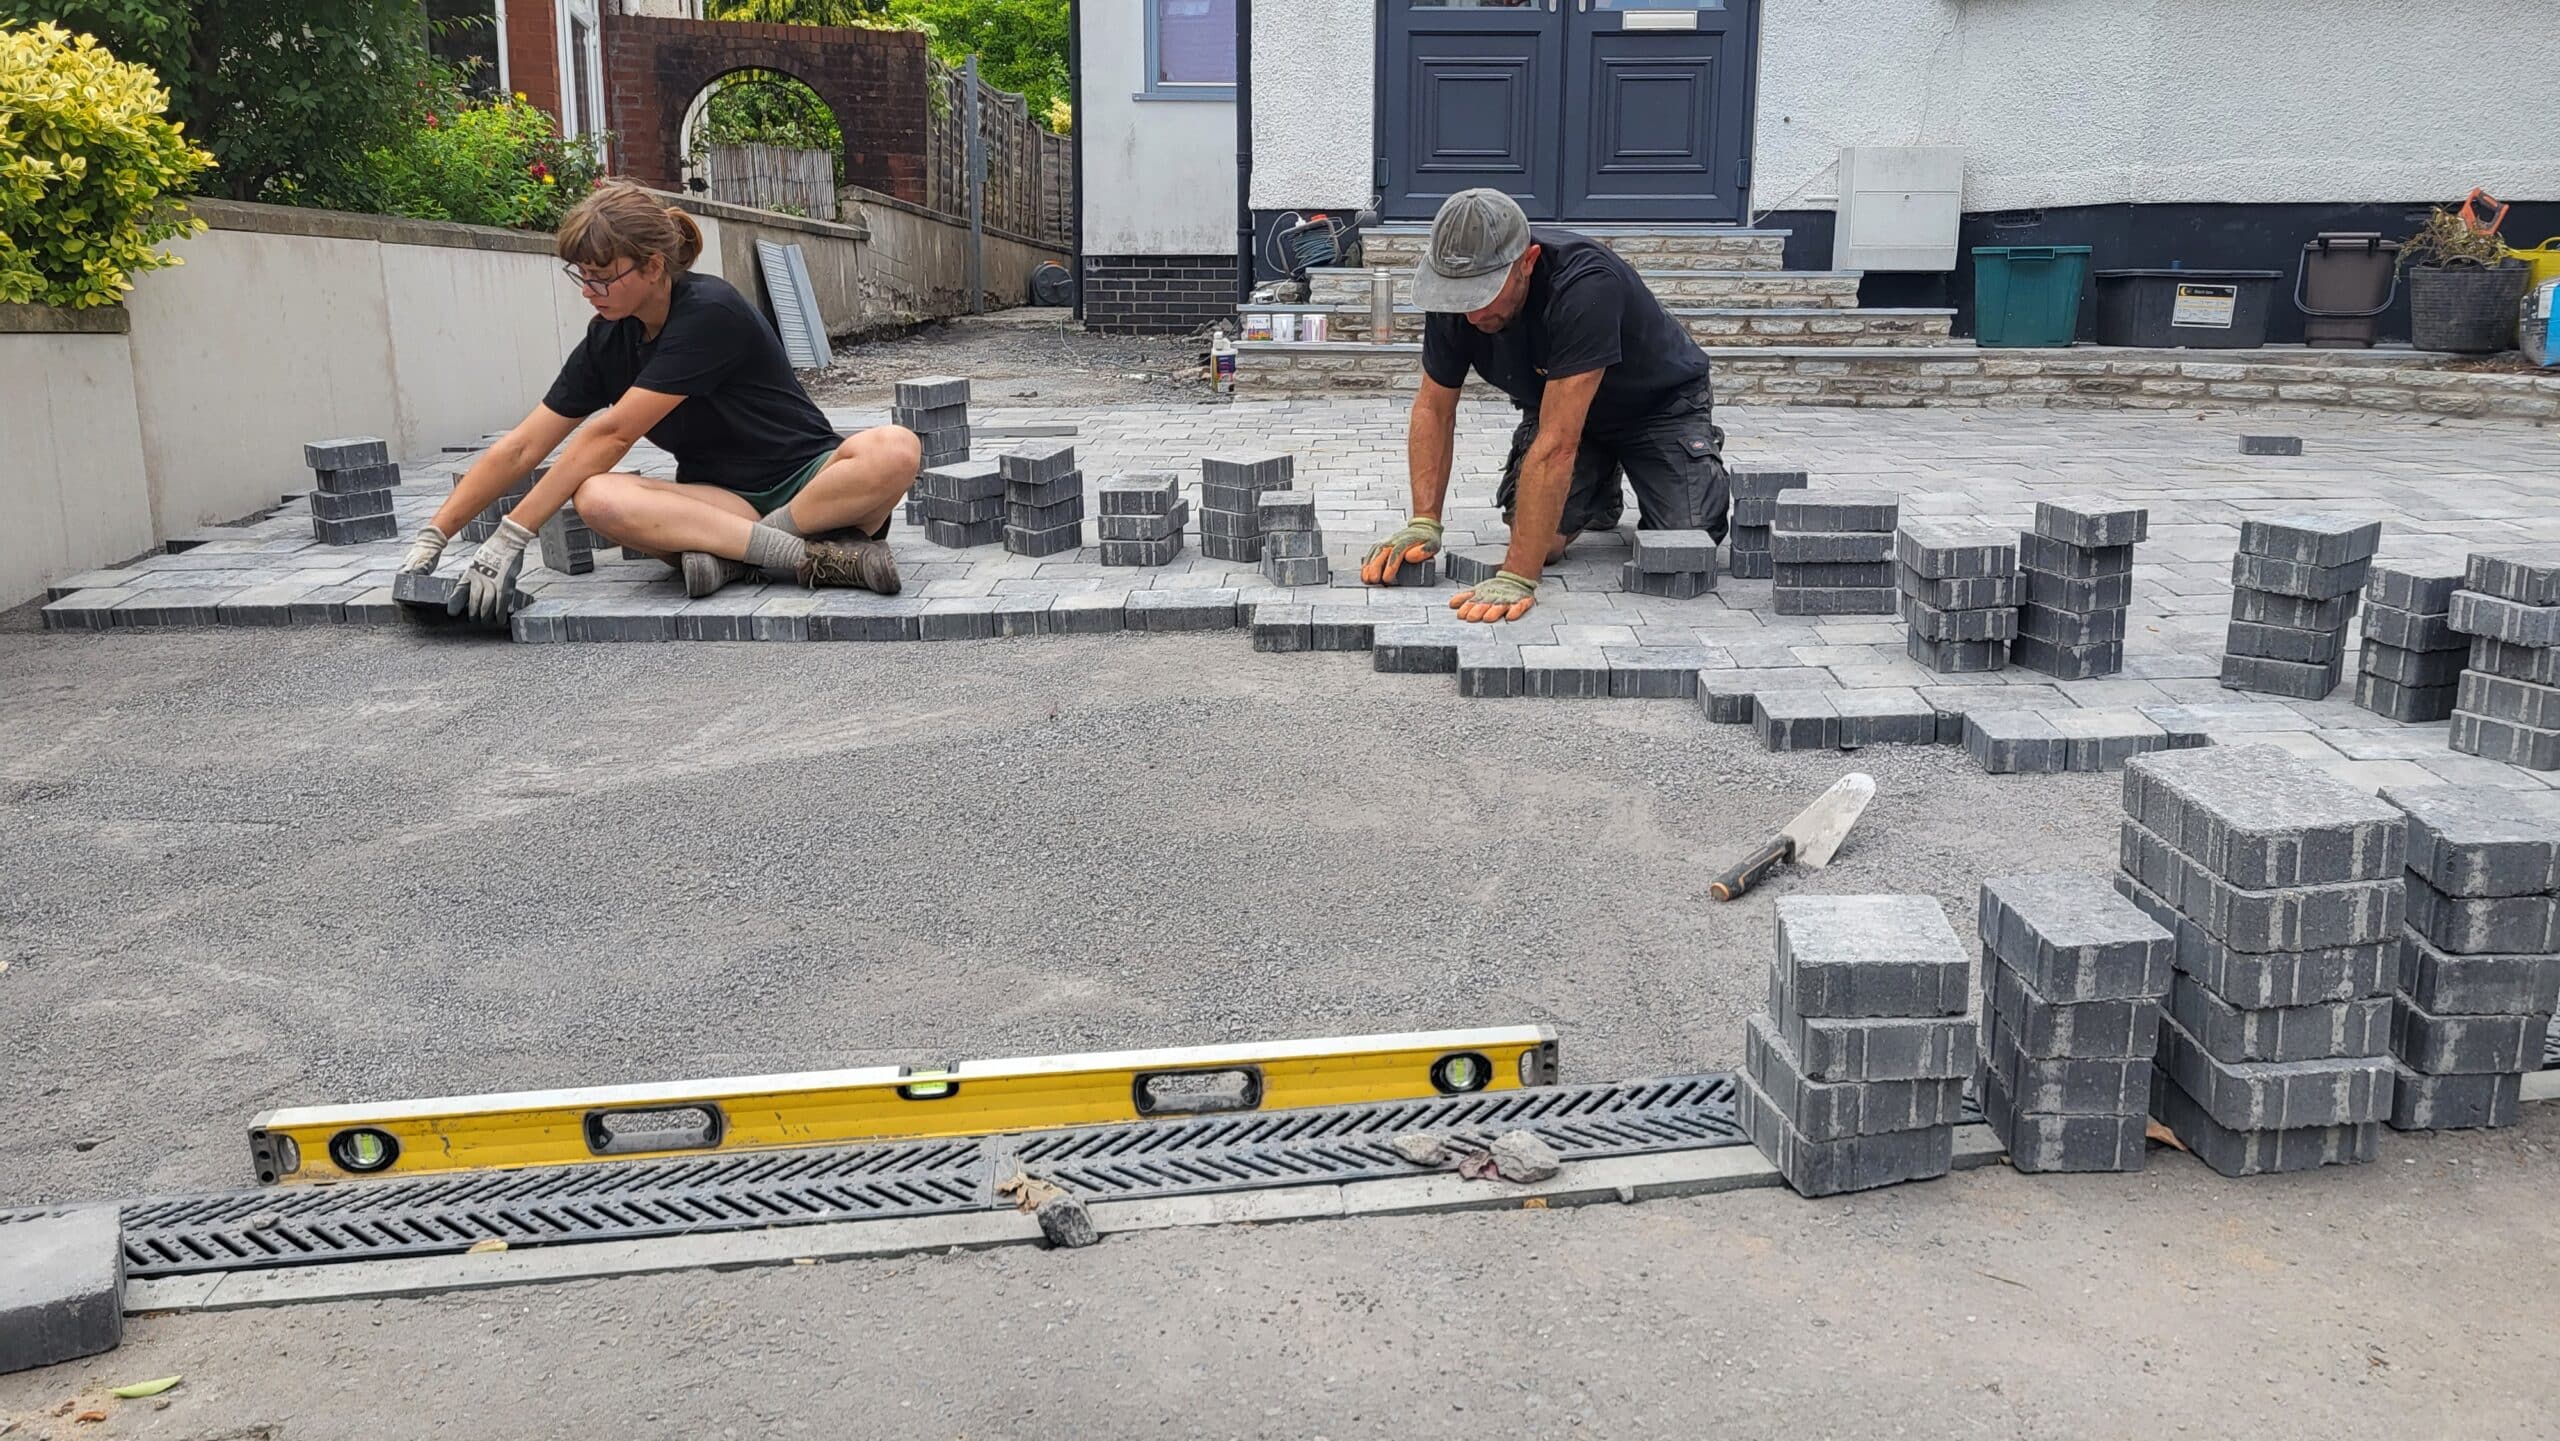
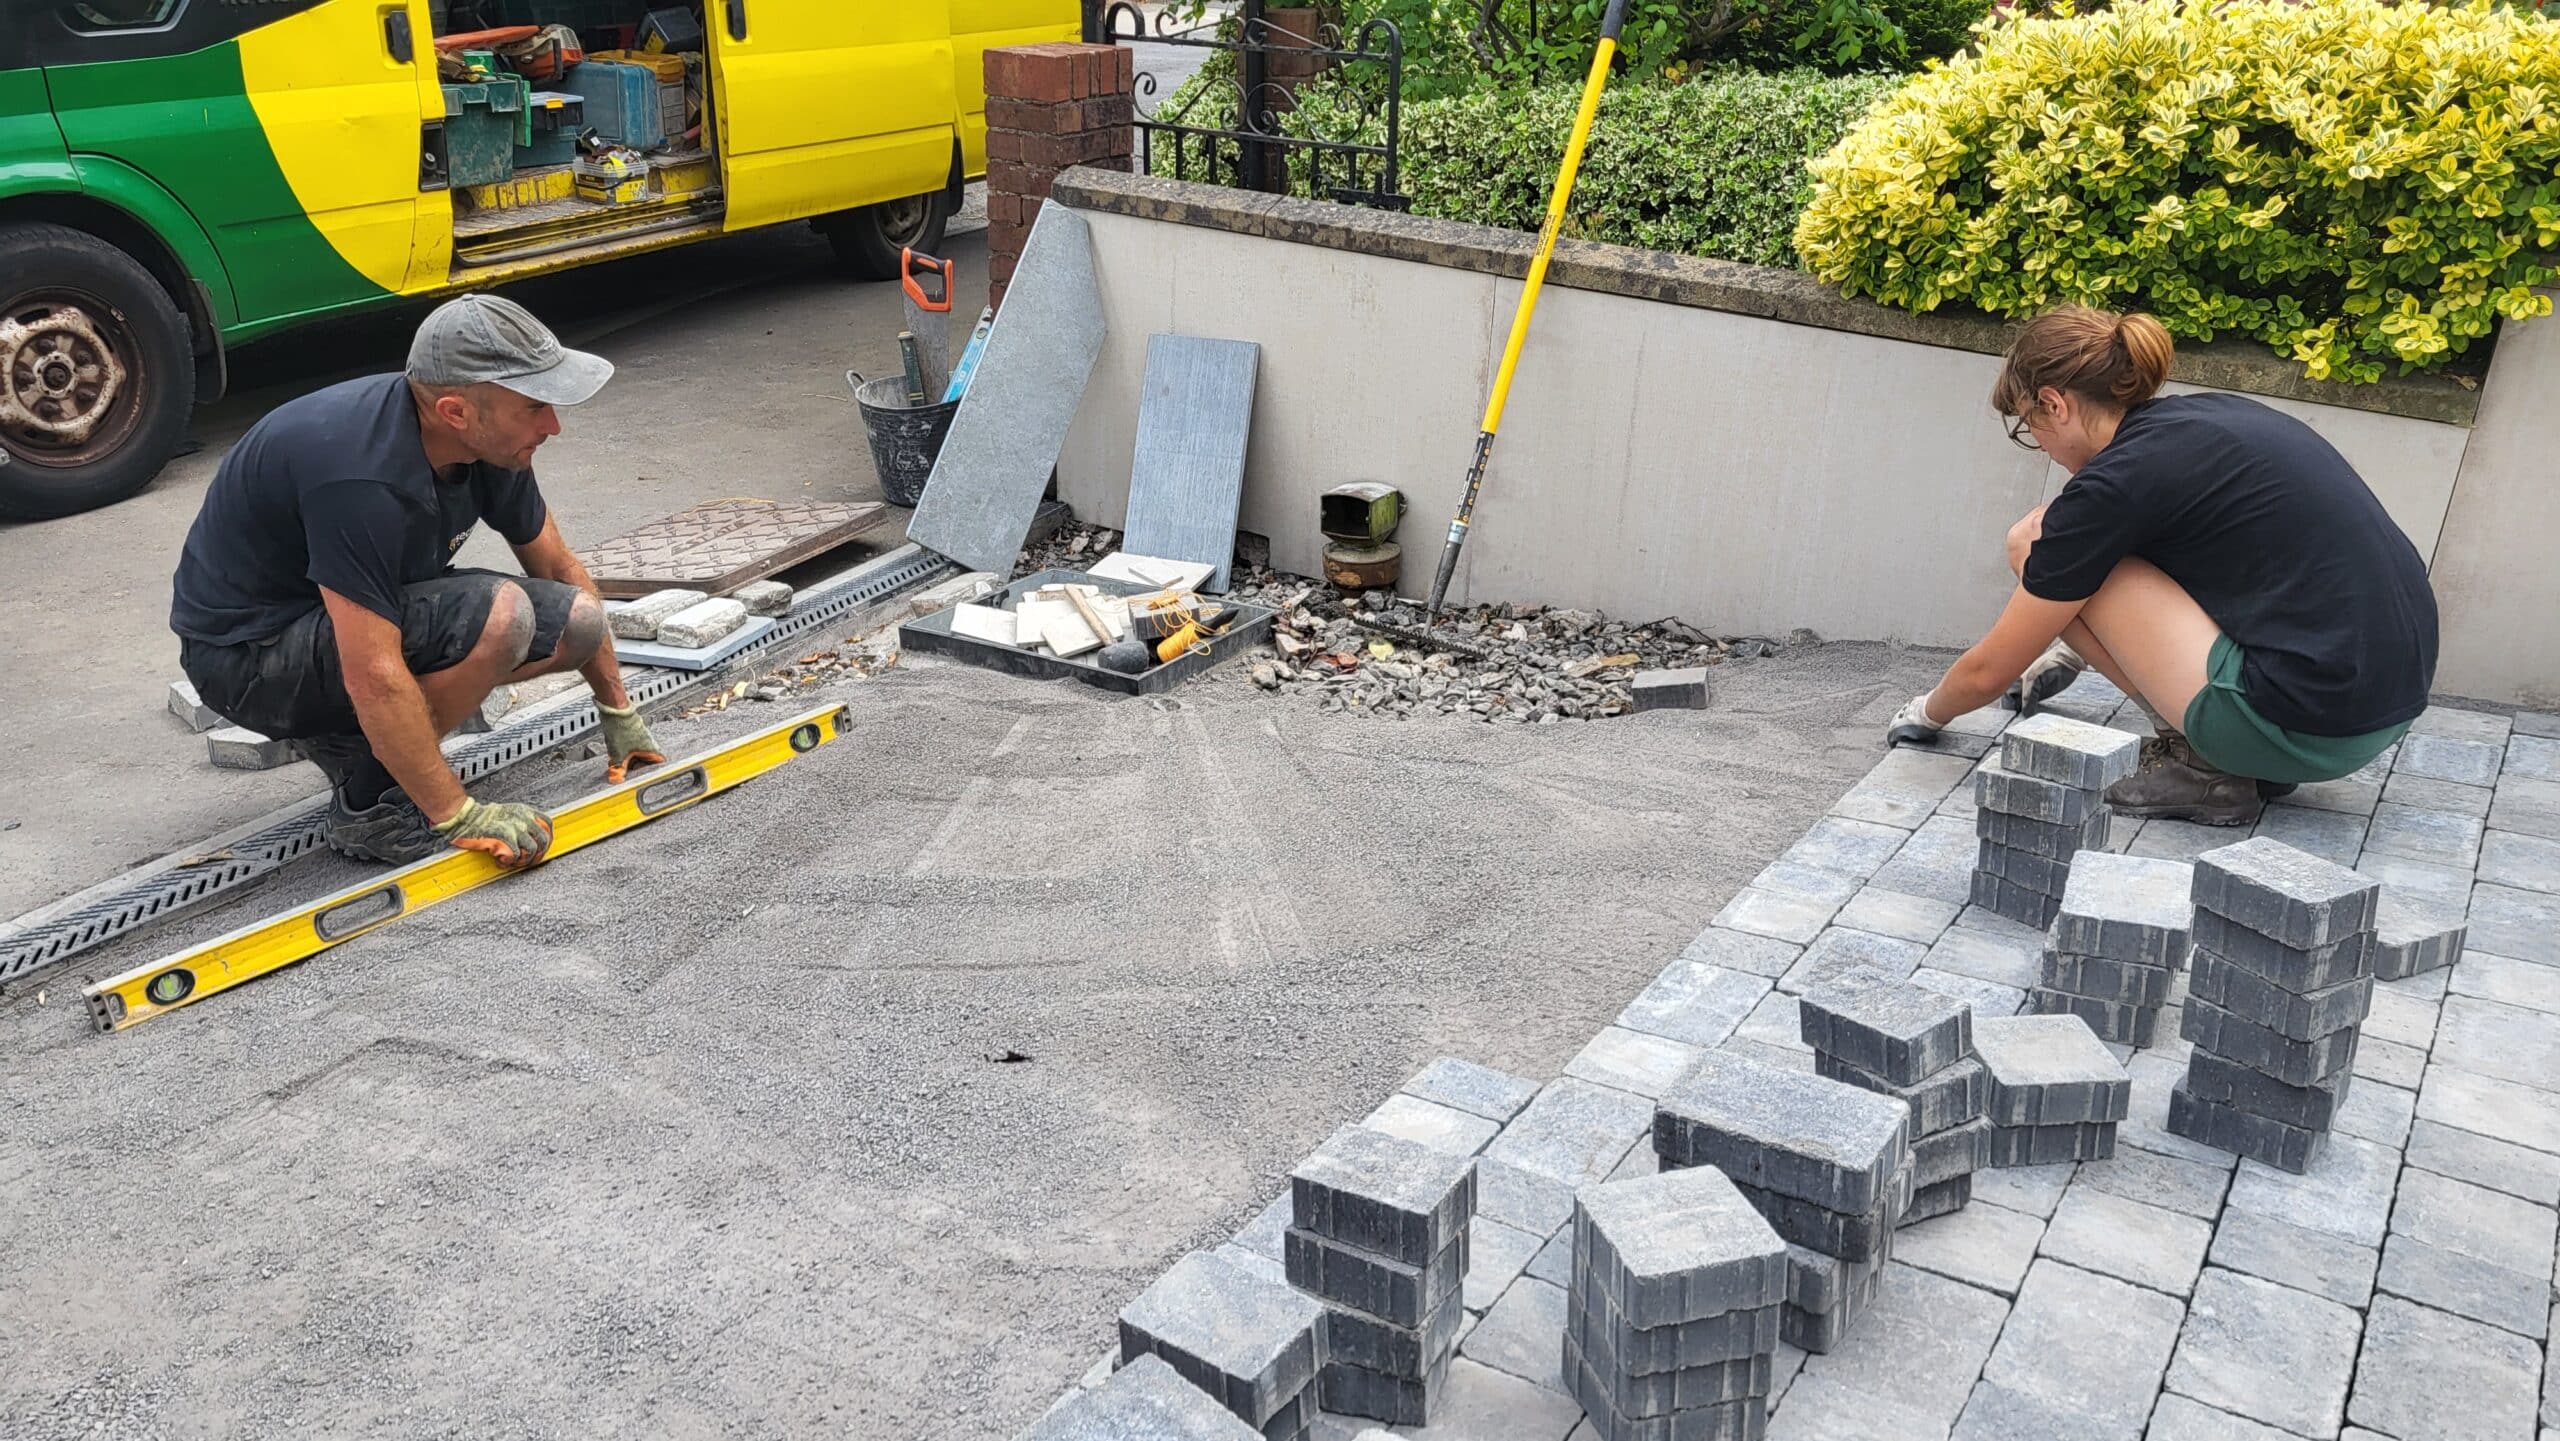
Every step of the way during the landscaping process, our teams discuss the fine details to make sure that every element works out smoothly. The block paving that will be used for the main body of the driveway will be cast concrete.
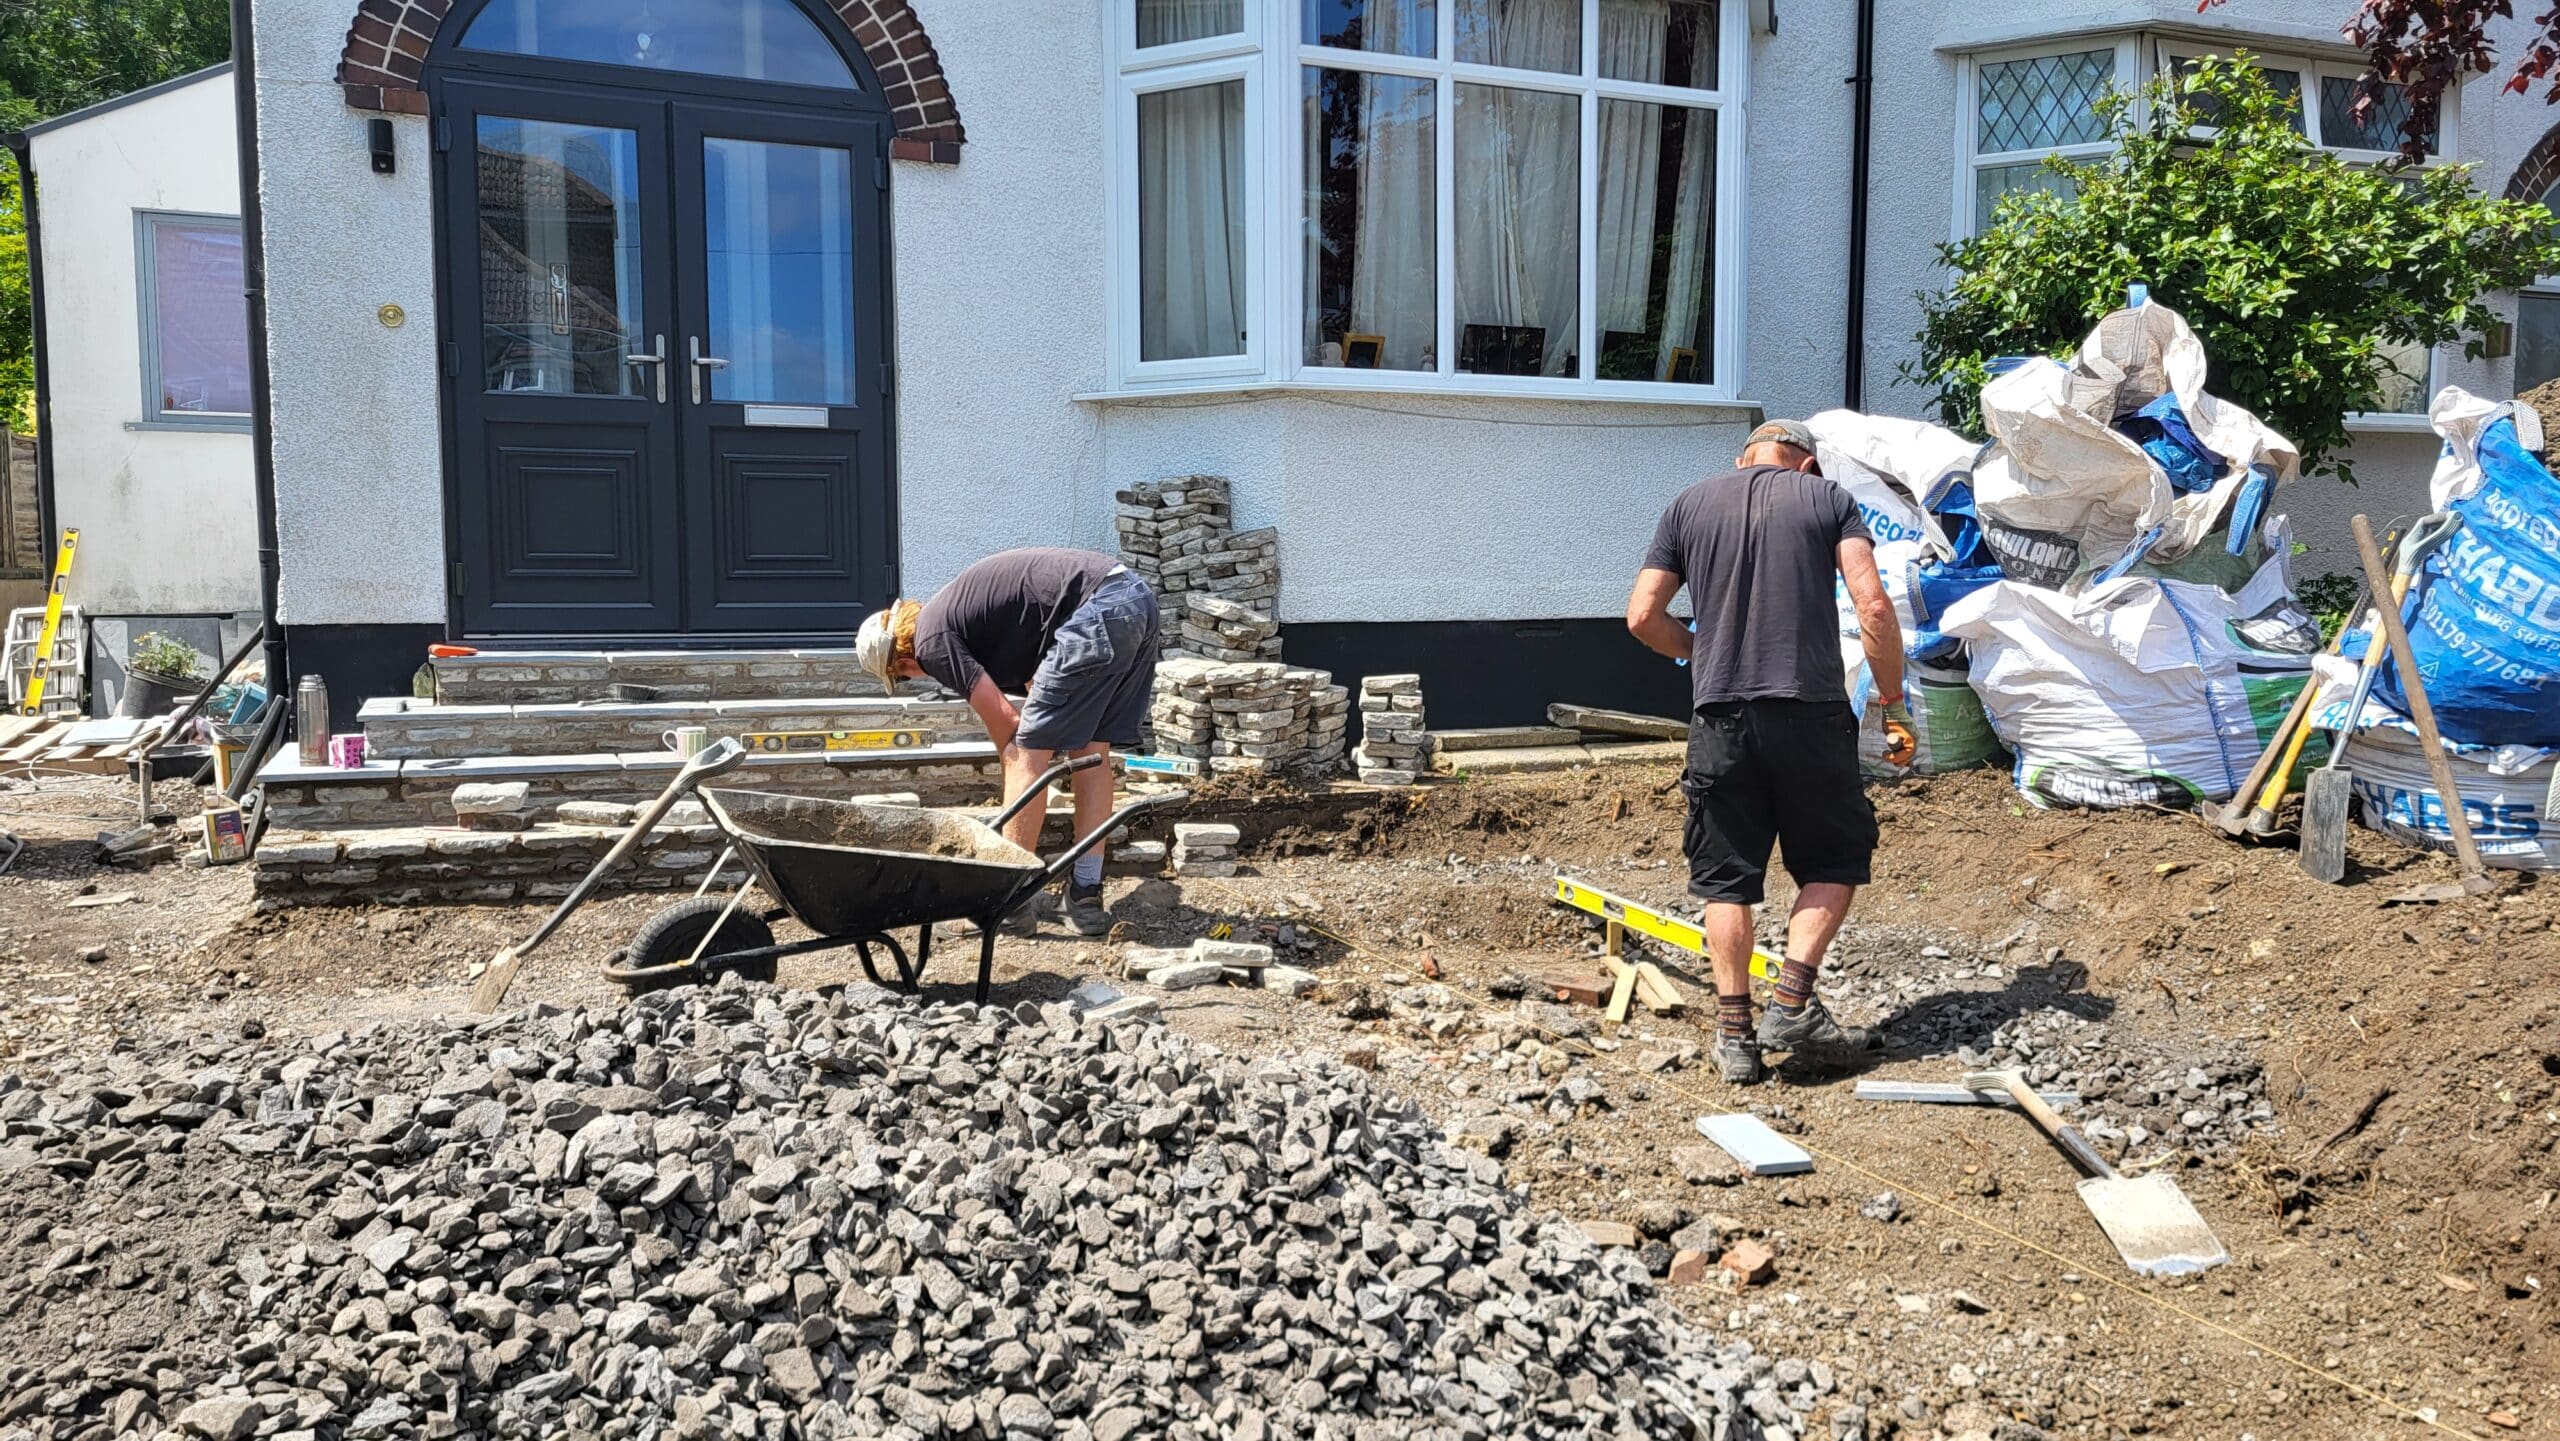
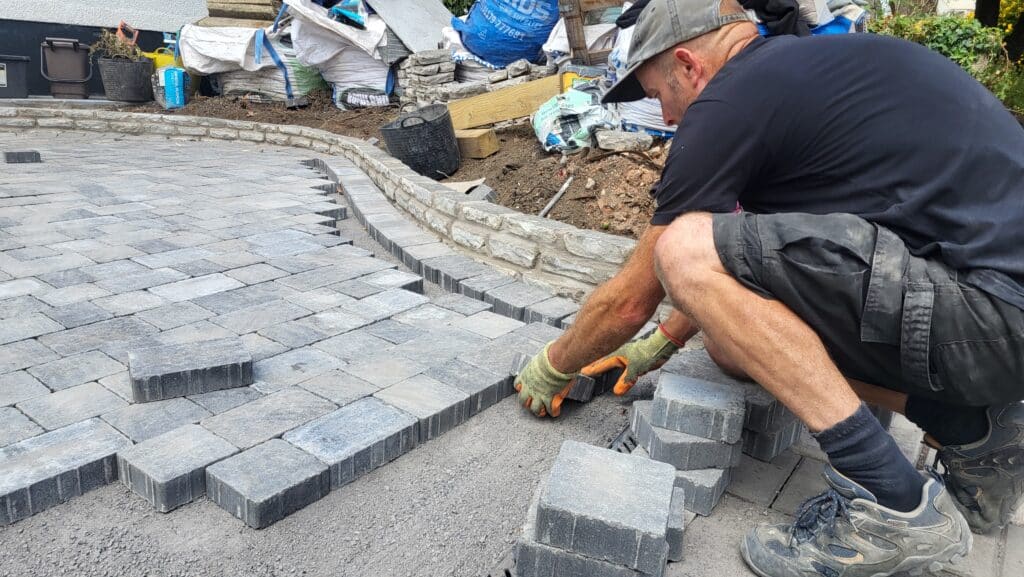
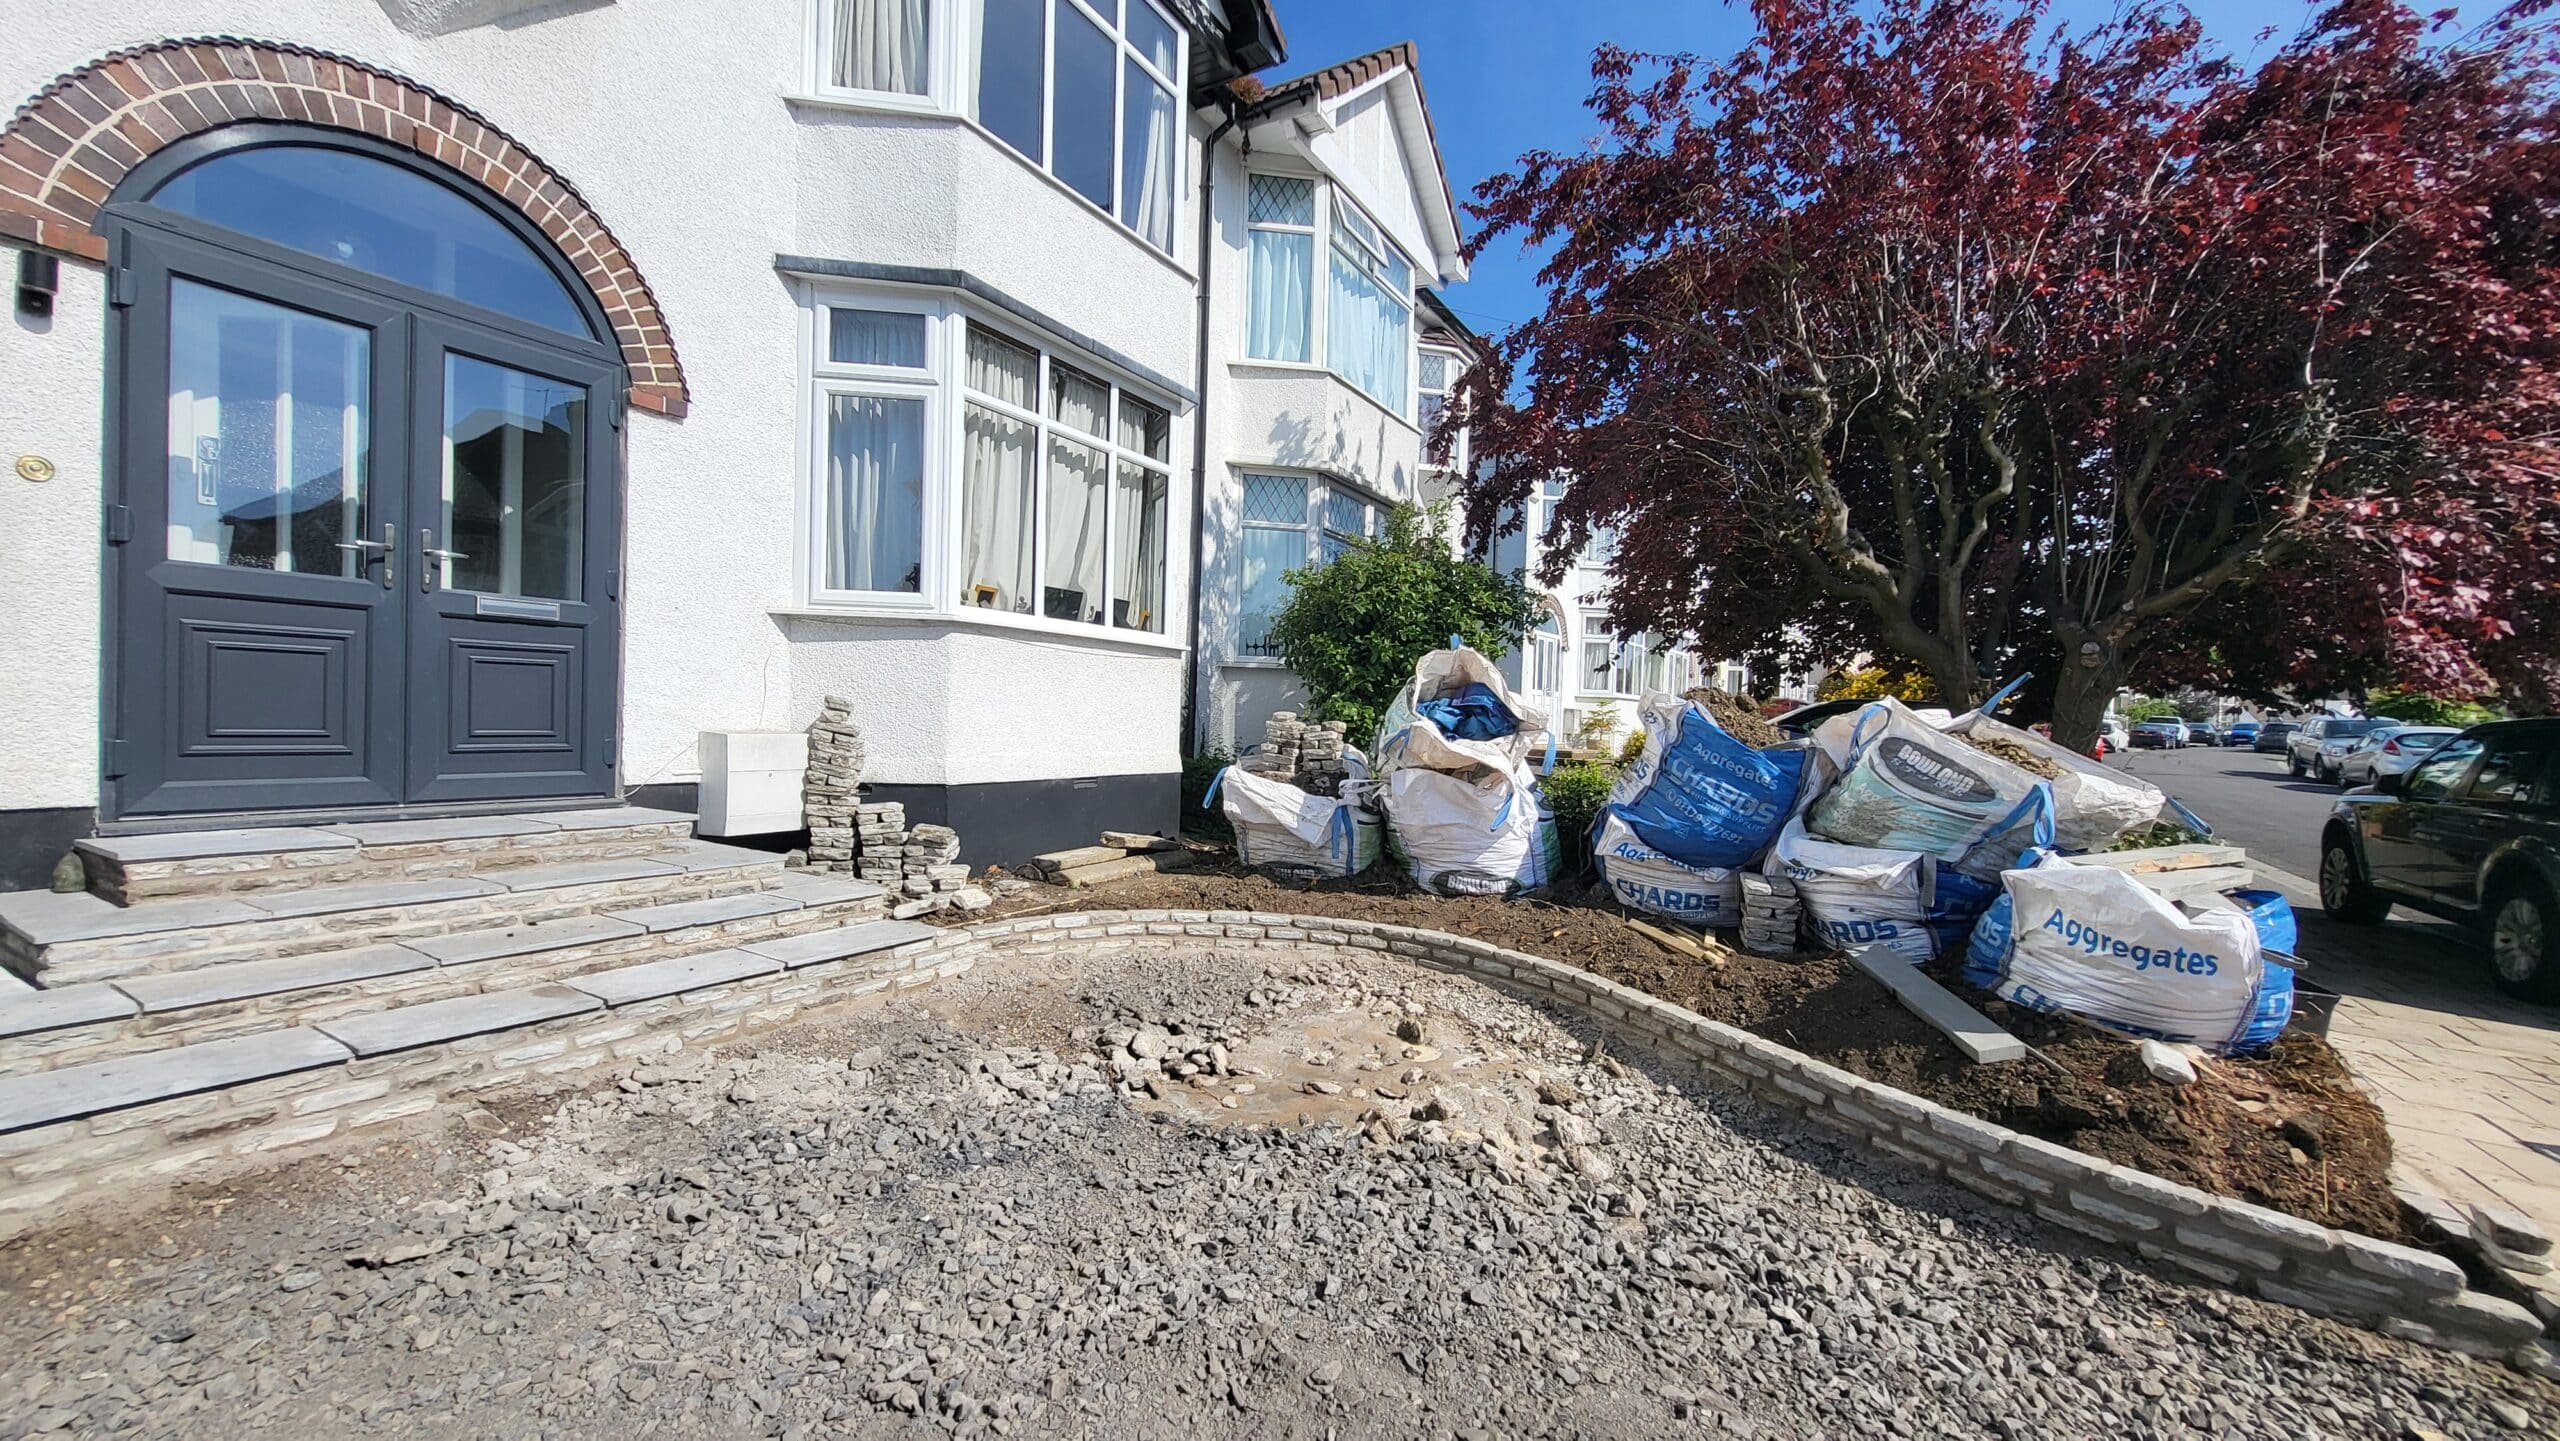
Along the area where the original wall footing used to be the boys laid down a base of MOT Type 1 to construct a new retaining wall. The sweeping curve coming from the bottom of the steps down to the pavement looks really good.
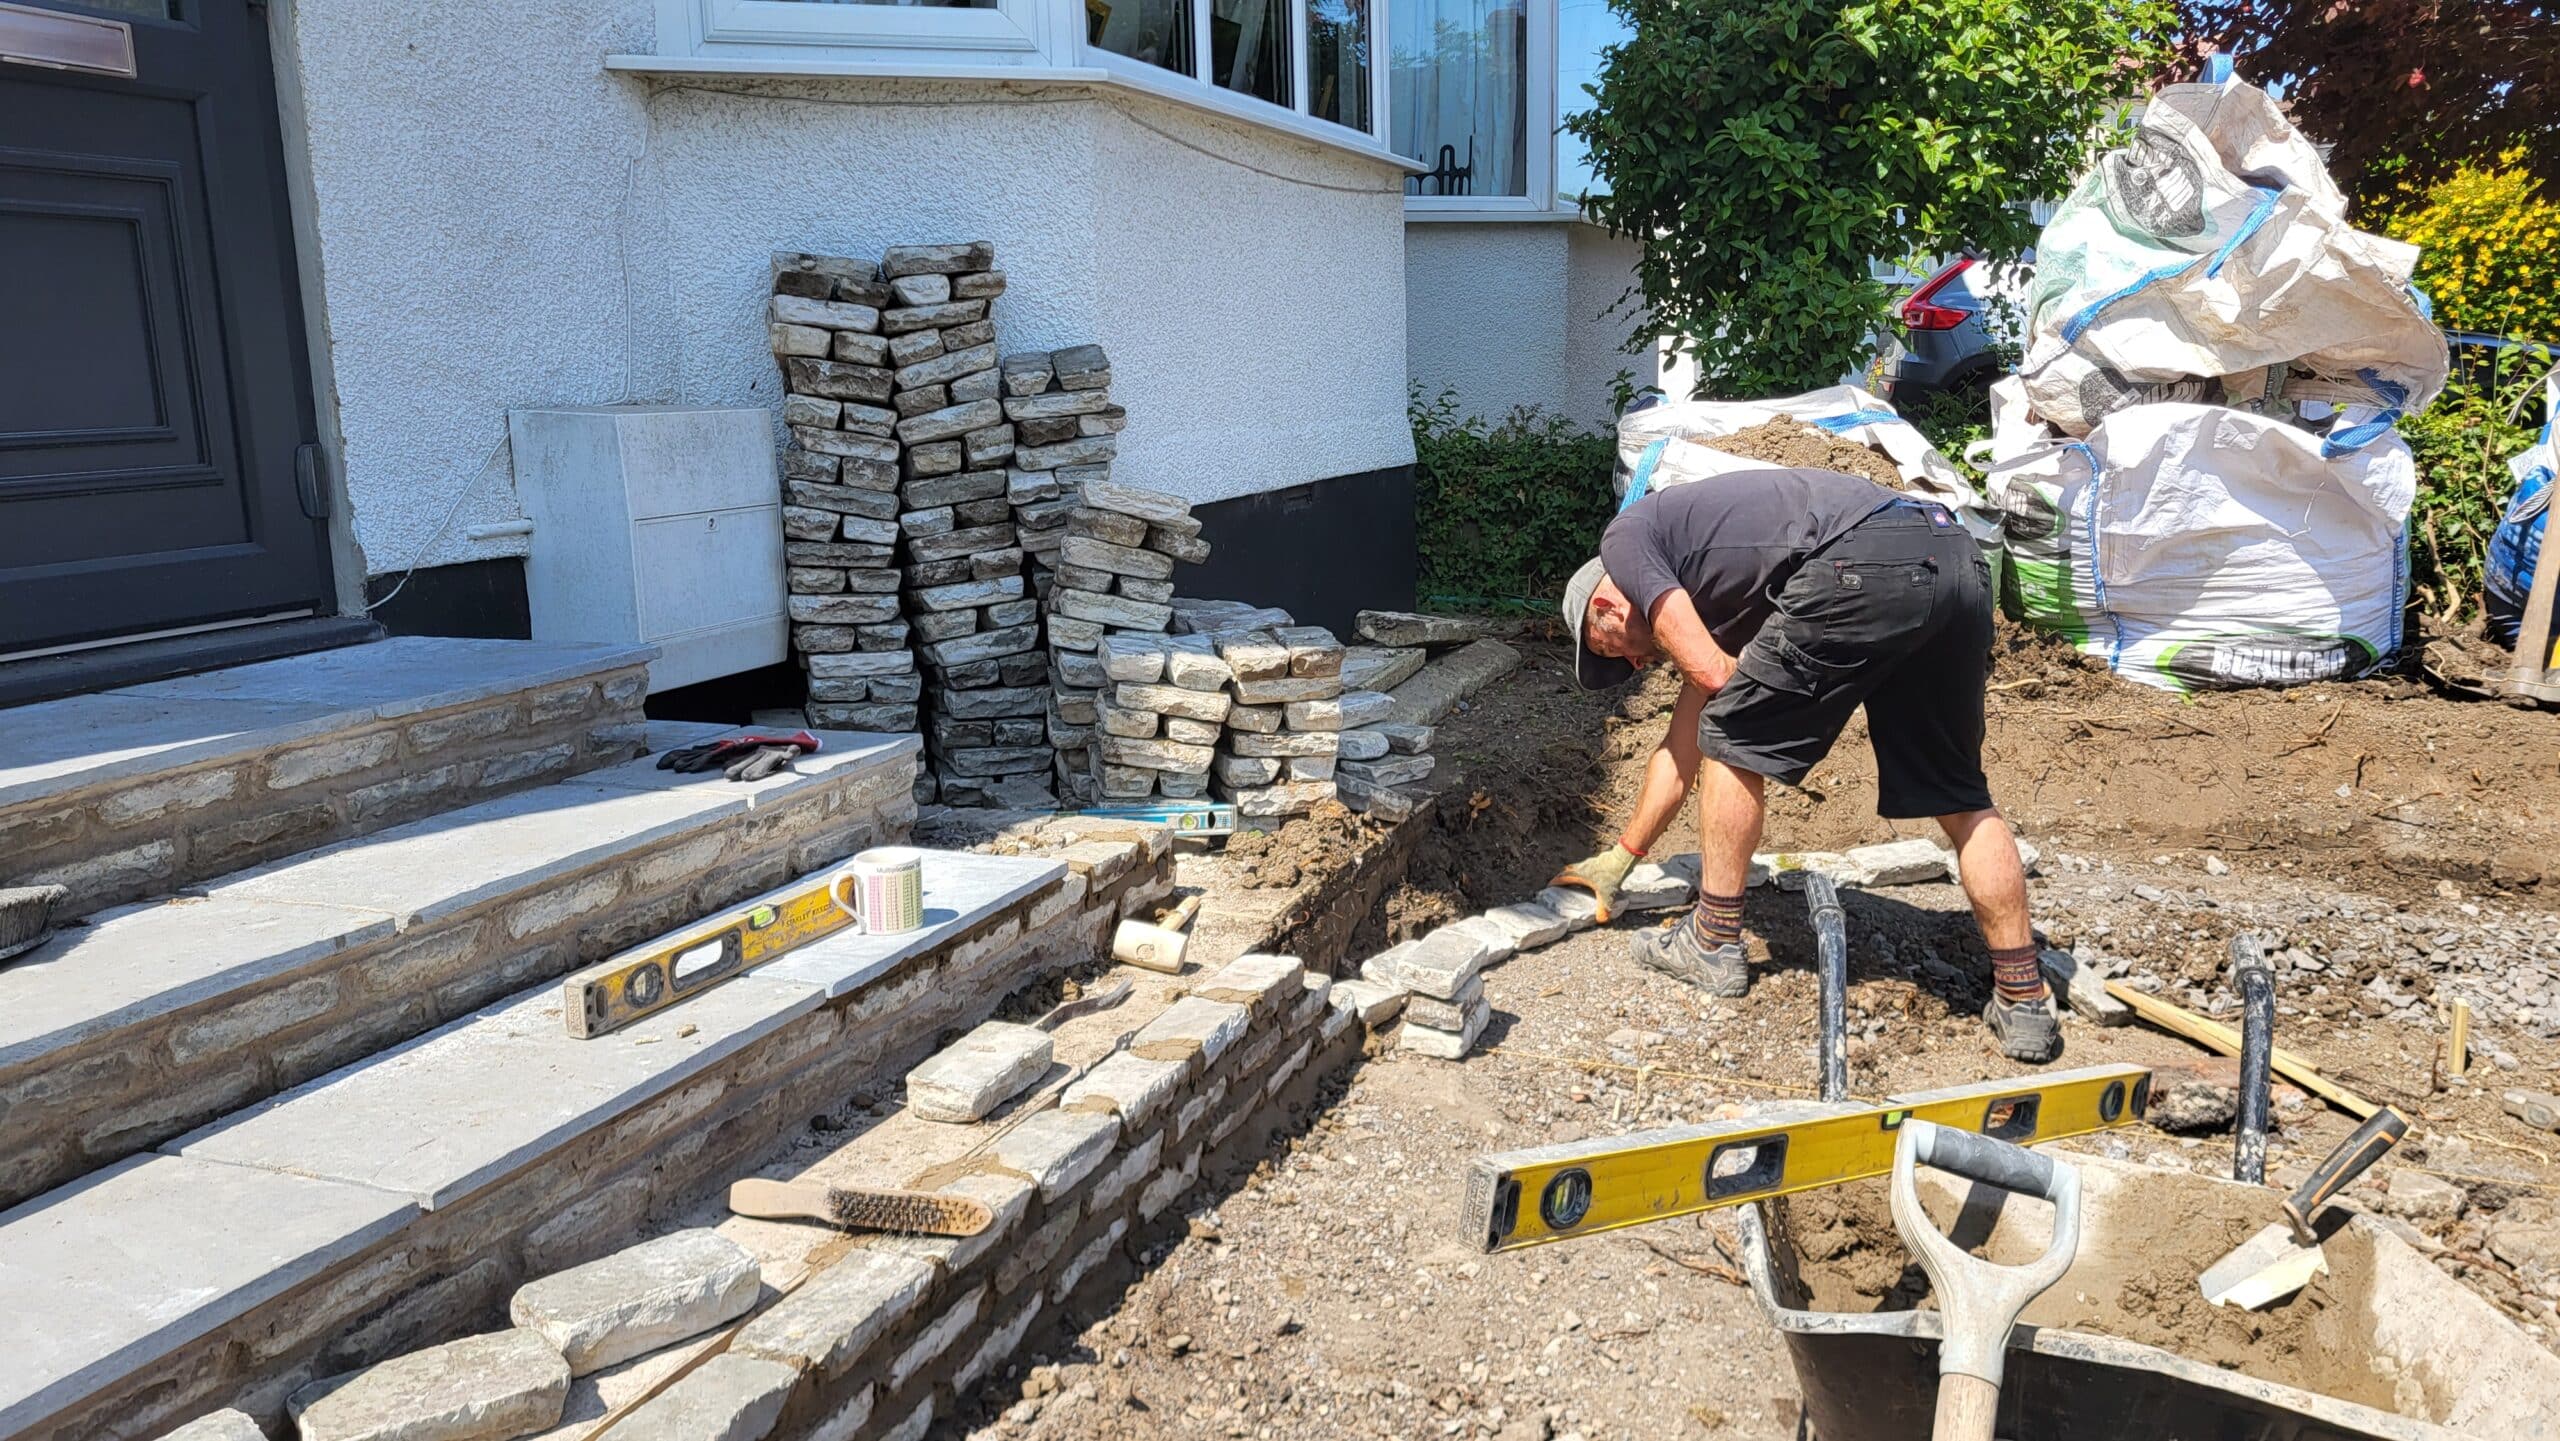
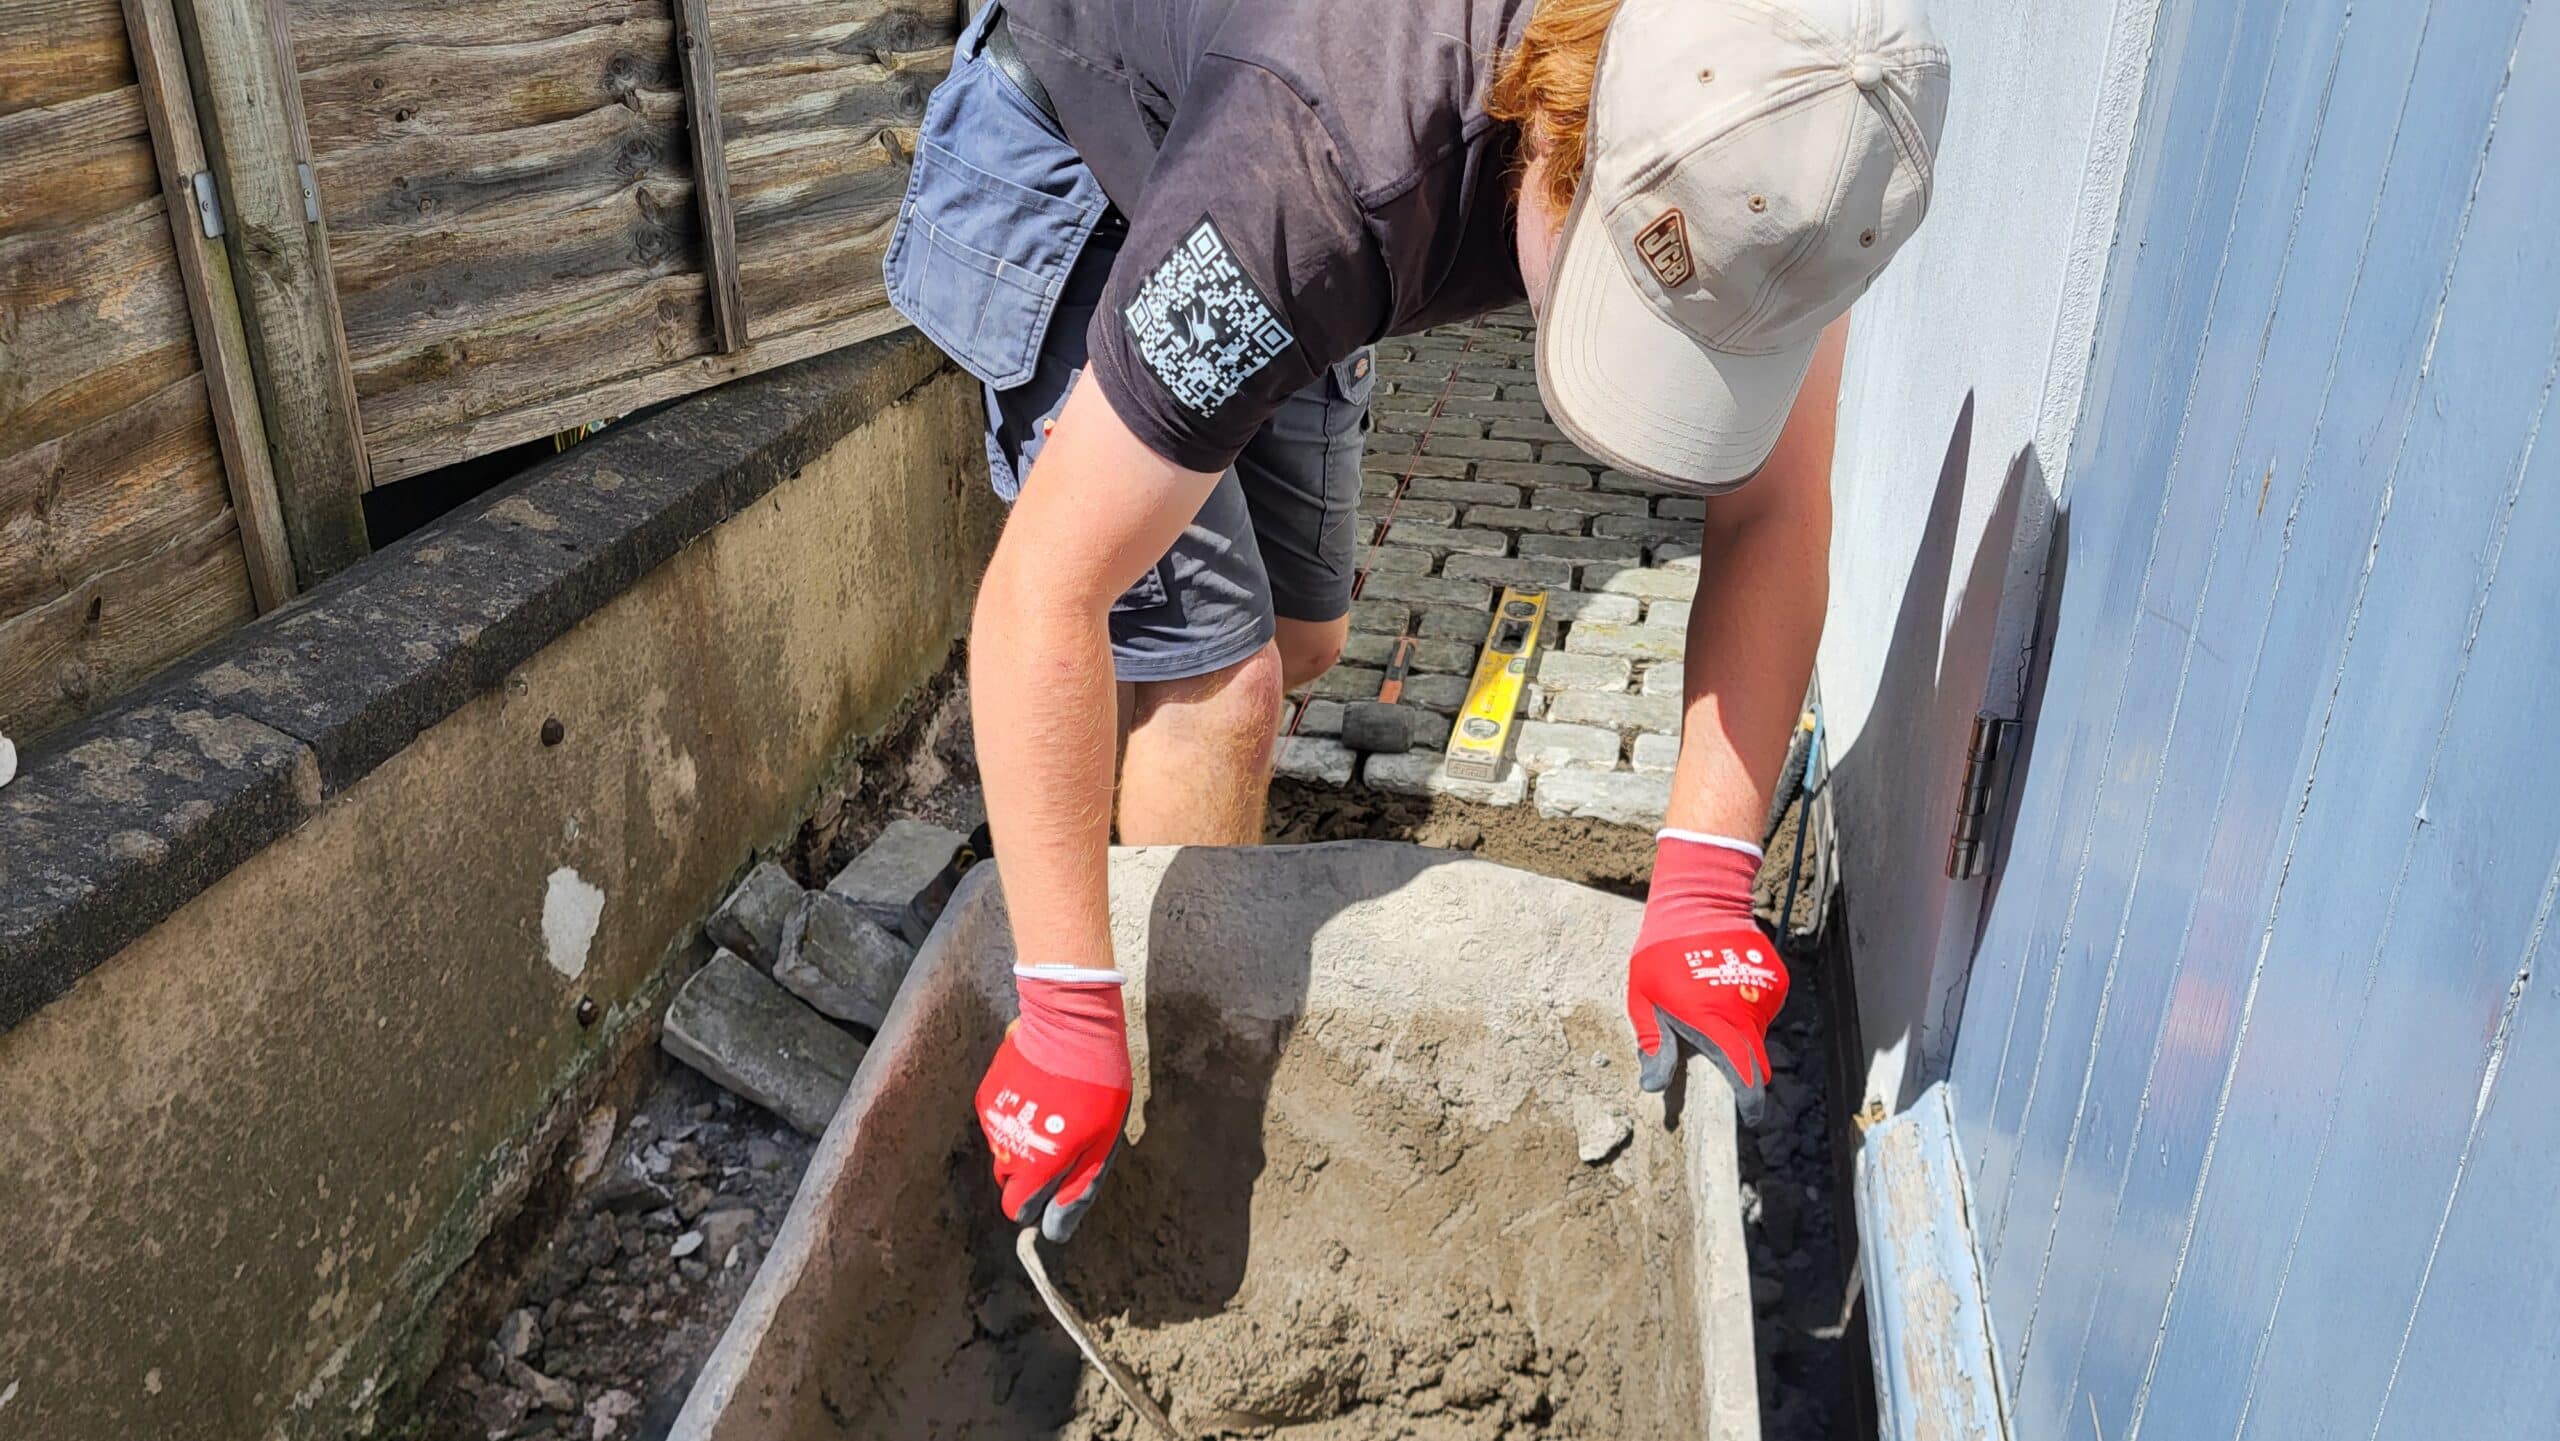
Sam cut slabs to size for the steps as they progressed, with the low wall being built up.
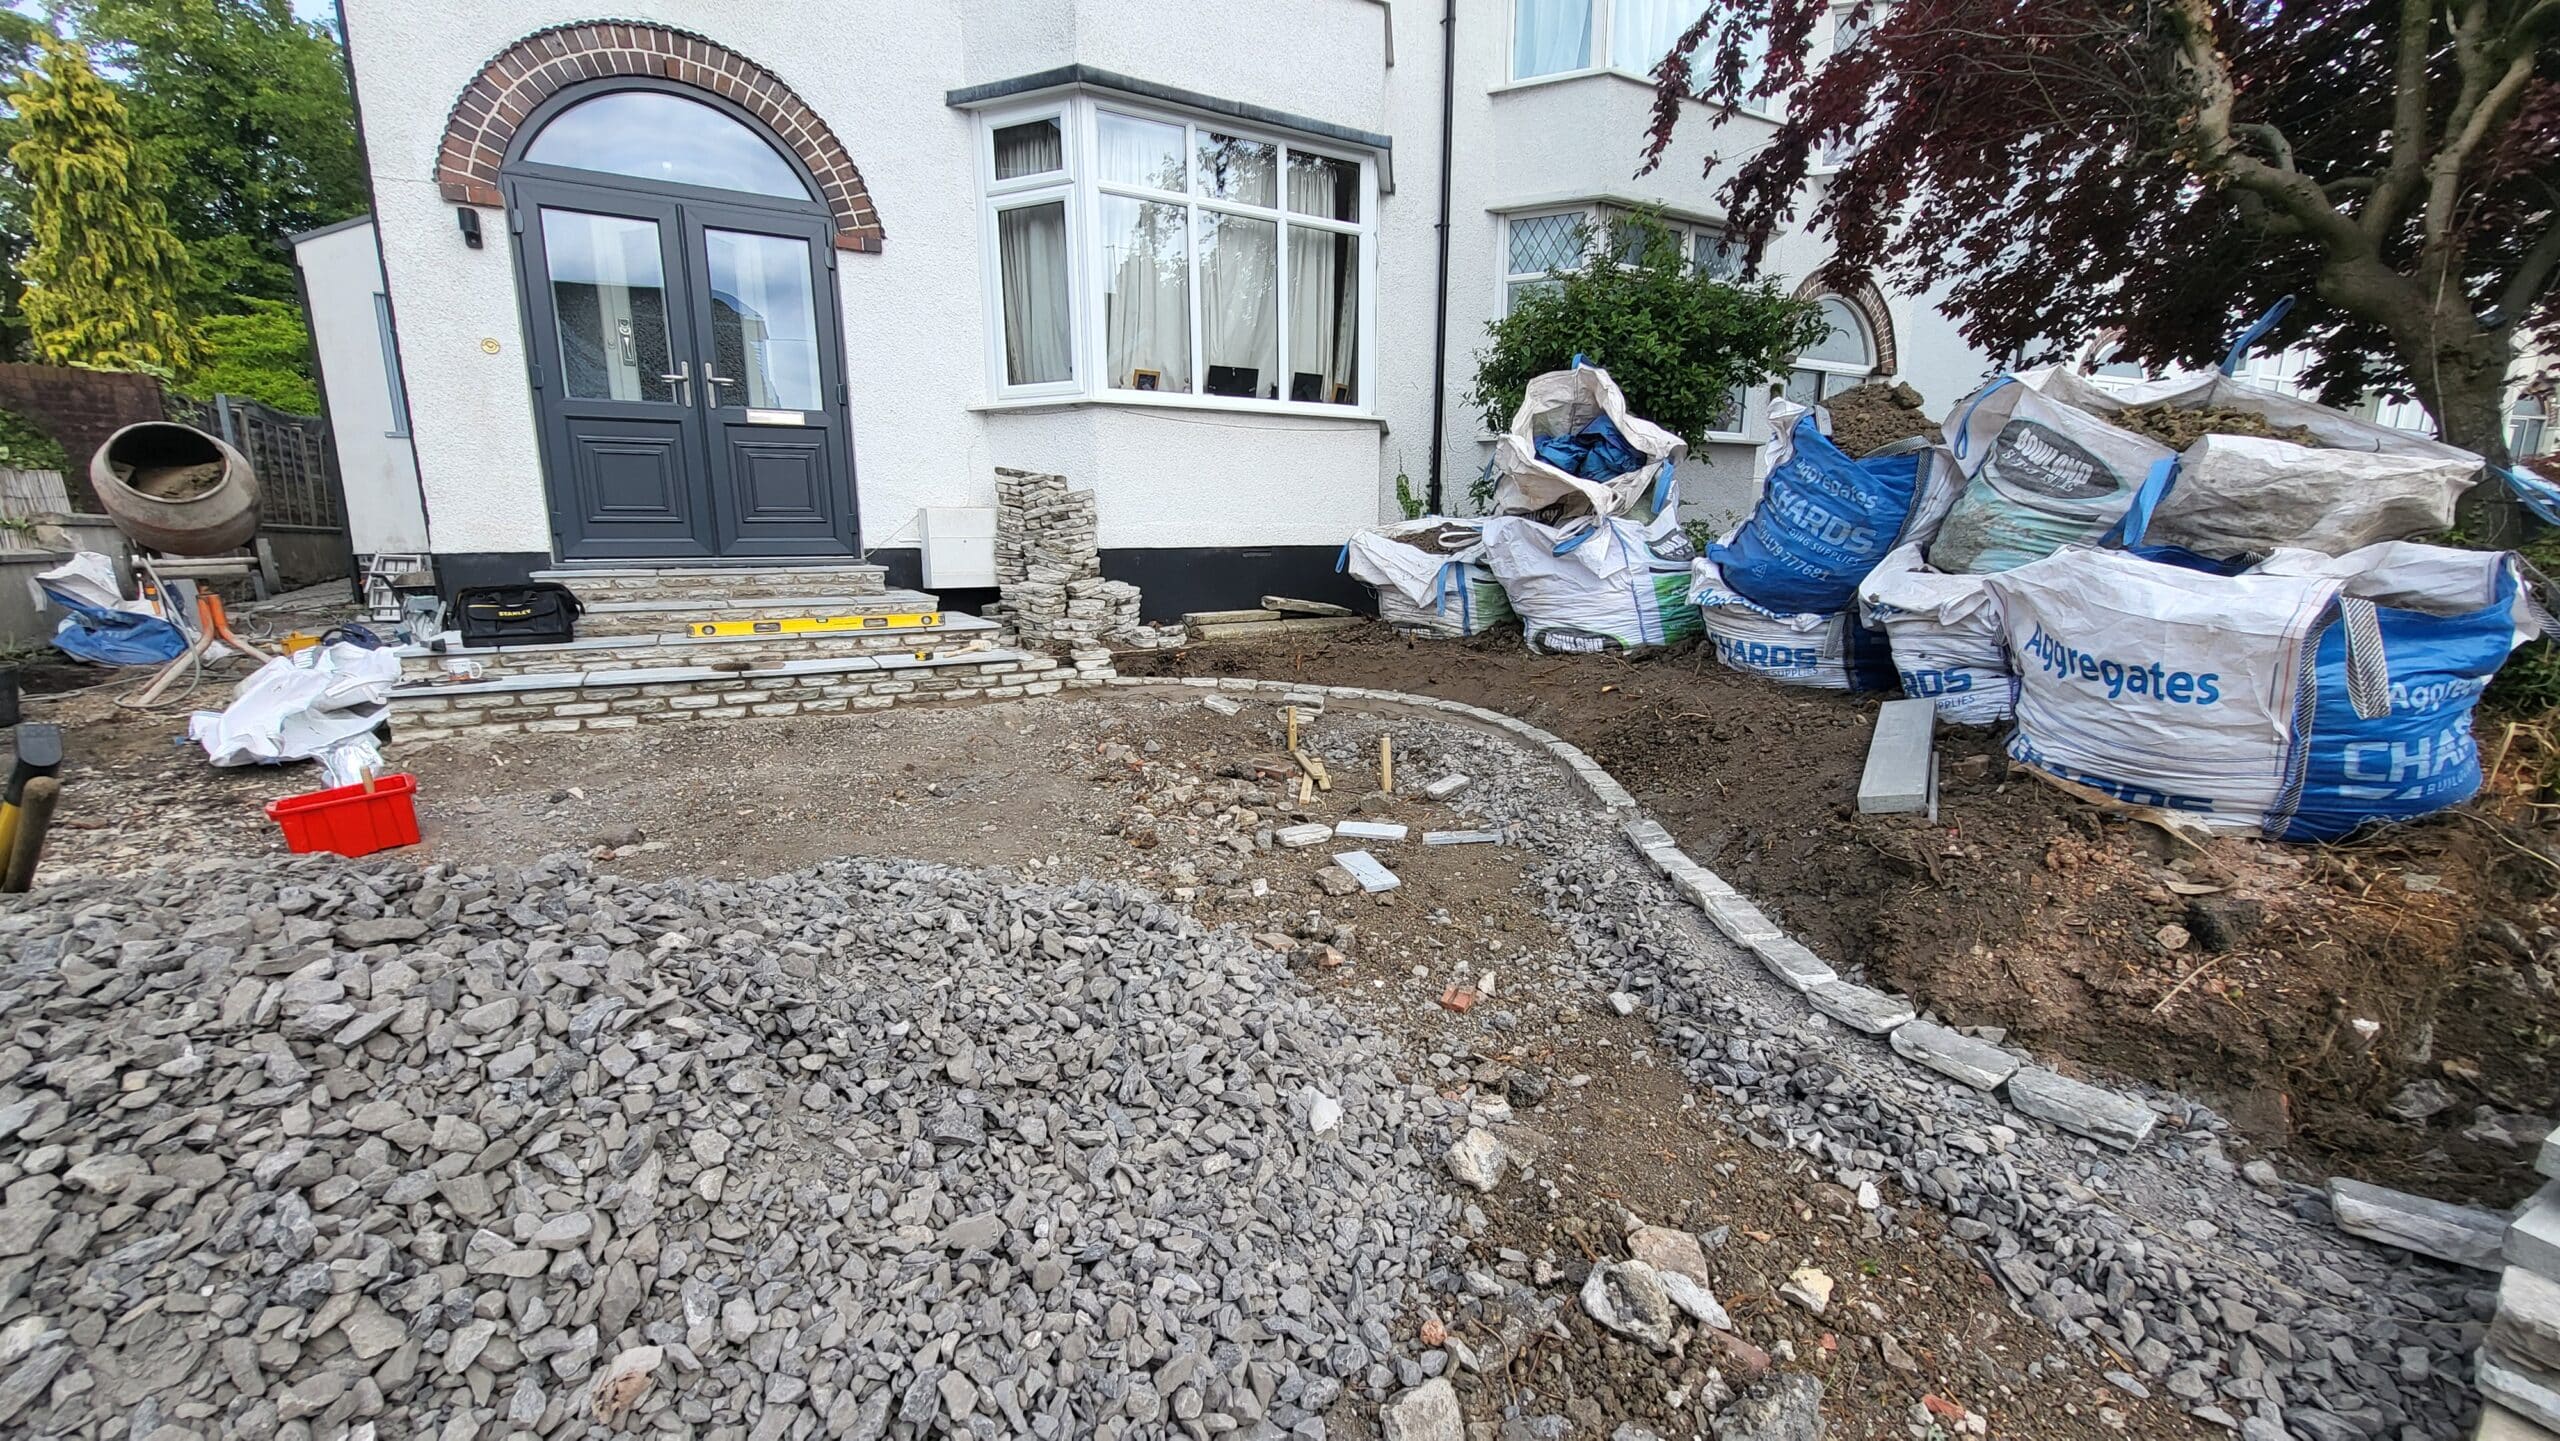
The sun has been absolutely blazing down on us this week, and by Friday this driveway and front garden was really beginning to take shape. Paving was also laid alongside the bay window, making it easy to walk from the steps down into the border.
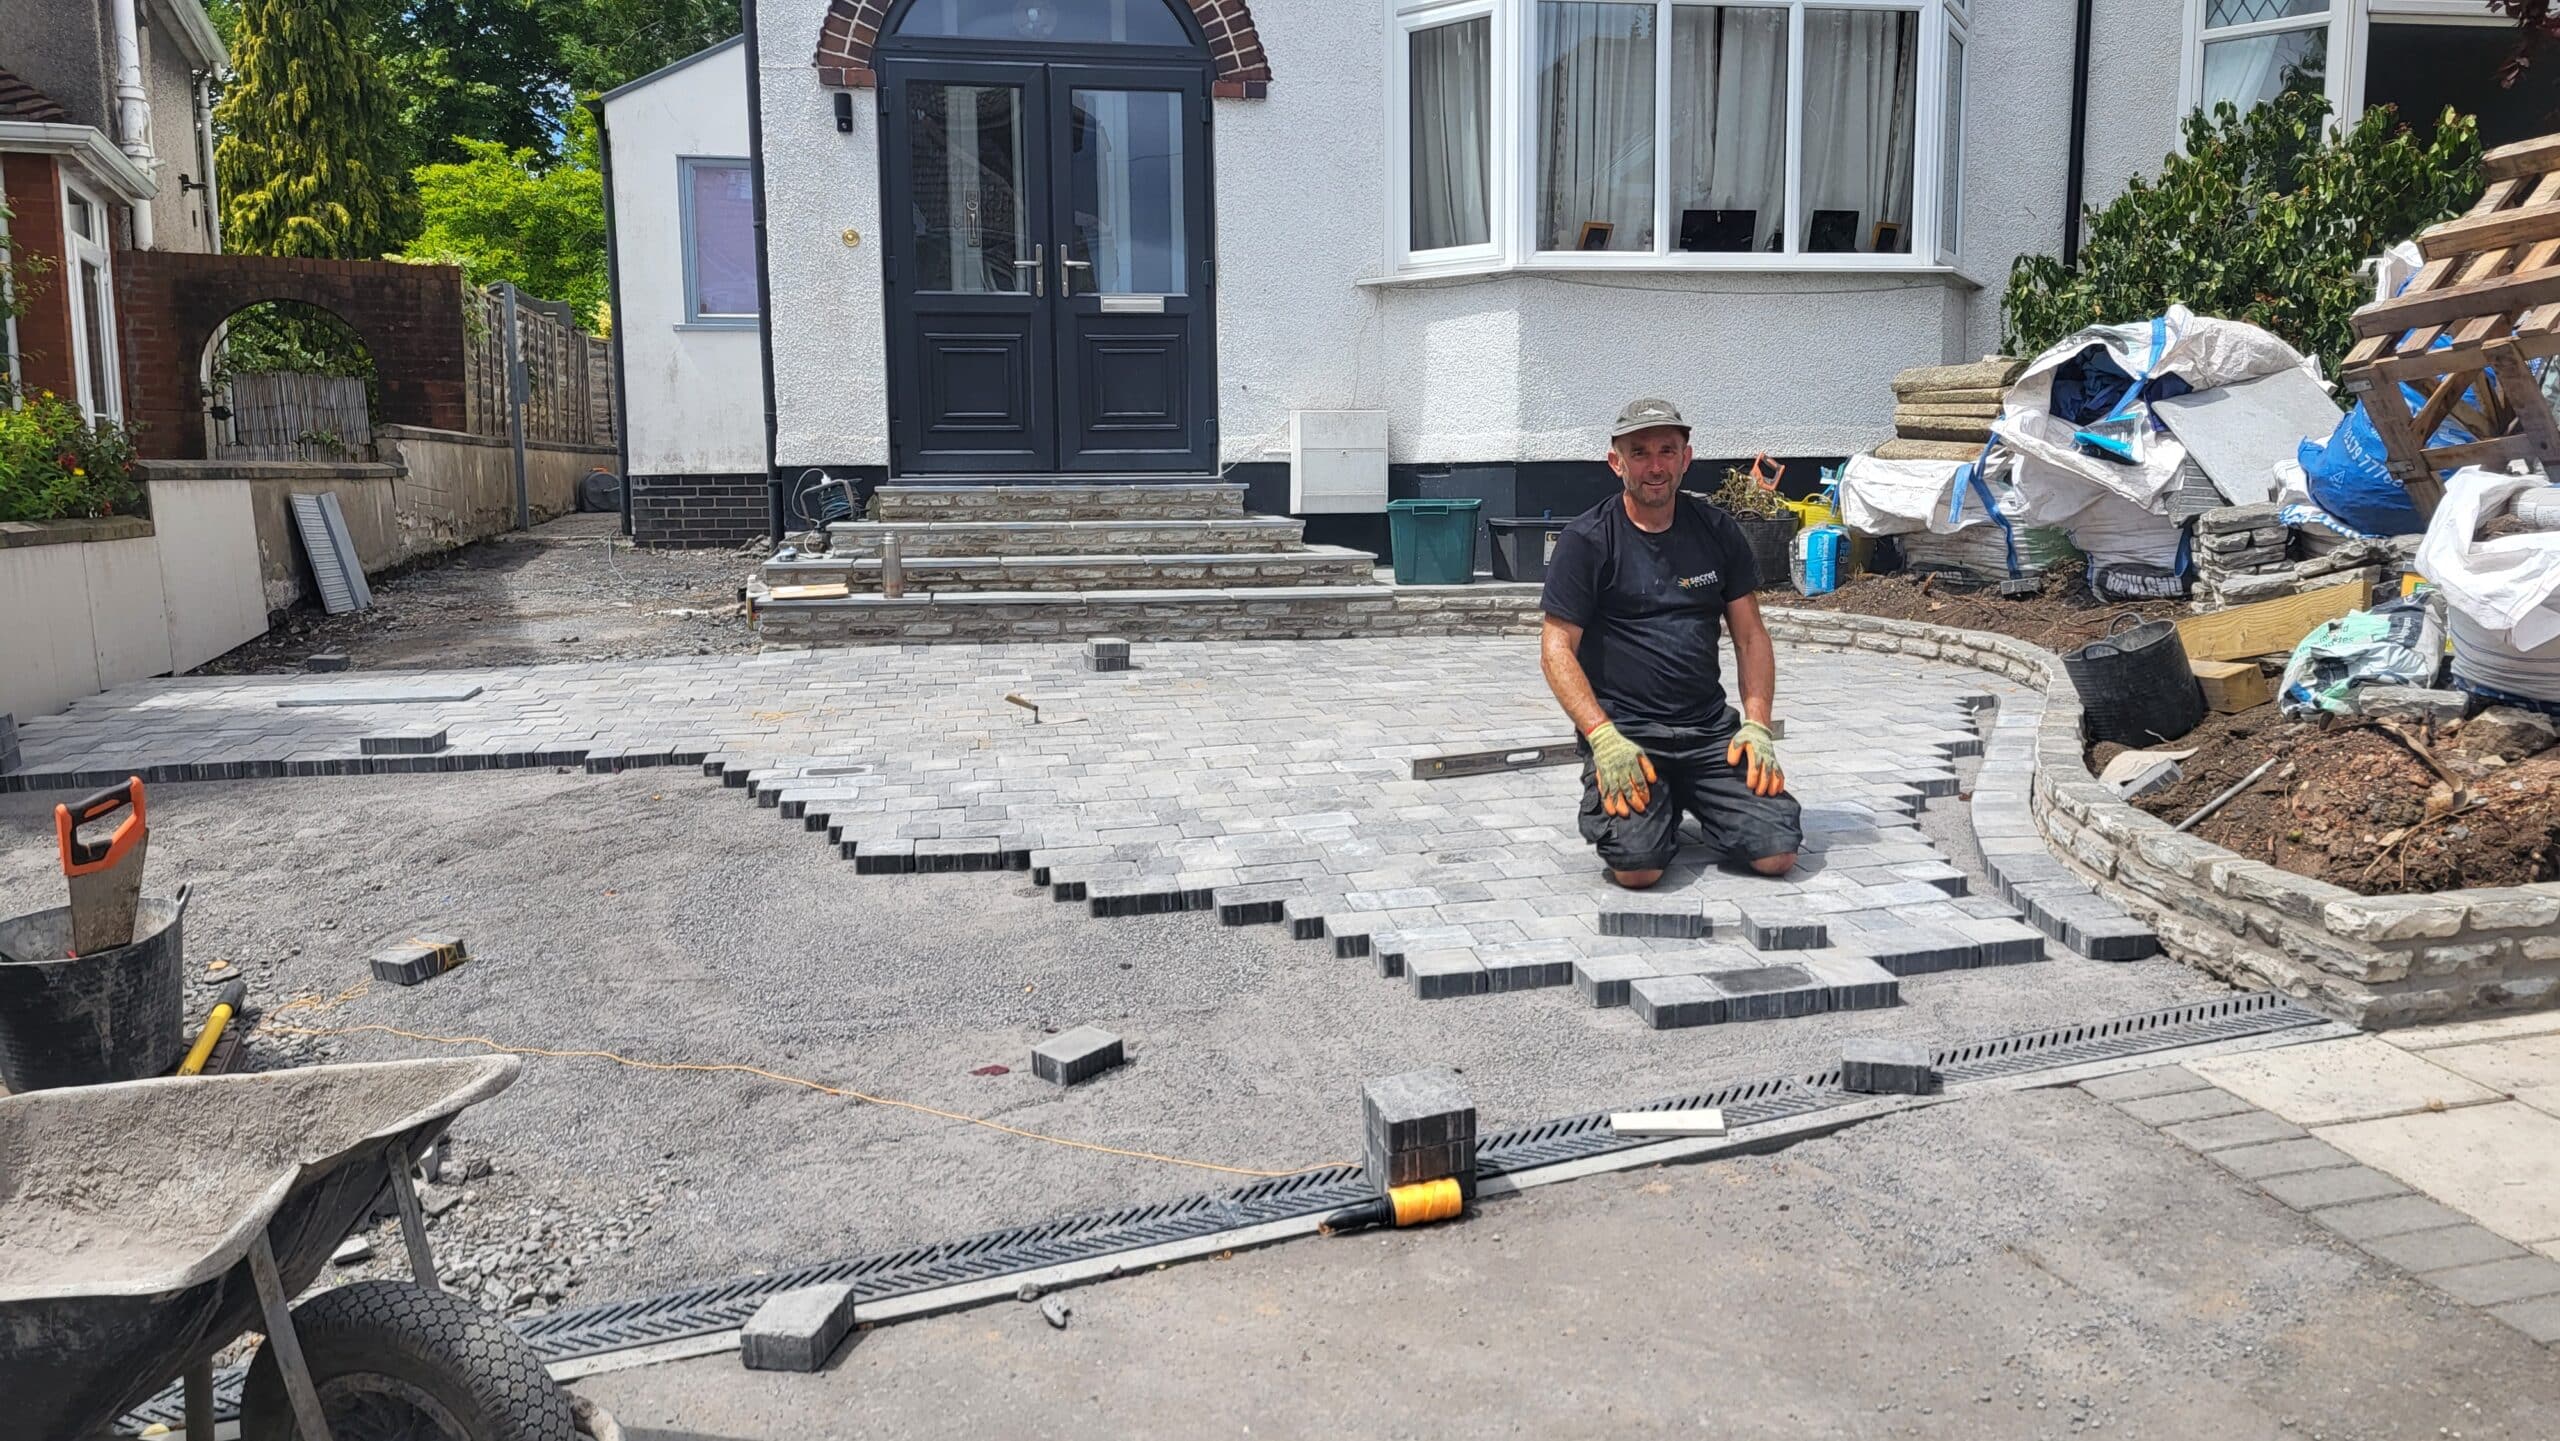
The block paving, in three different sizes, went down well with a methodical approach. The sun was shining which made it a pleasant and satisfying job.
Cement board has been used on the boundary wall. The render was badly damaged, but removing more would have damaged the bricks, so installing cement board was the perfect option. The lower section that has been added to the left hand side of the photo below looks far better than the original wall underneath, on the right hand side.
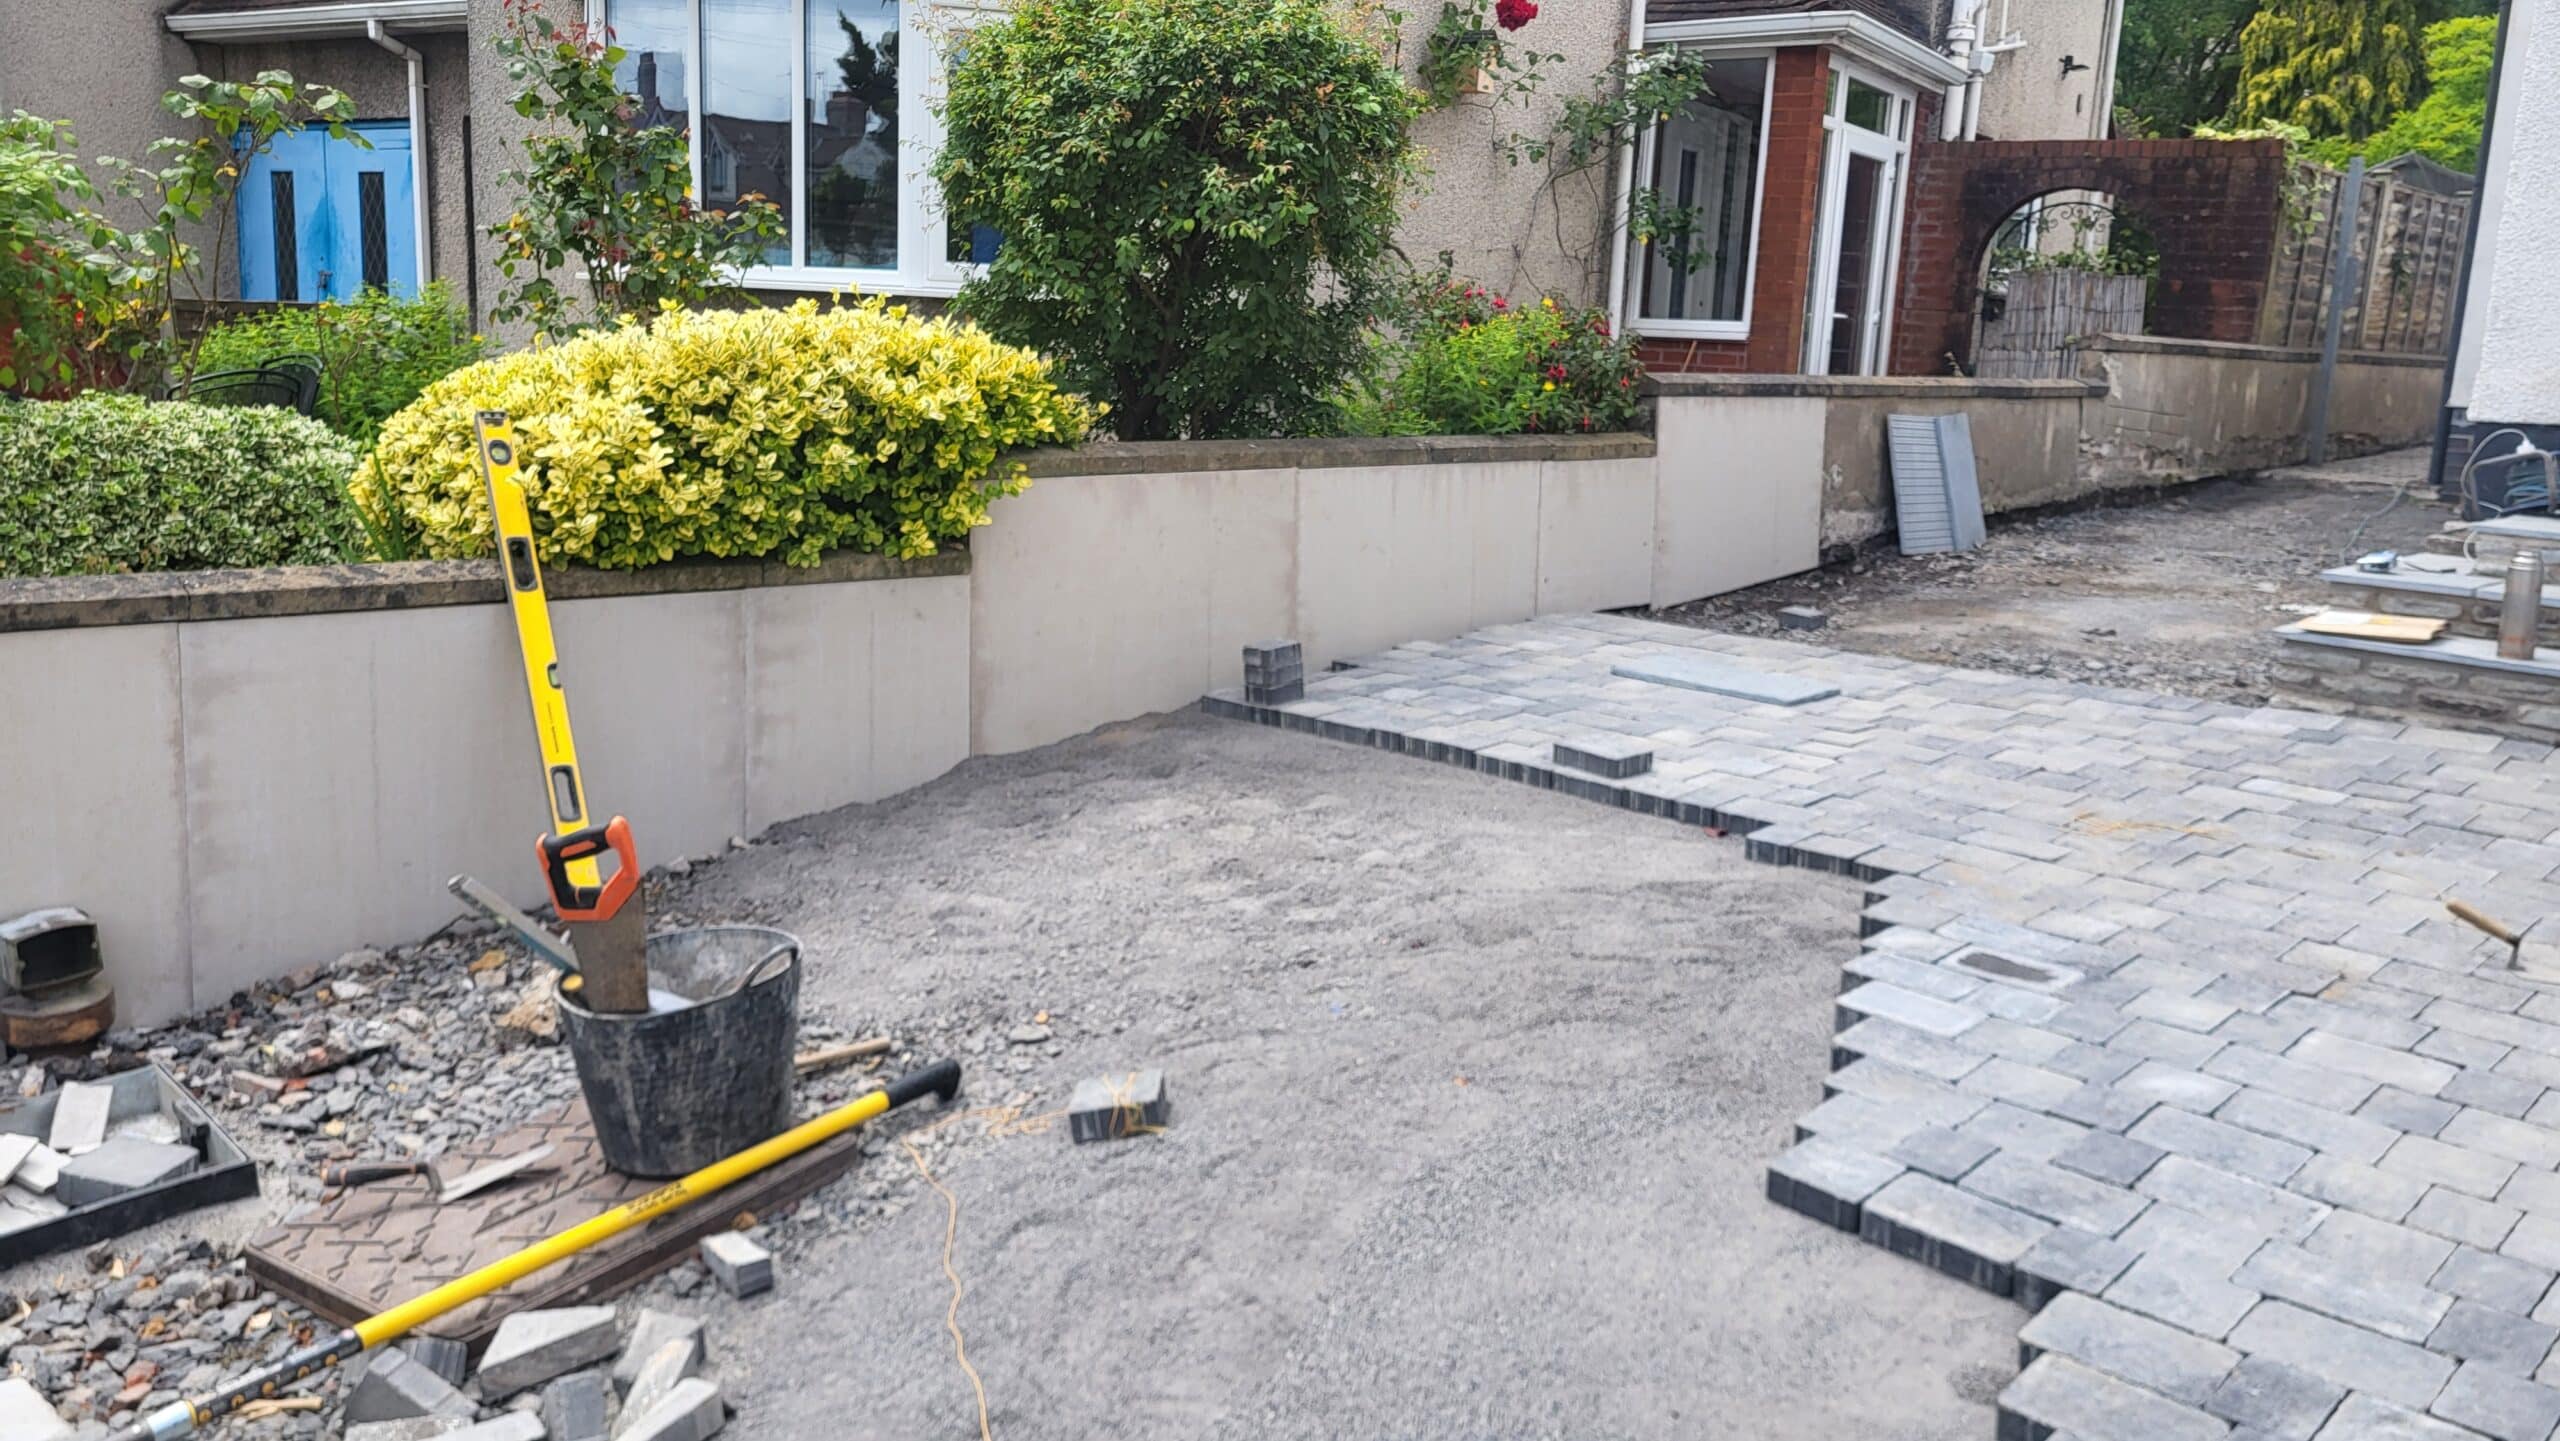
Stone dust is used over the top of the MOT Type 1 base. It is levelled off to make the perfect height for the blocks to sit on.
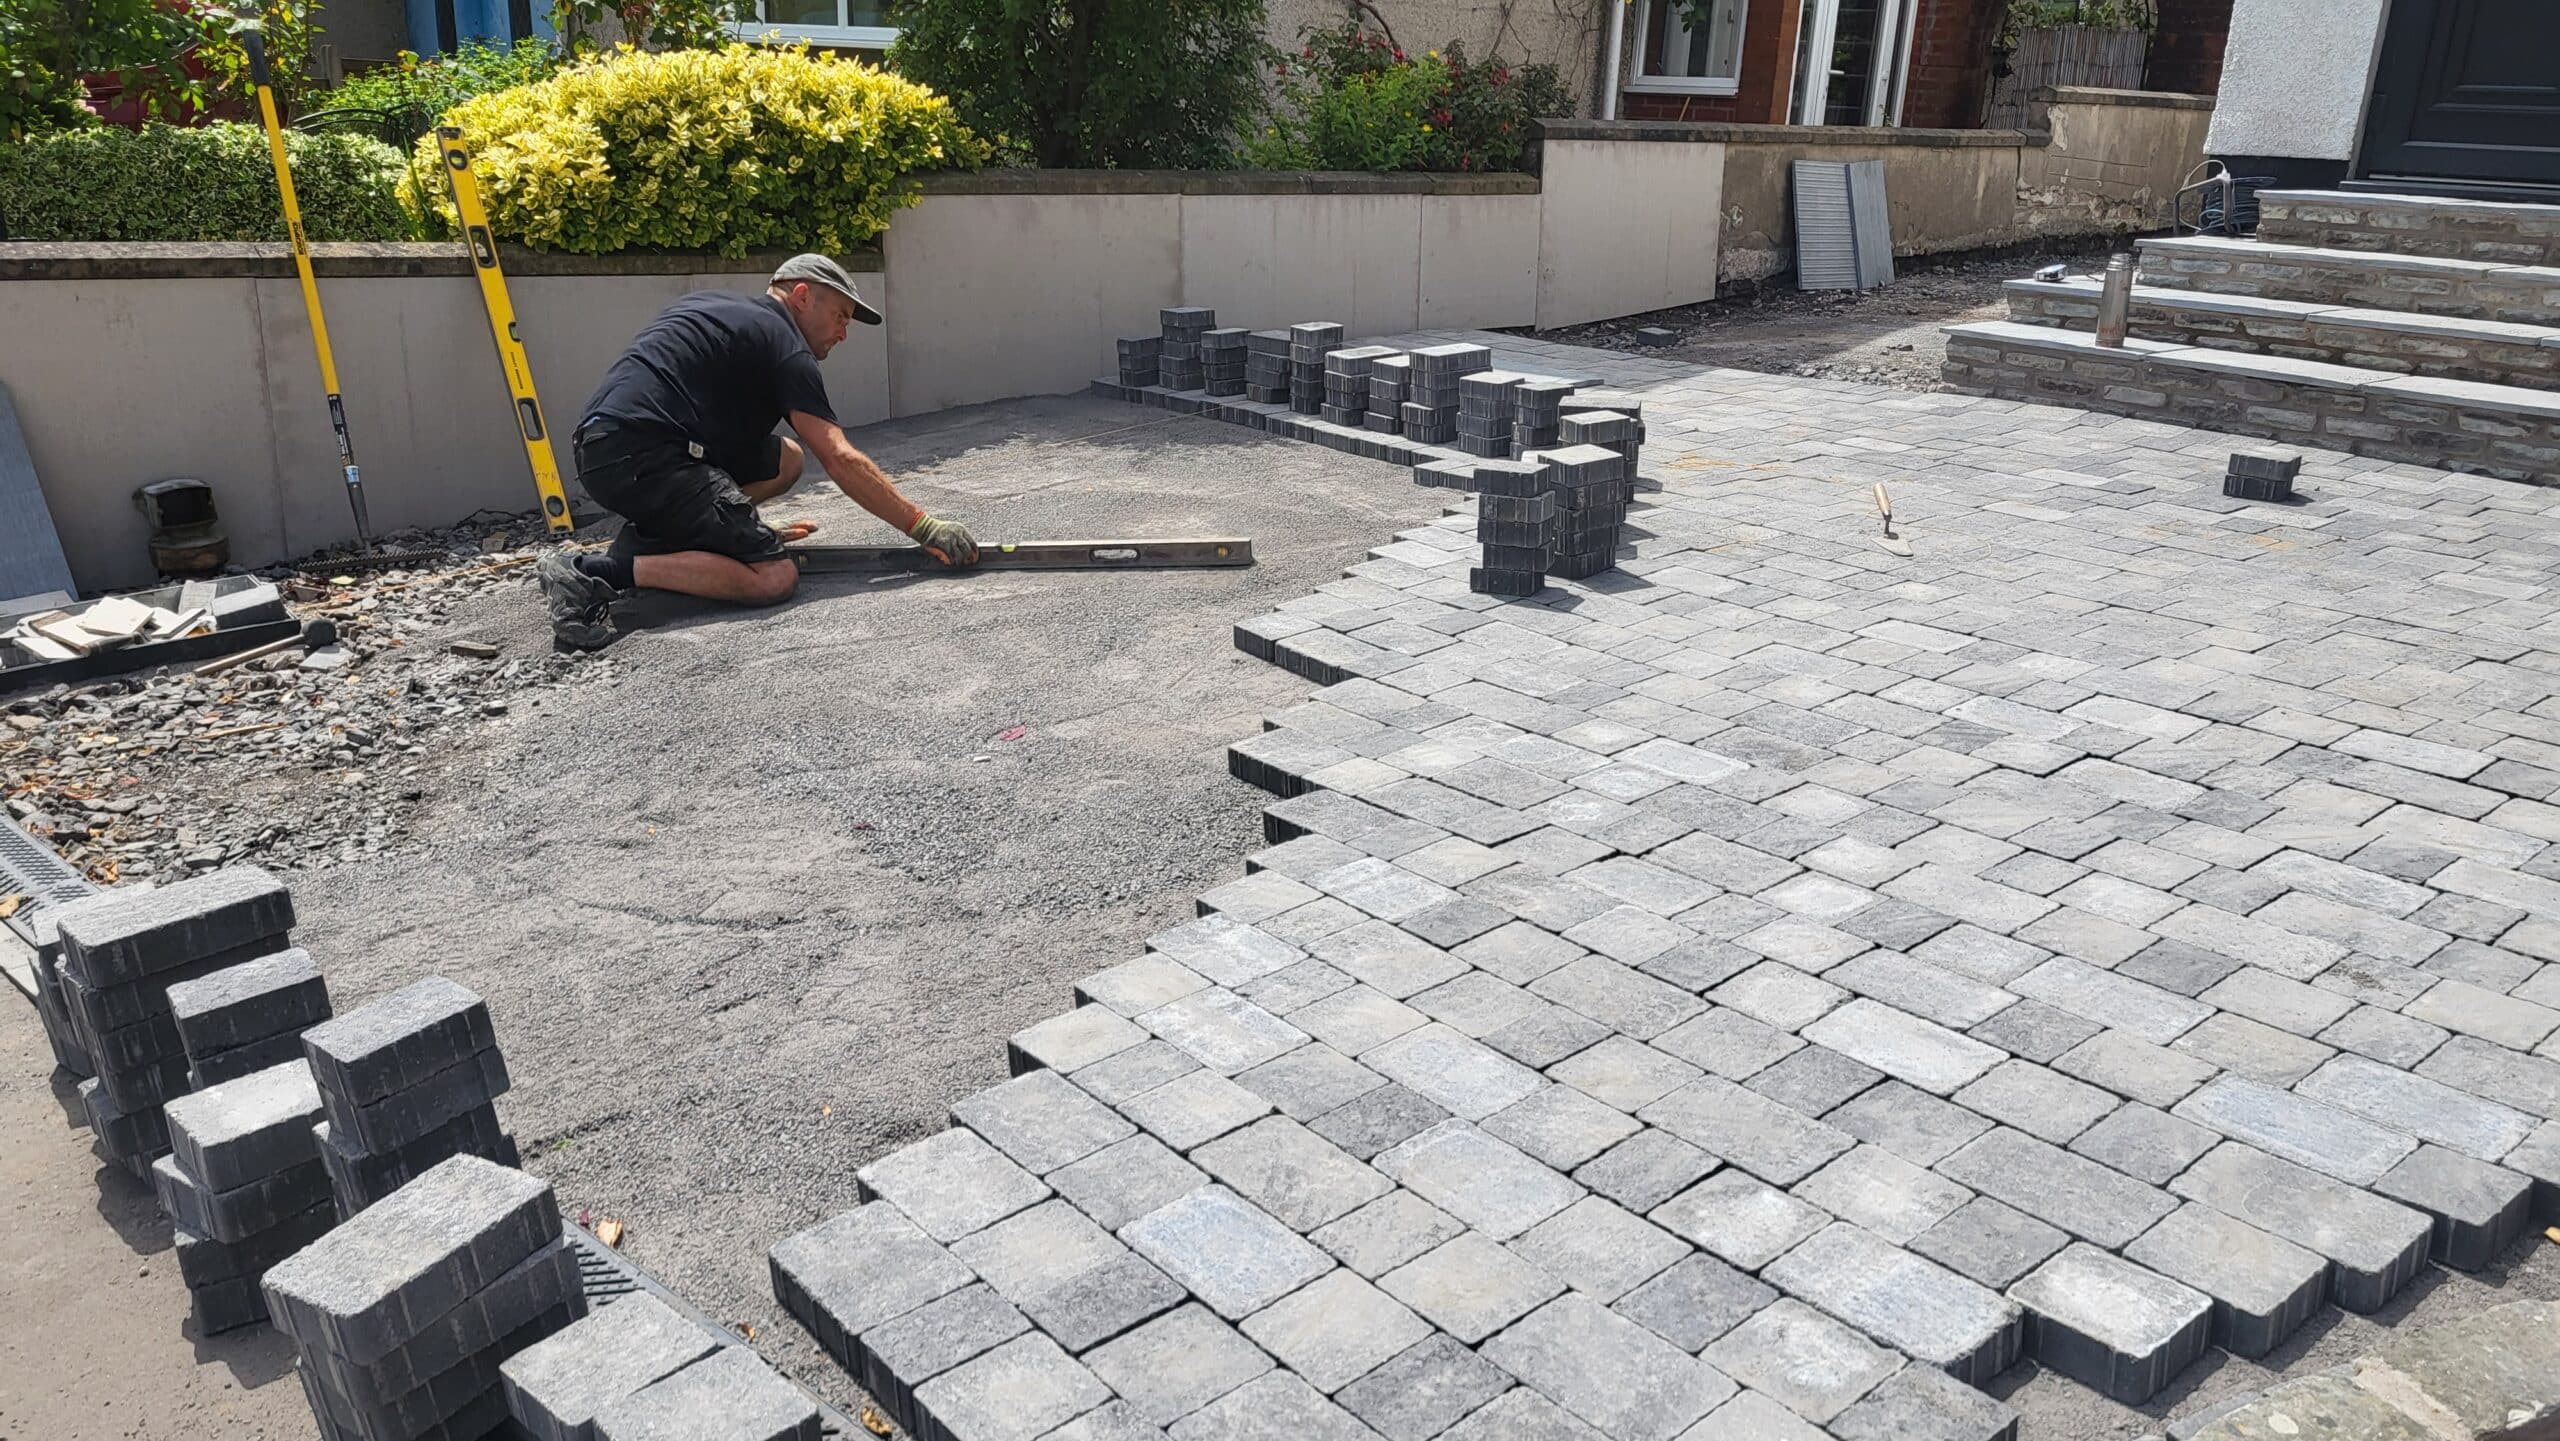
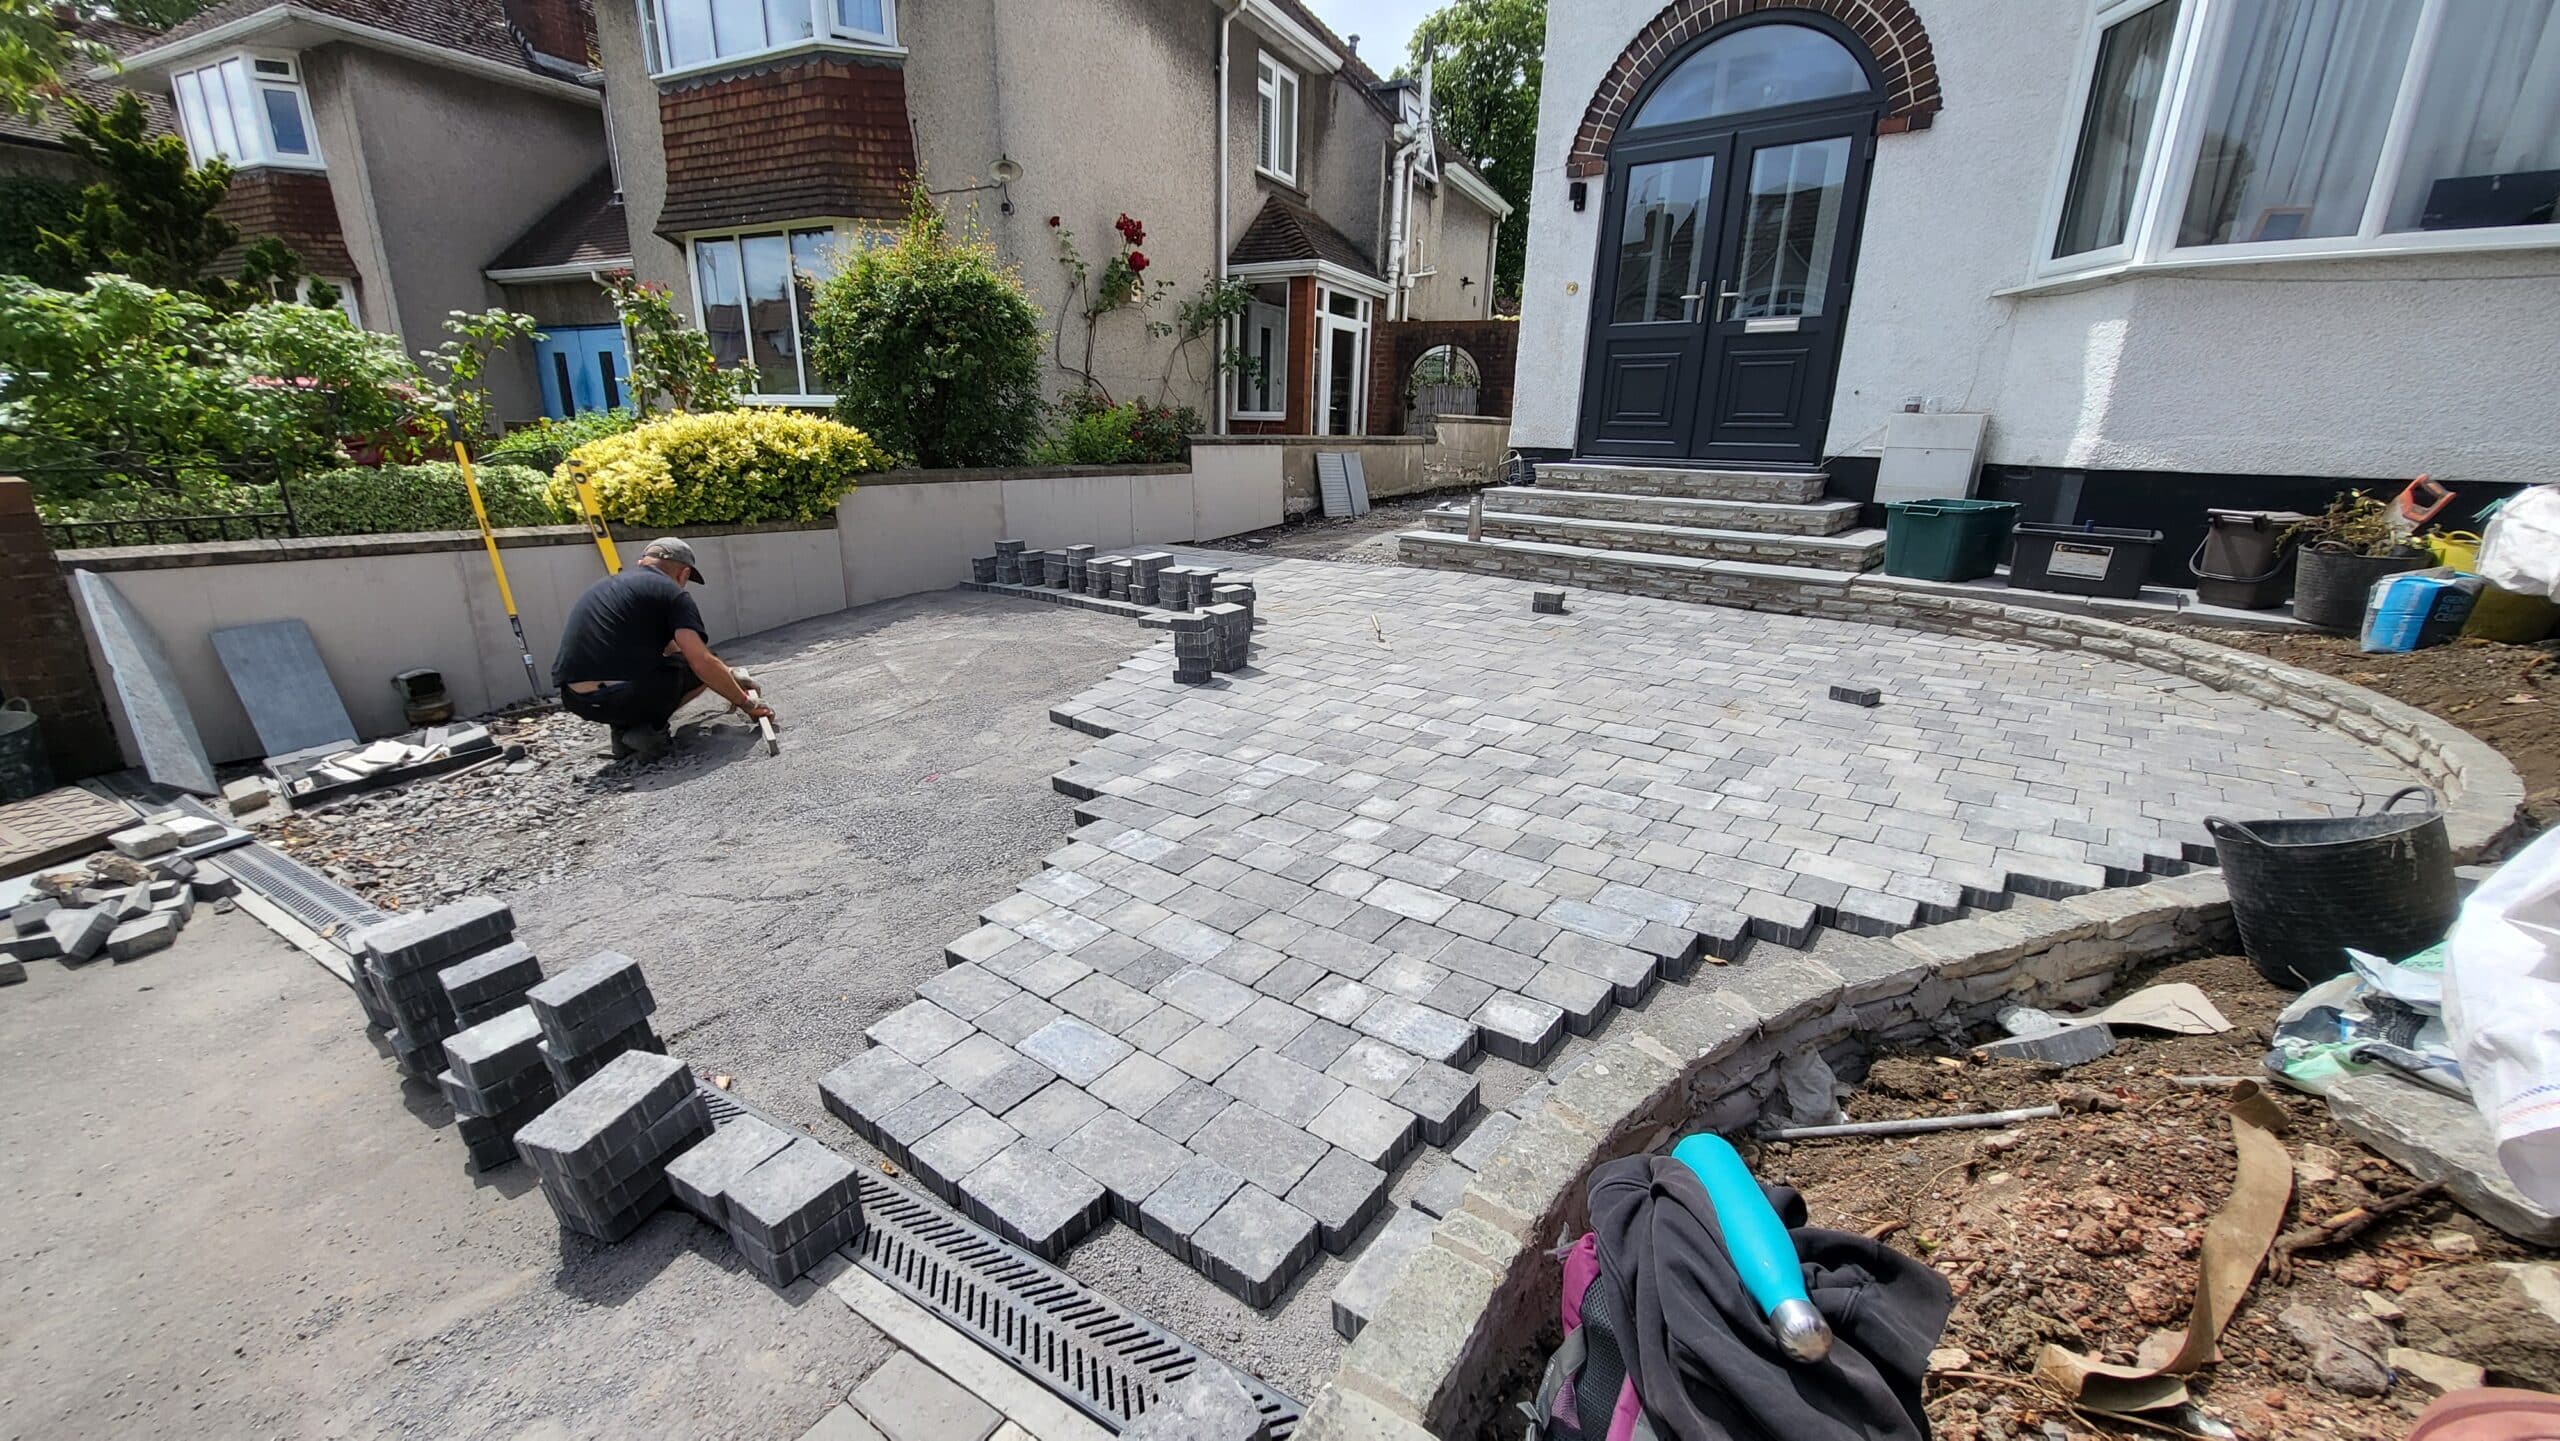
The edges of the driveway are left til last, as the blocks will need to be cut to size. We piled them up around the area that we were working on, so that Jerry and Flo could lay them as fast as possible.

It’s great seeing this driveway coming to fruition. Check back in with us soon to see this project completed.