
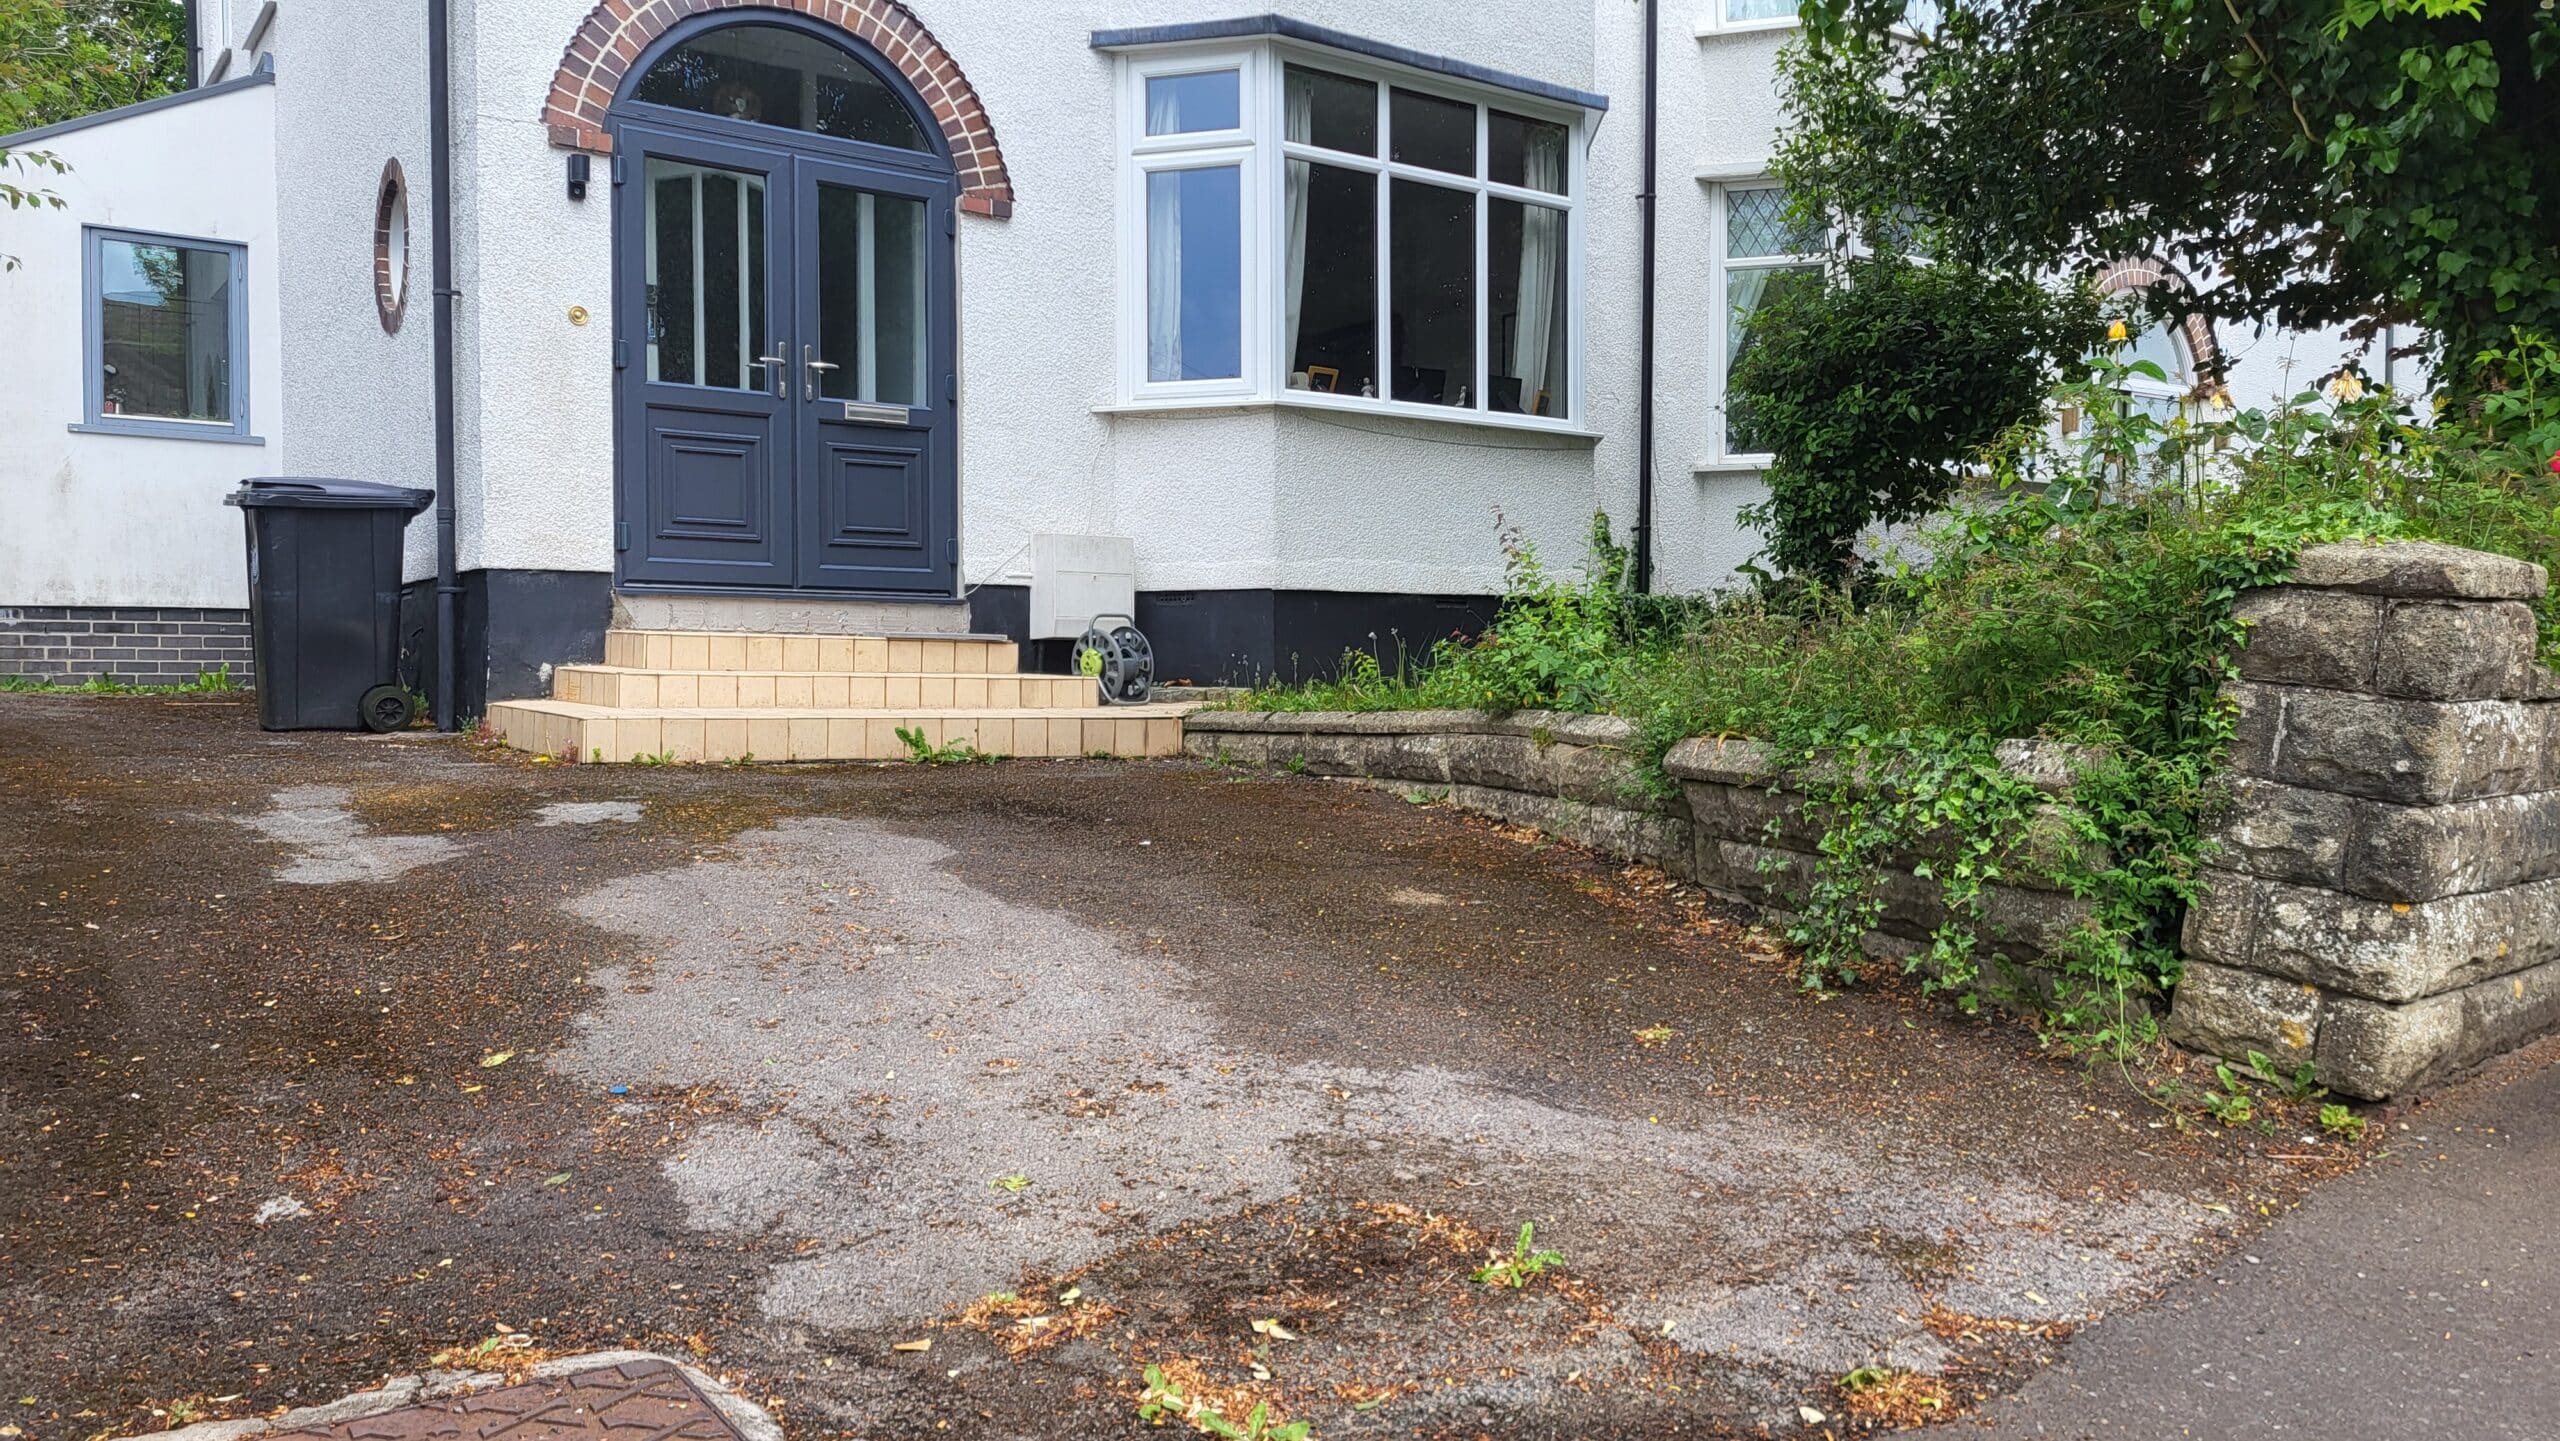
If you are interested in seeing how this driveway looked before we started landscaping, click here.
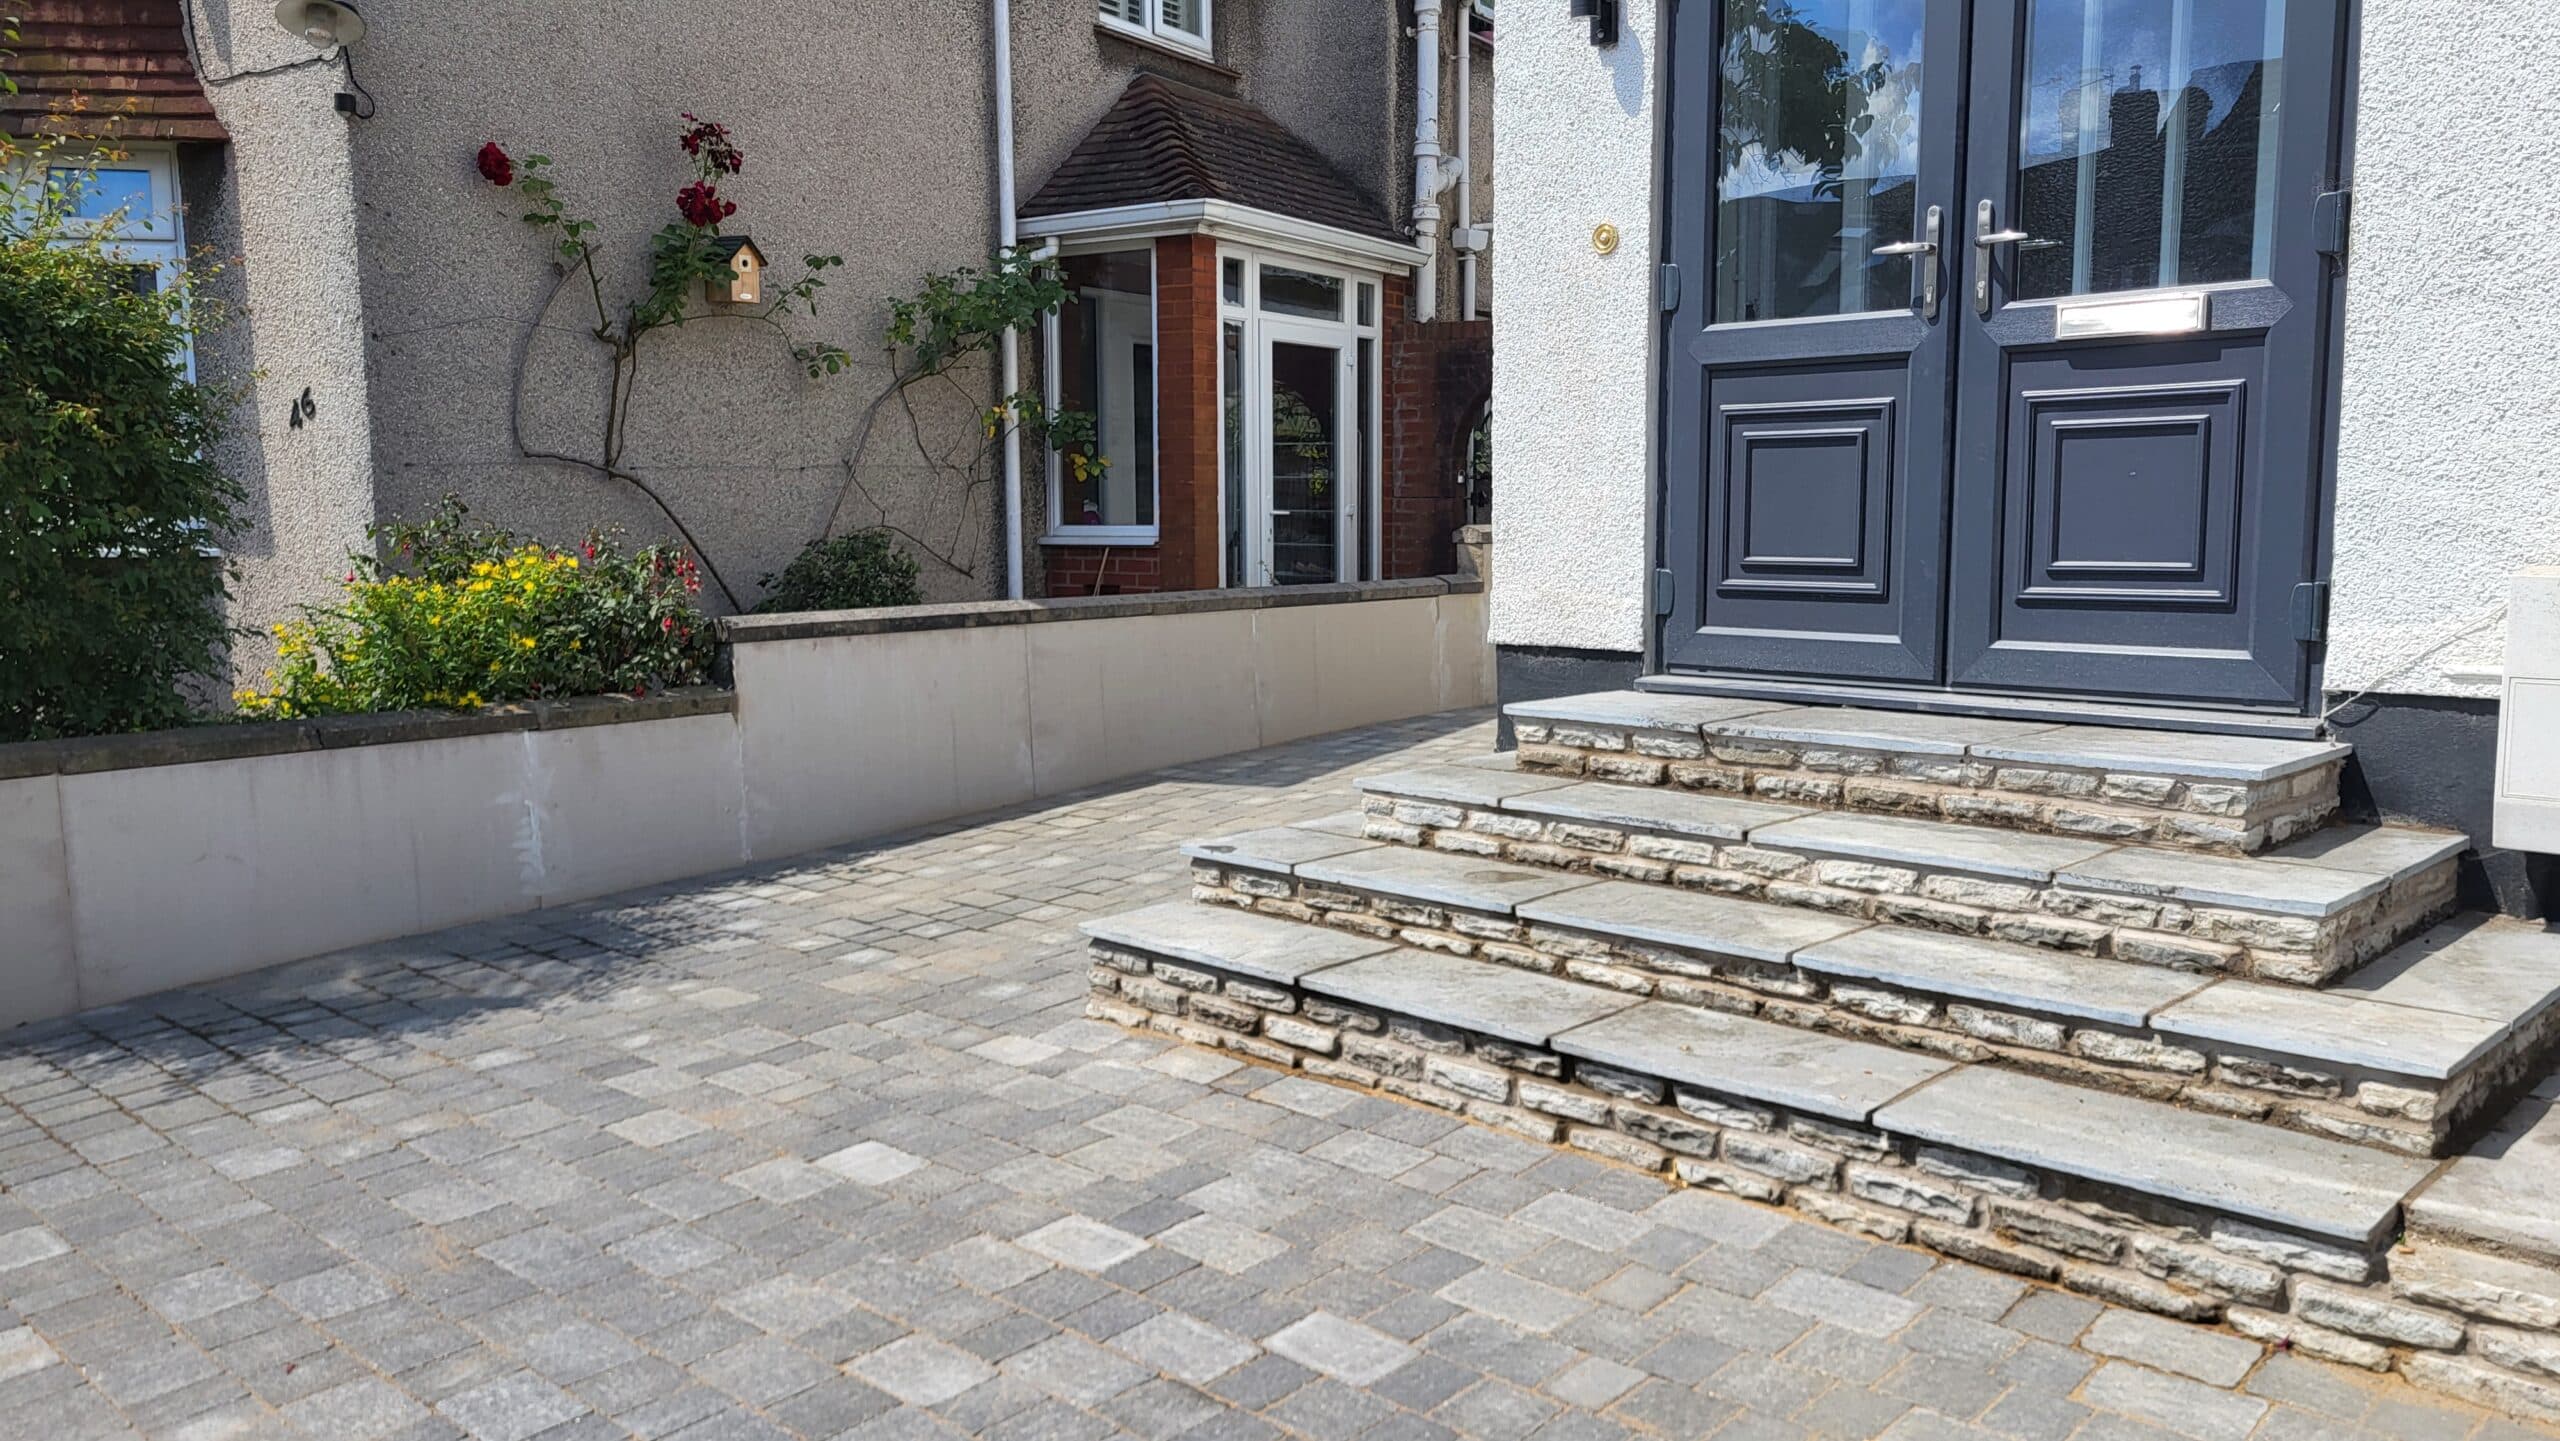
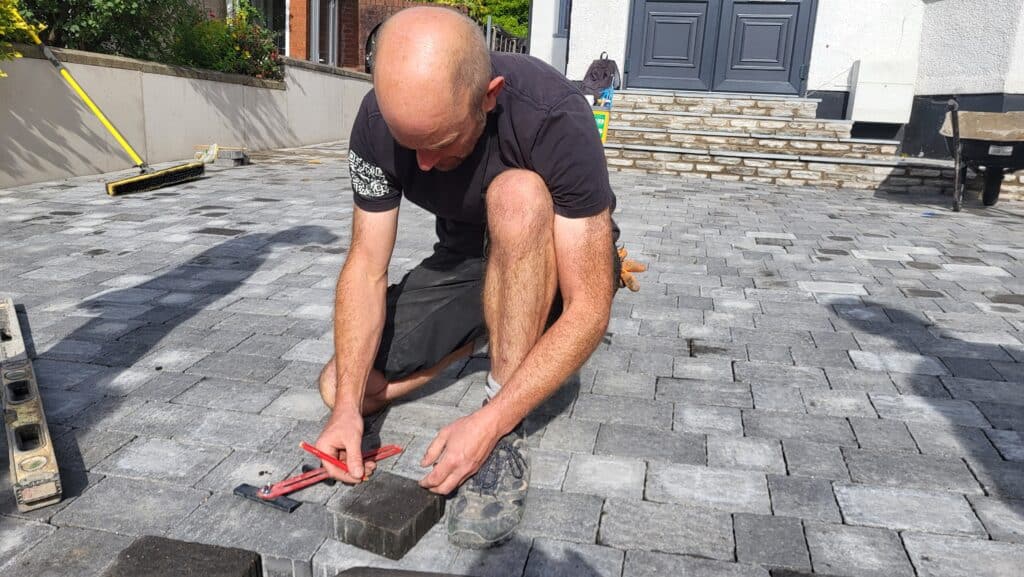
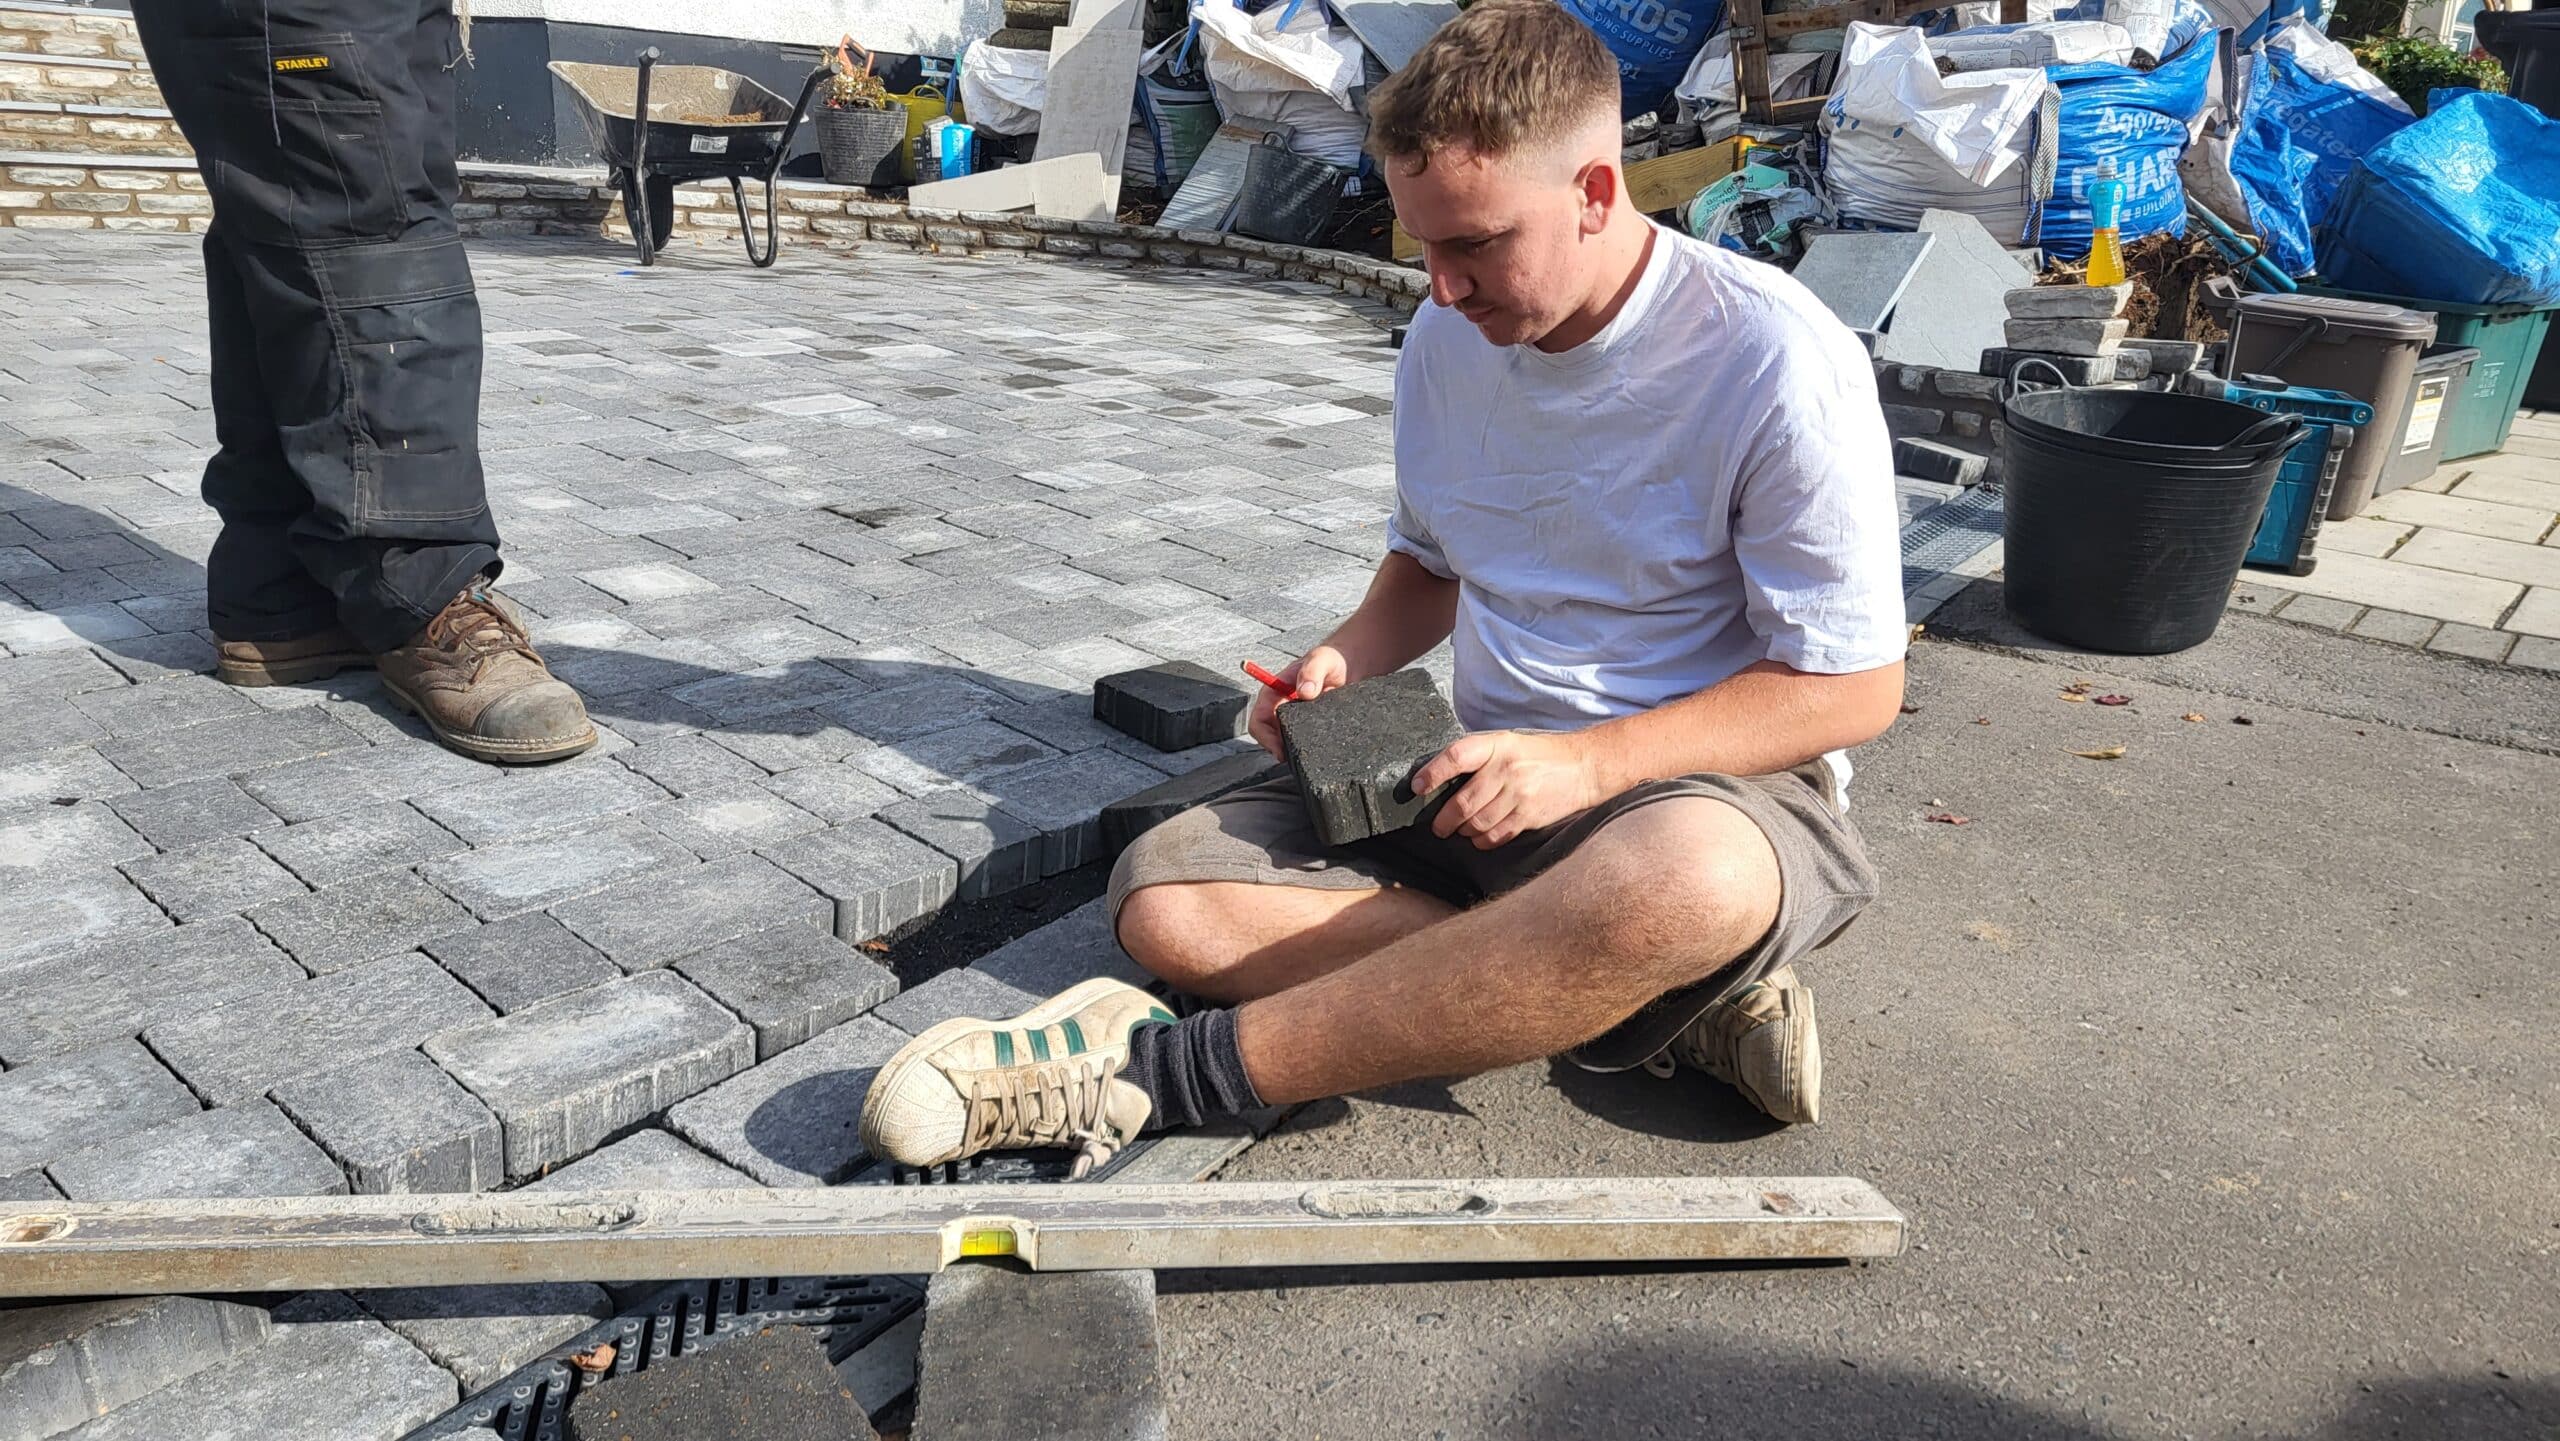
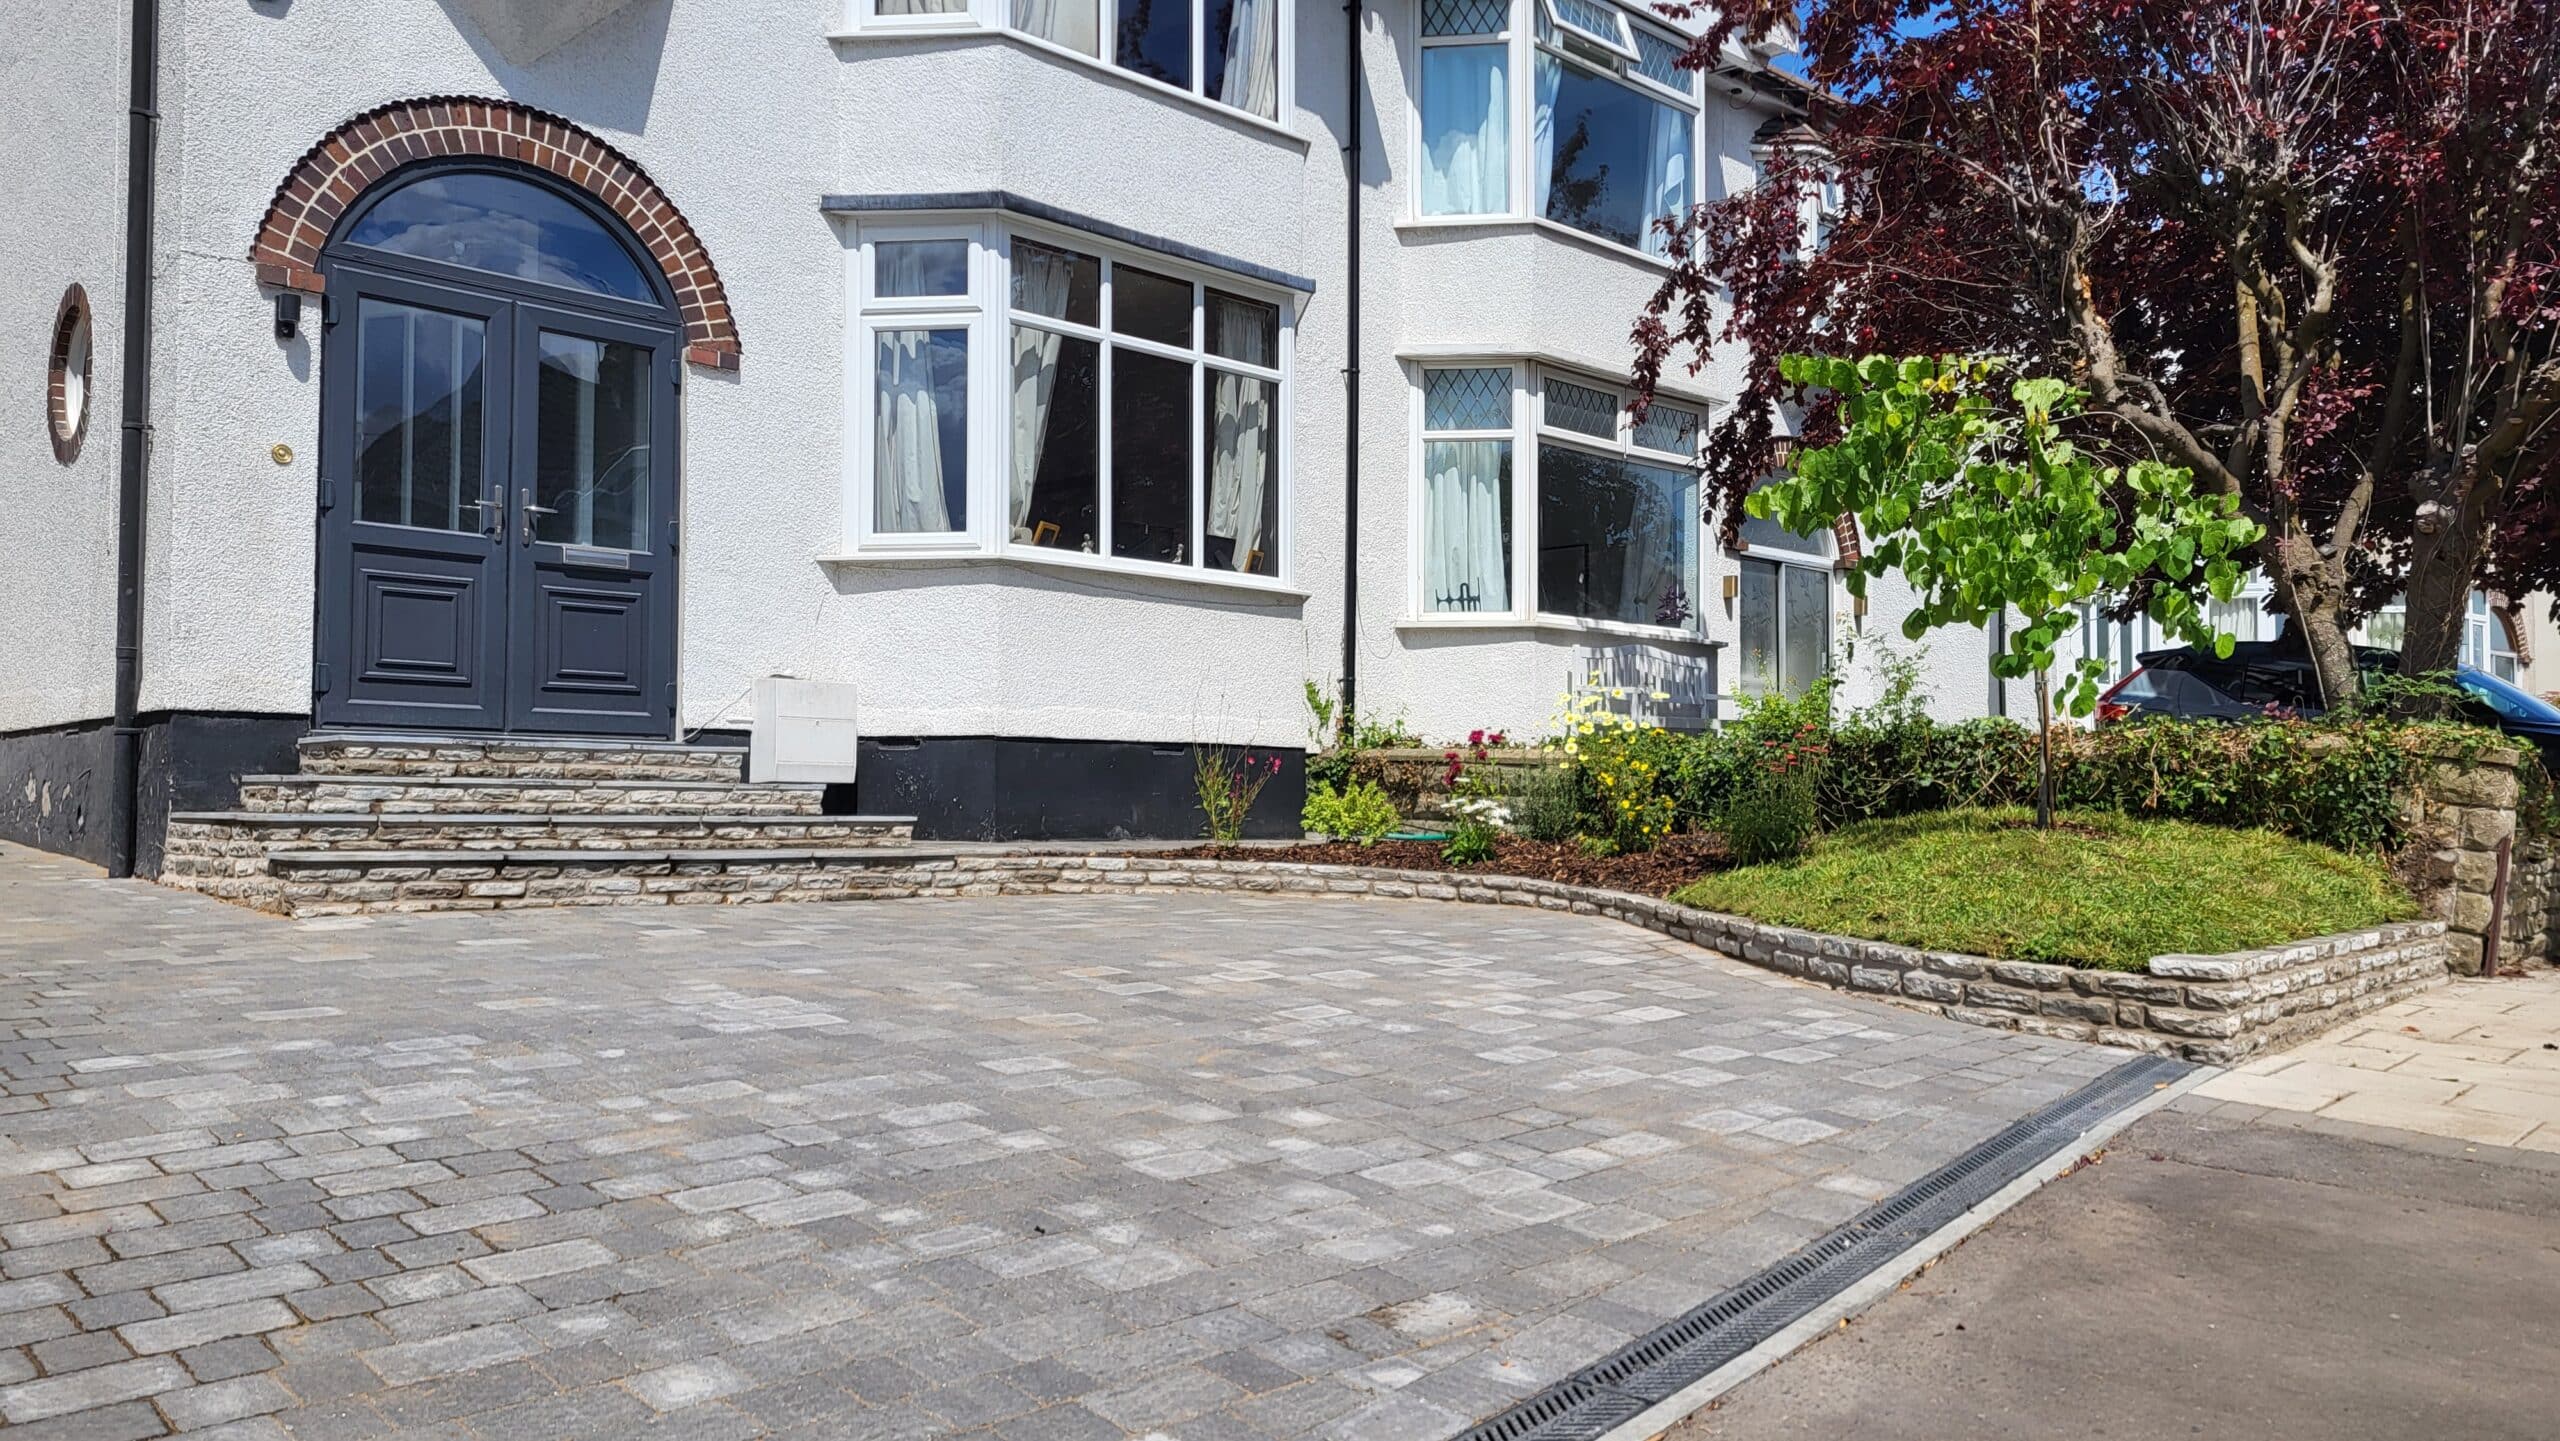
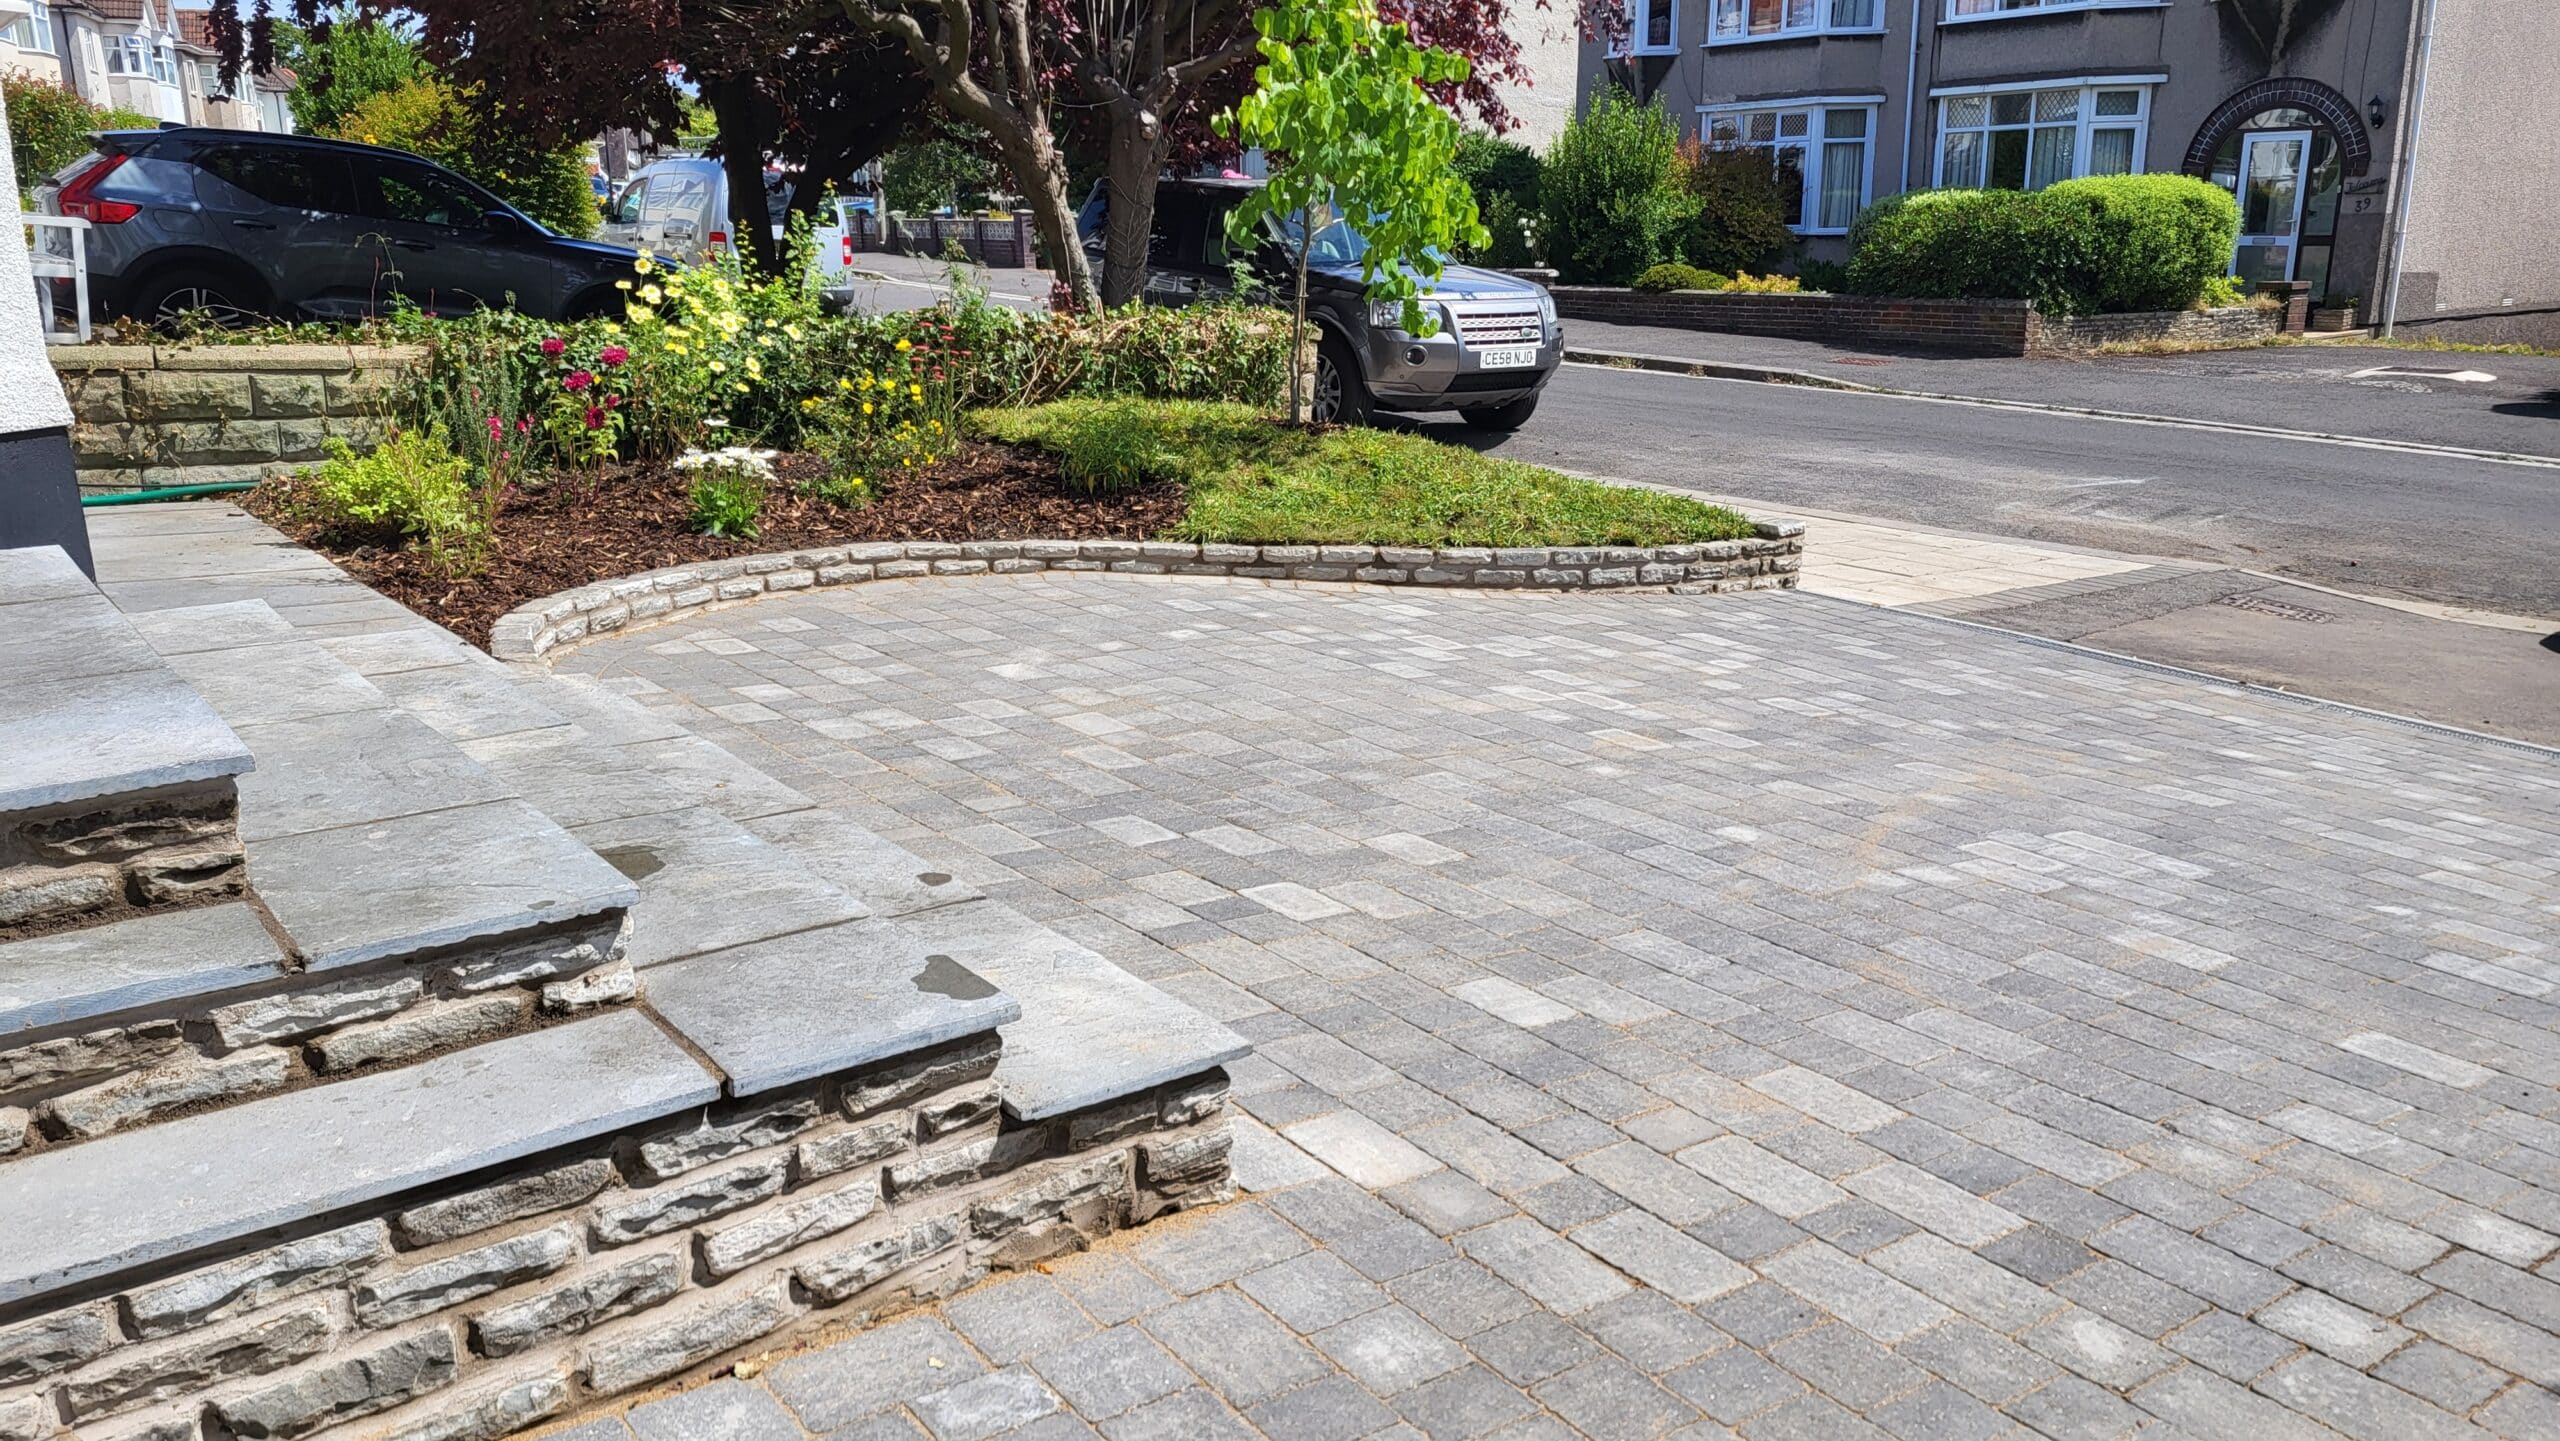
Once the main body of the blocks had been laid, the task of cutting the three different sizes with a marking tool was the final part of finishing the driveway. The new drain cover was filled with blocks. This now matches with the rest of the area and is also functional and can be removed easily.
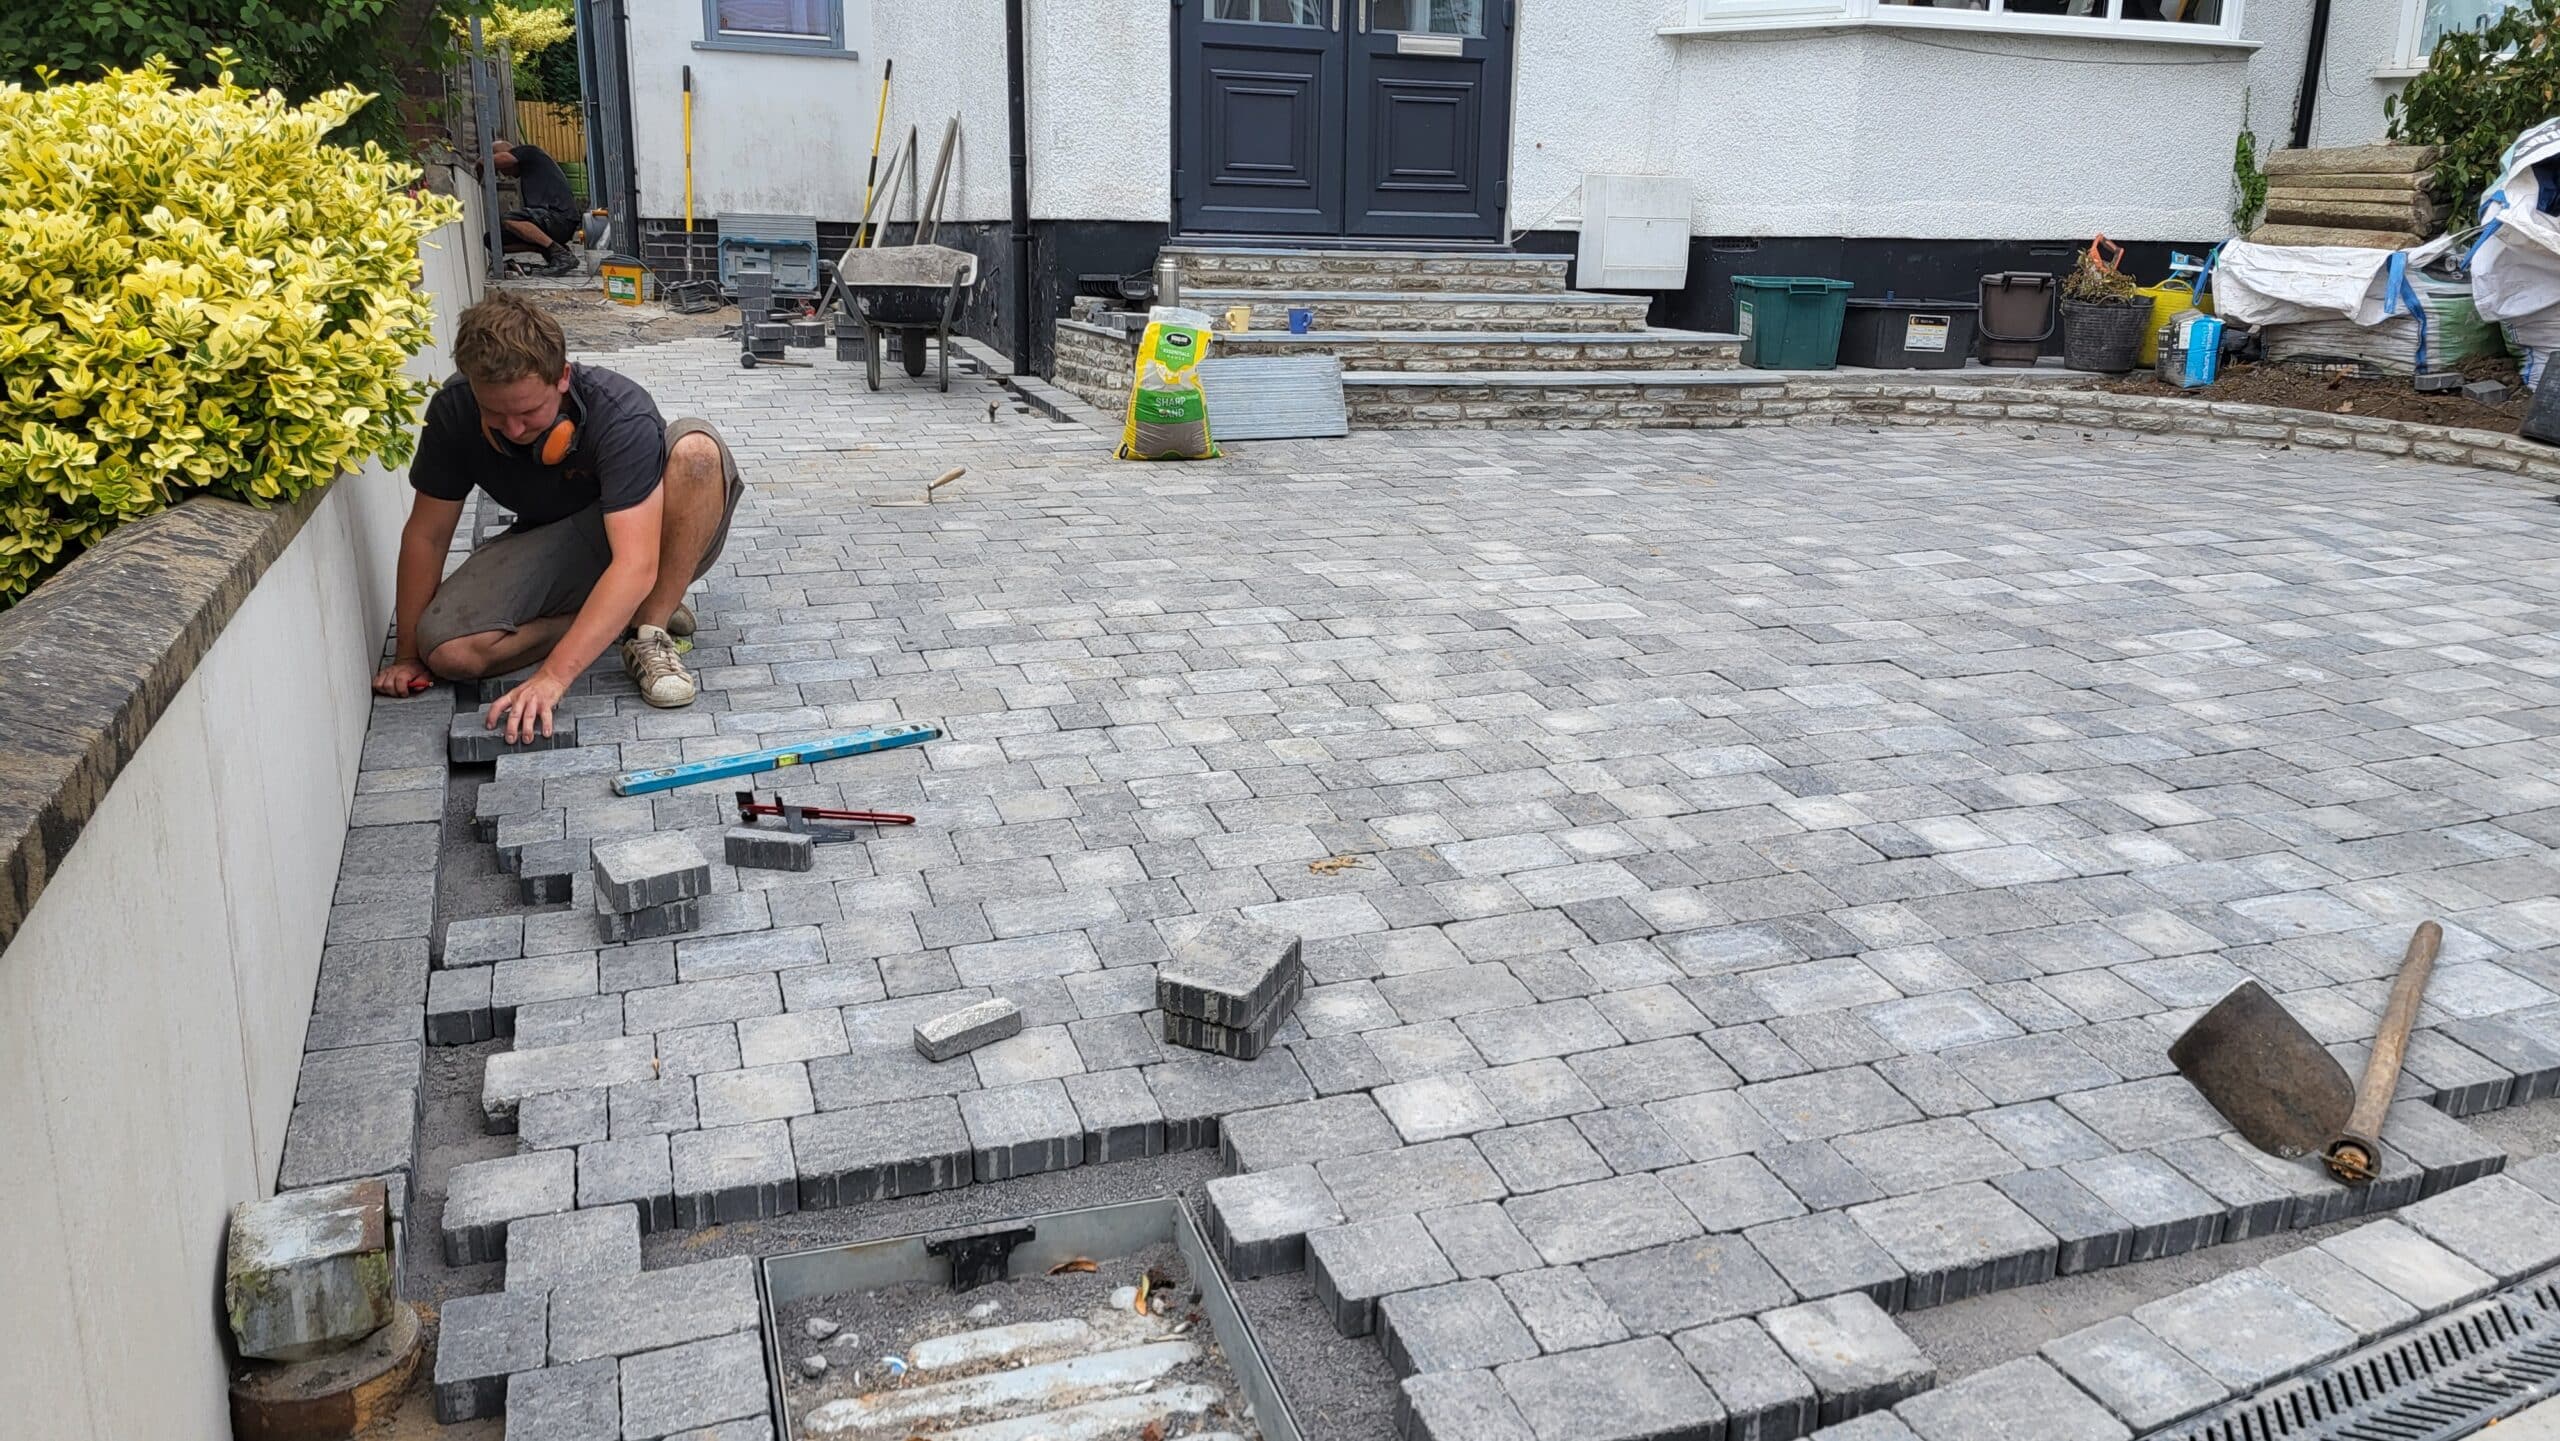
It is great seeing a landscaping project come to fruition after lots of hard graft and logistical planning. The rumbled charcoal tone that we have chosen for this driveway looks good when it is wet and dry and will be very forgiving and durable.
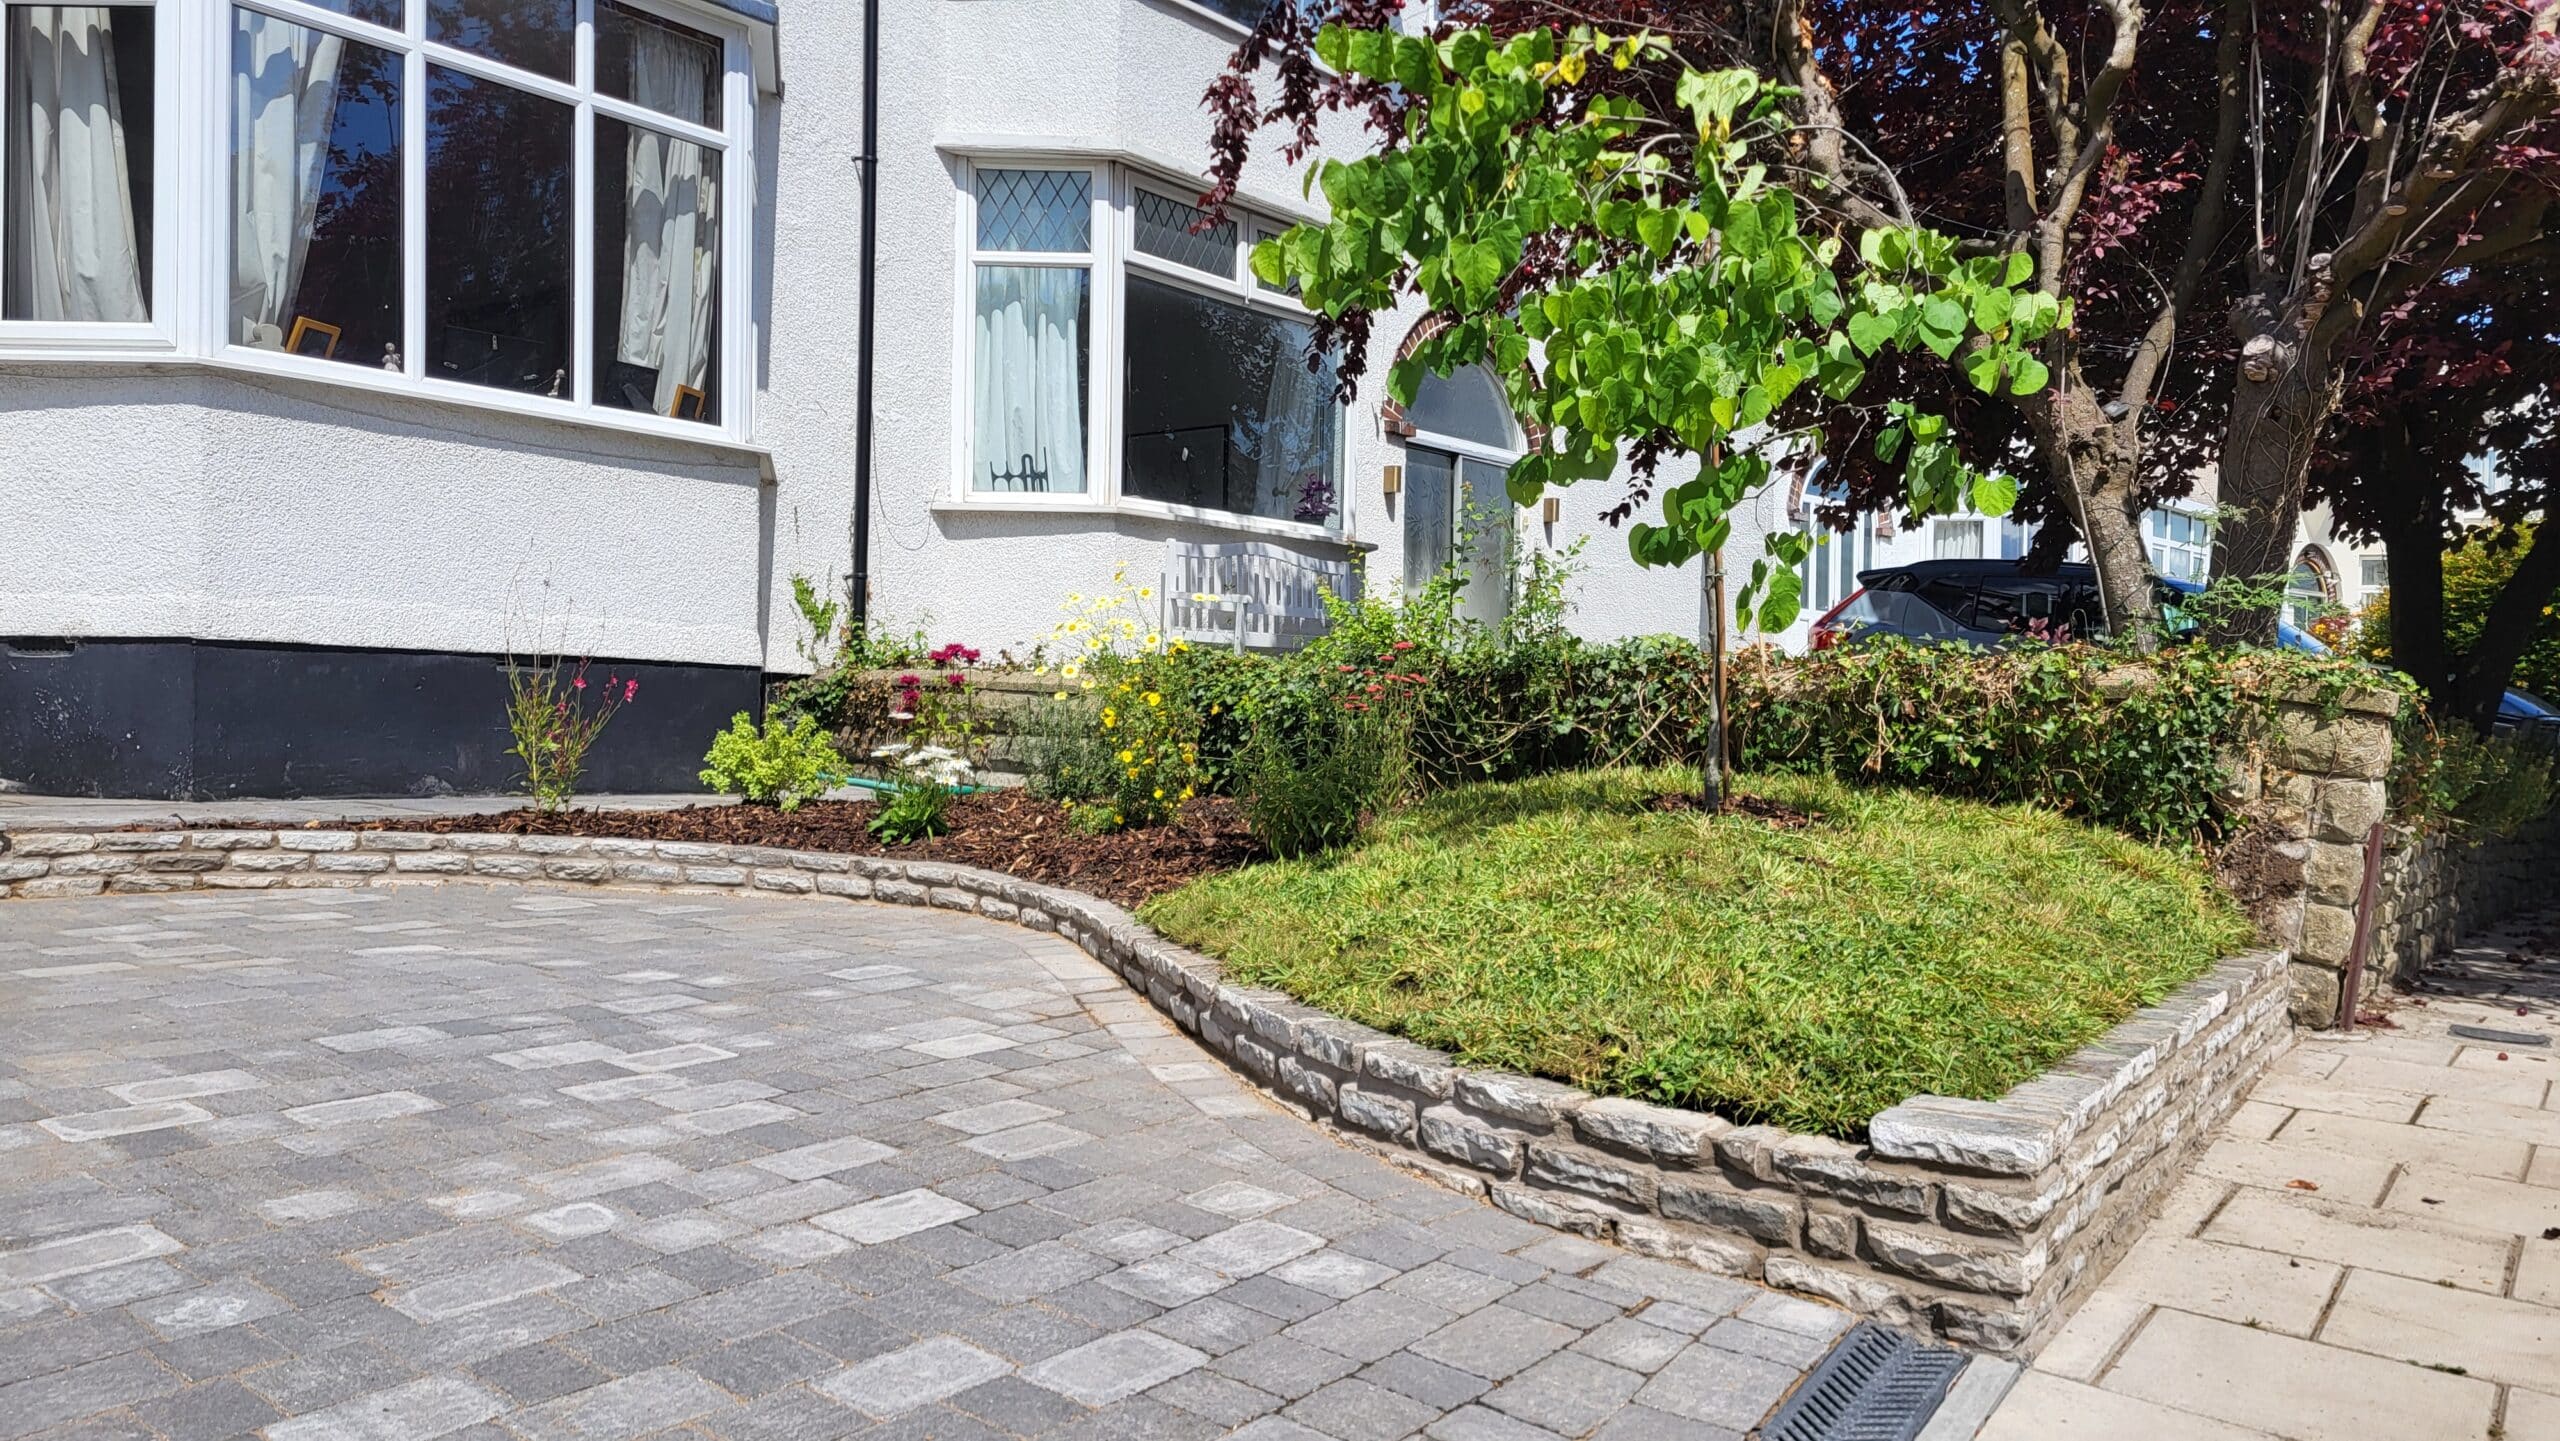
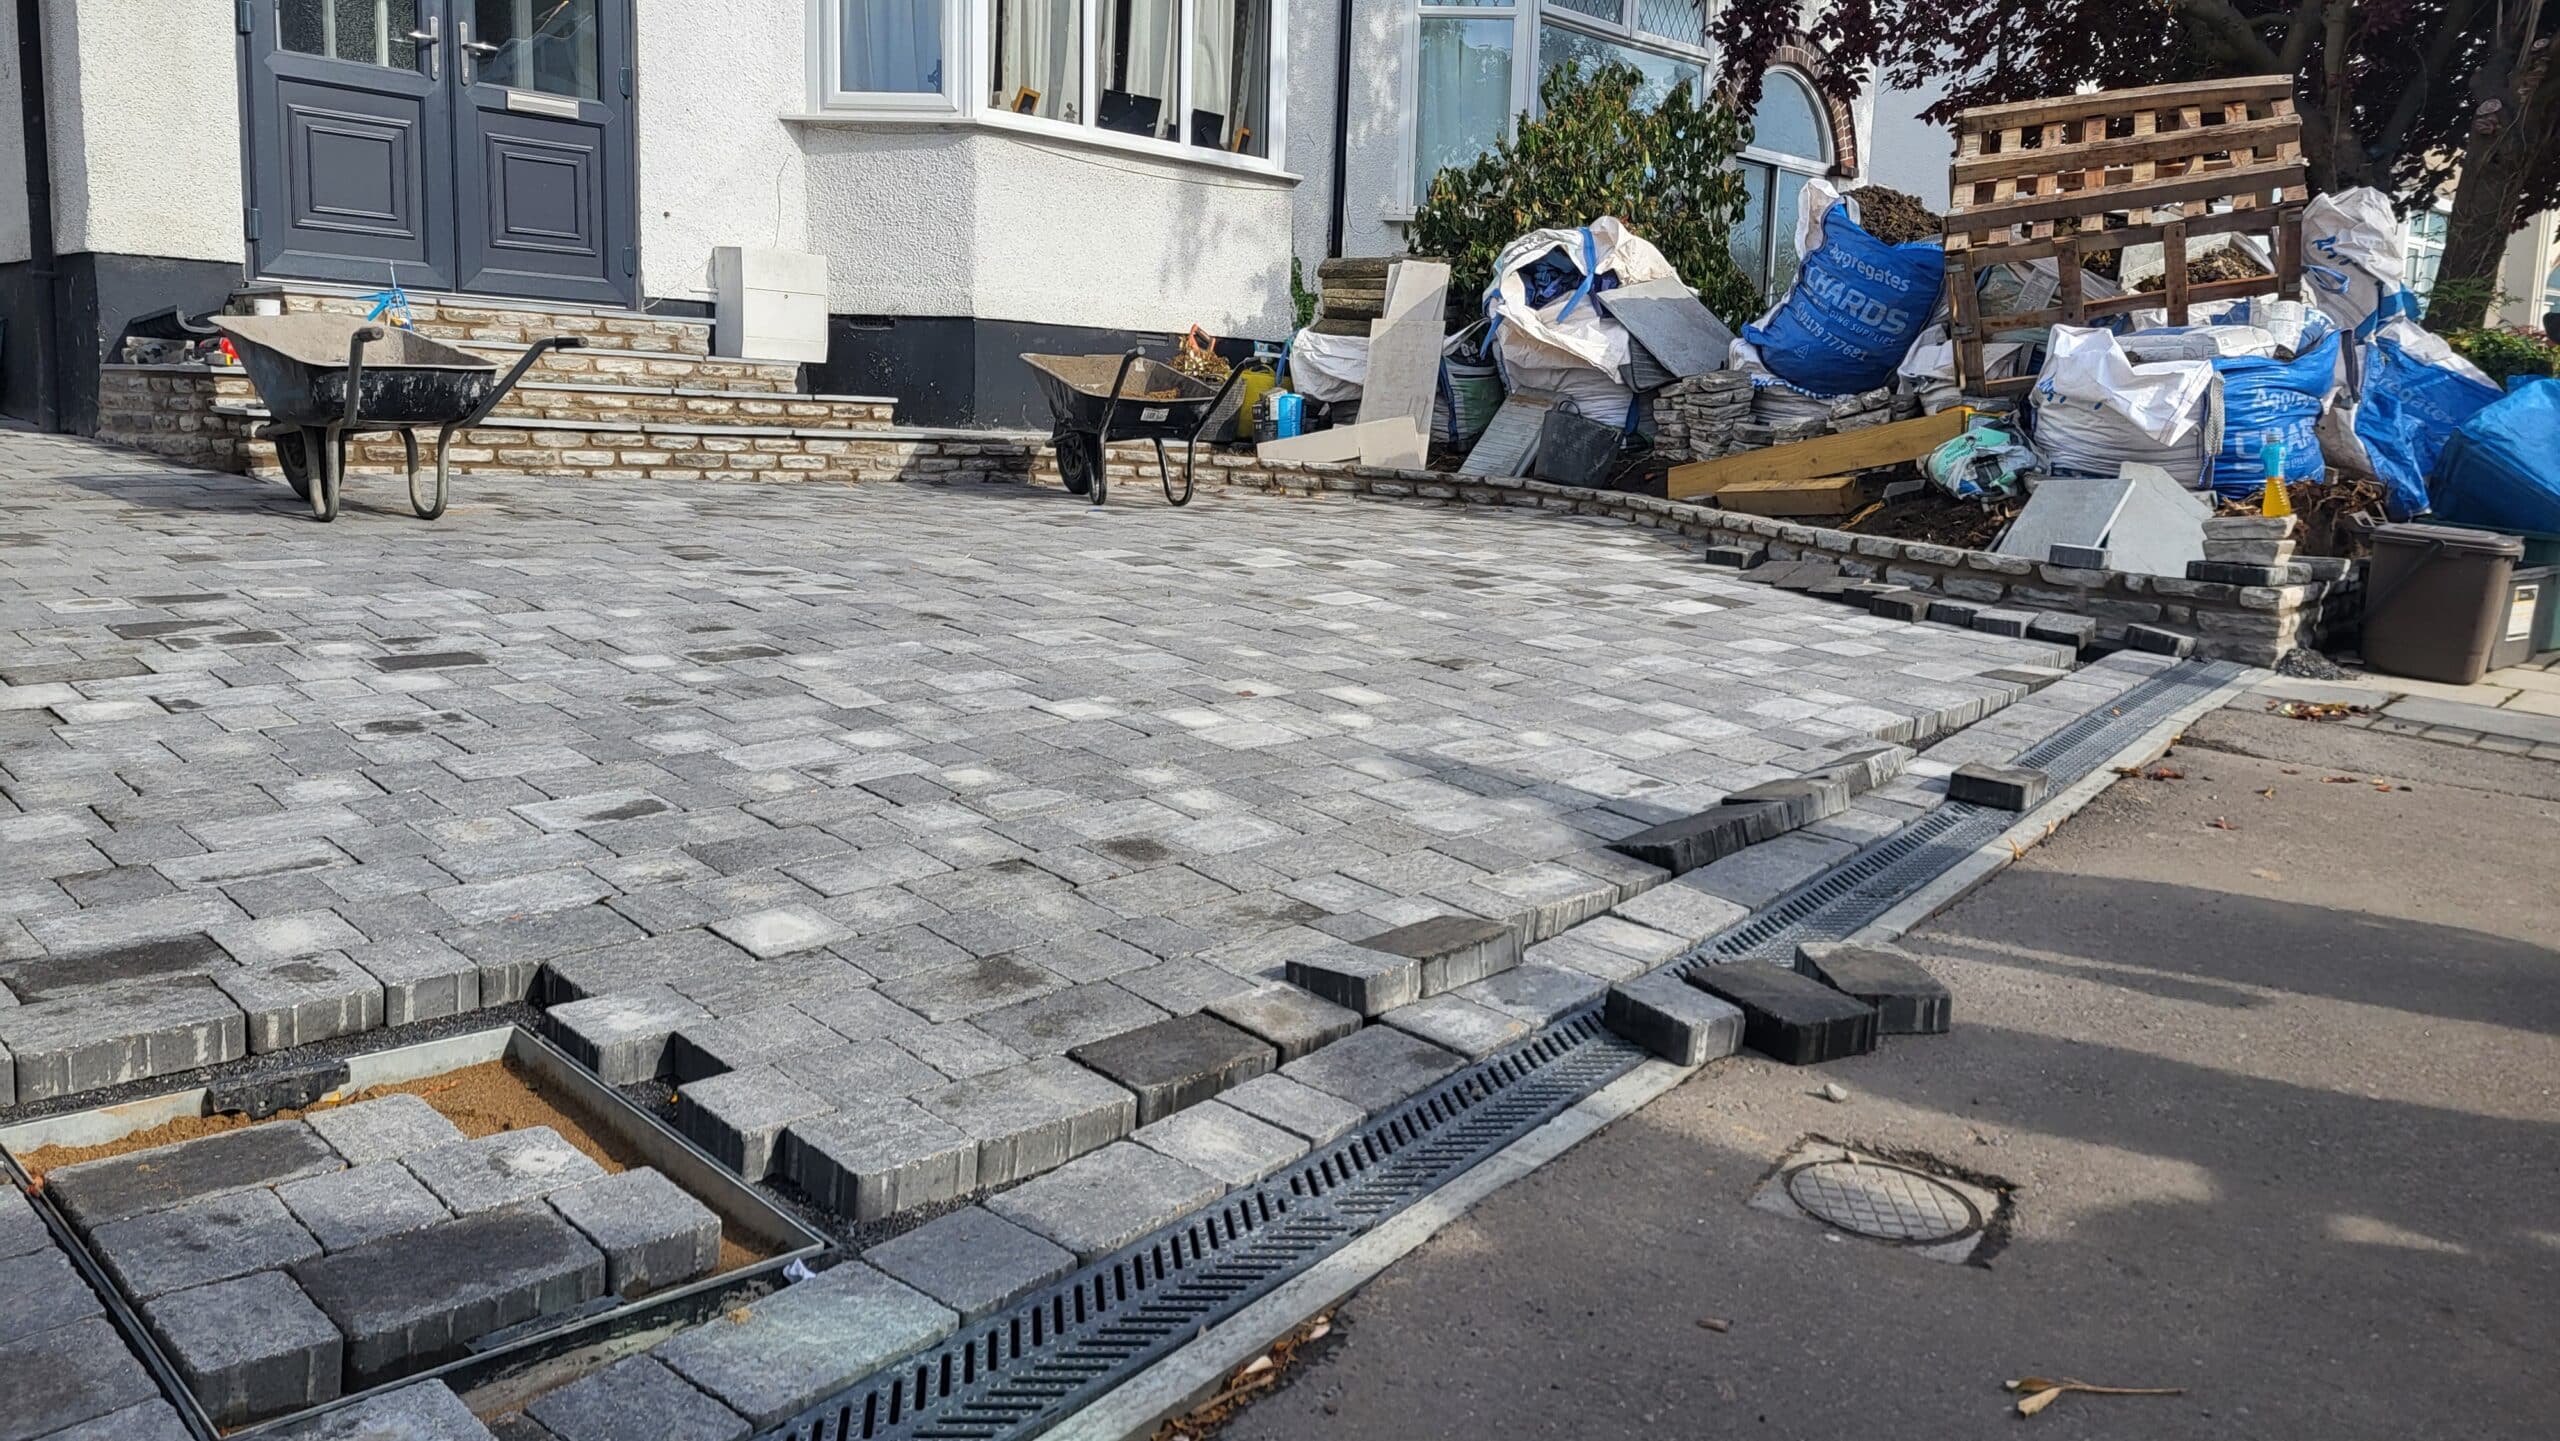
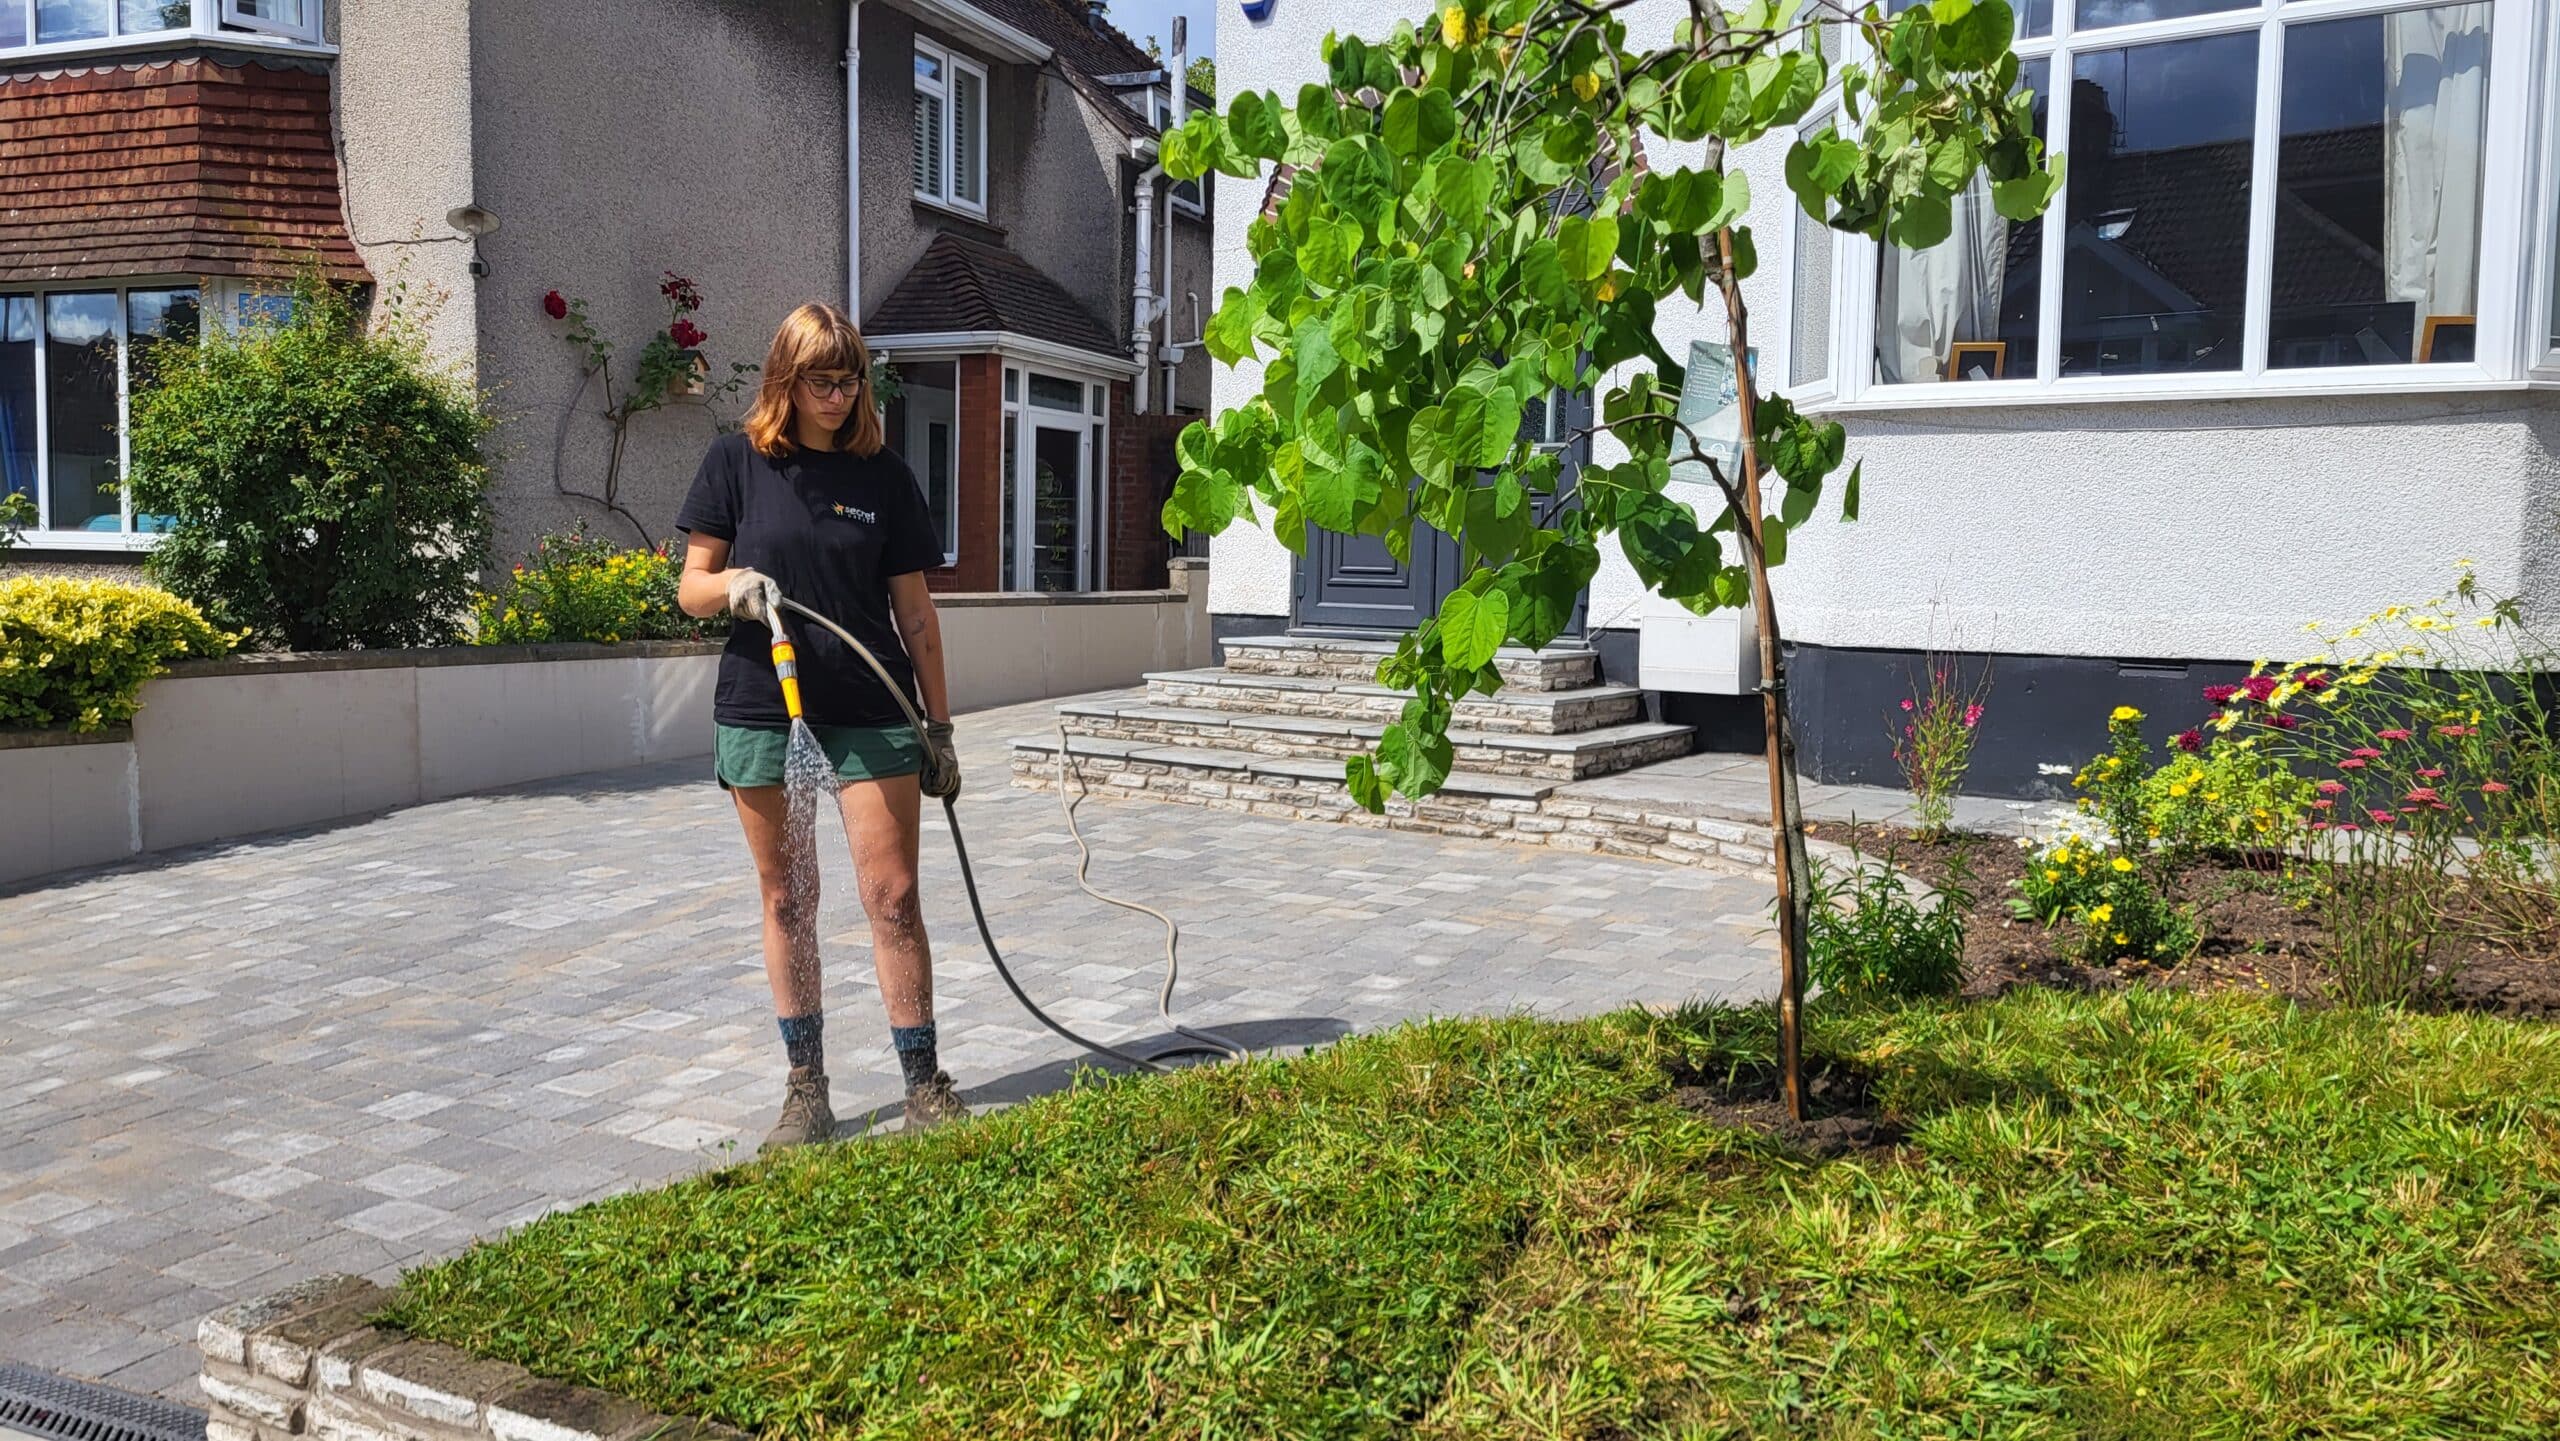
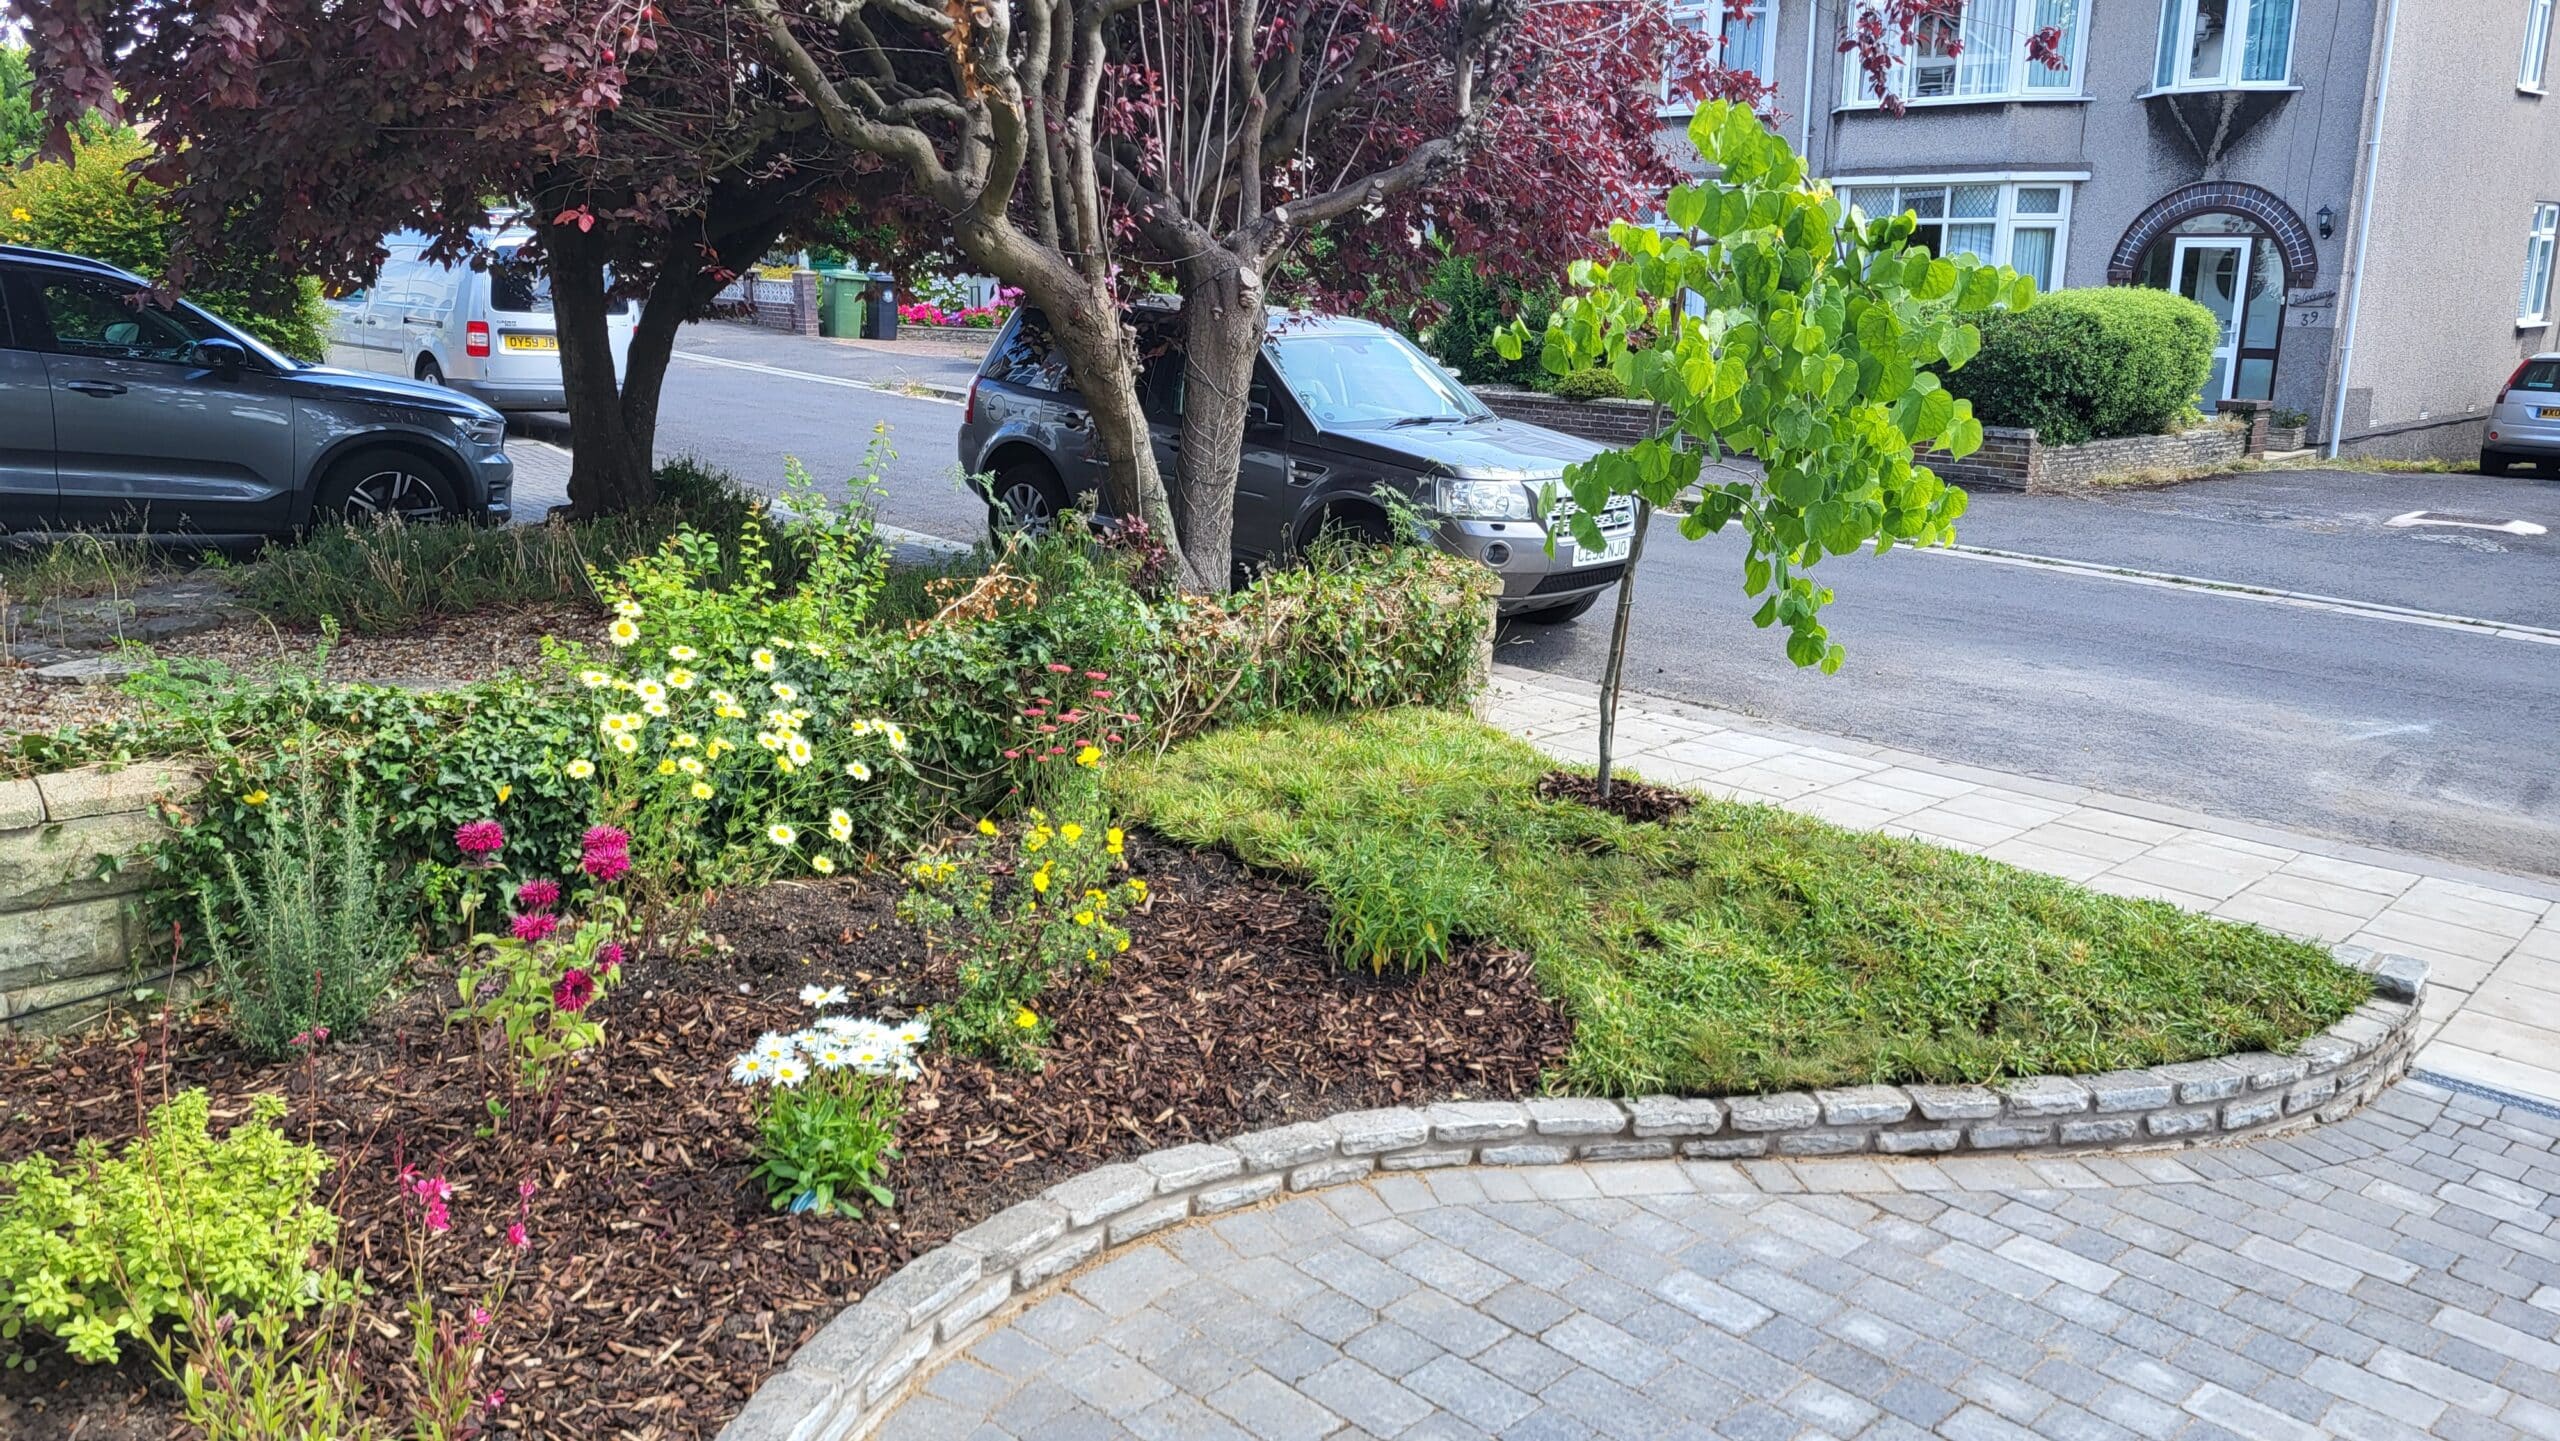
The last step for the block paving was to brush in kiln dried sand, which helps to stabilise and prevents movement. The border of the driveway, which had previously been overgrown and uncared for, was shaped into a mound. We planted a Cercis on top of the mound, with planting behind it.
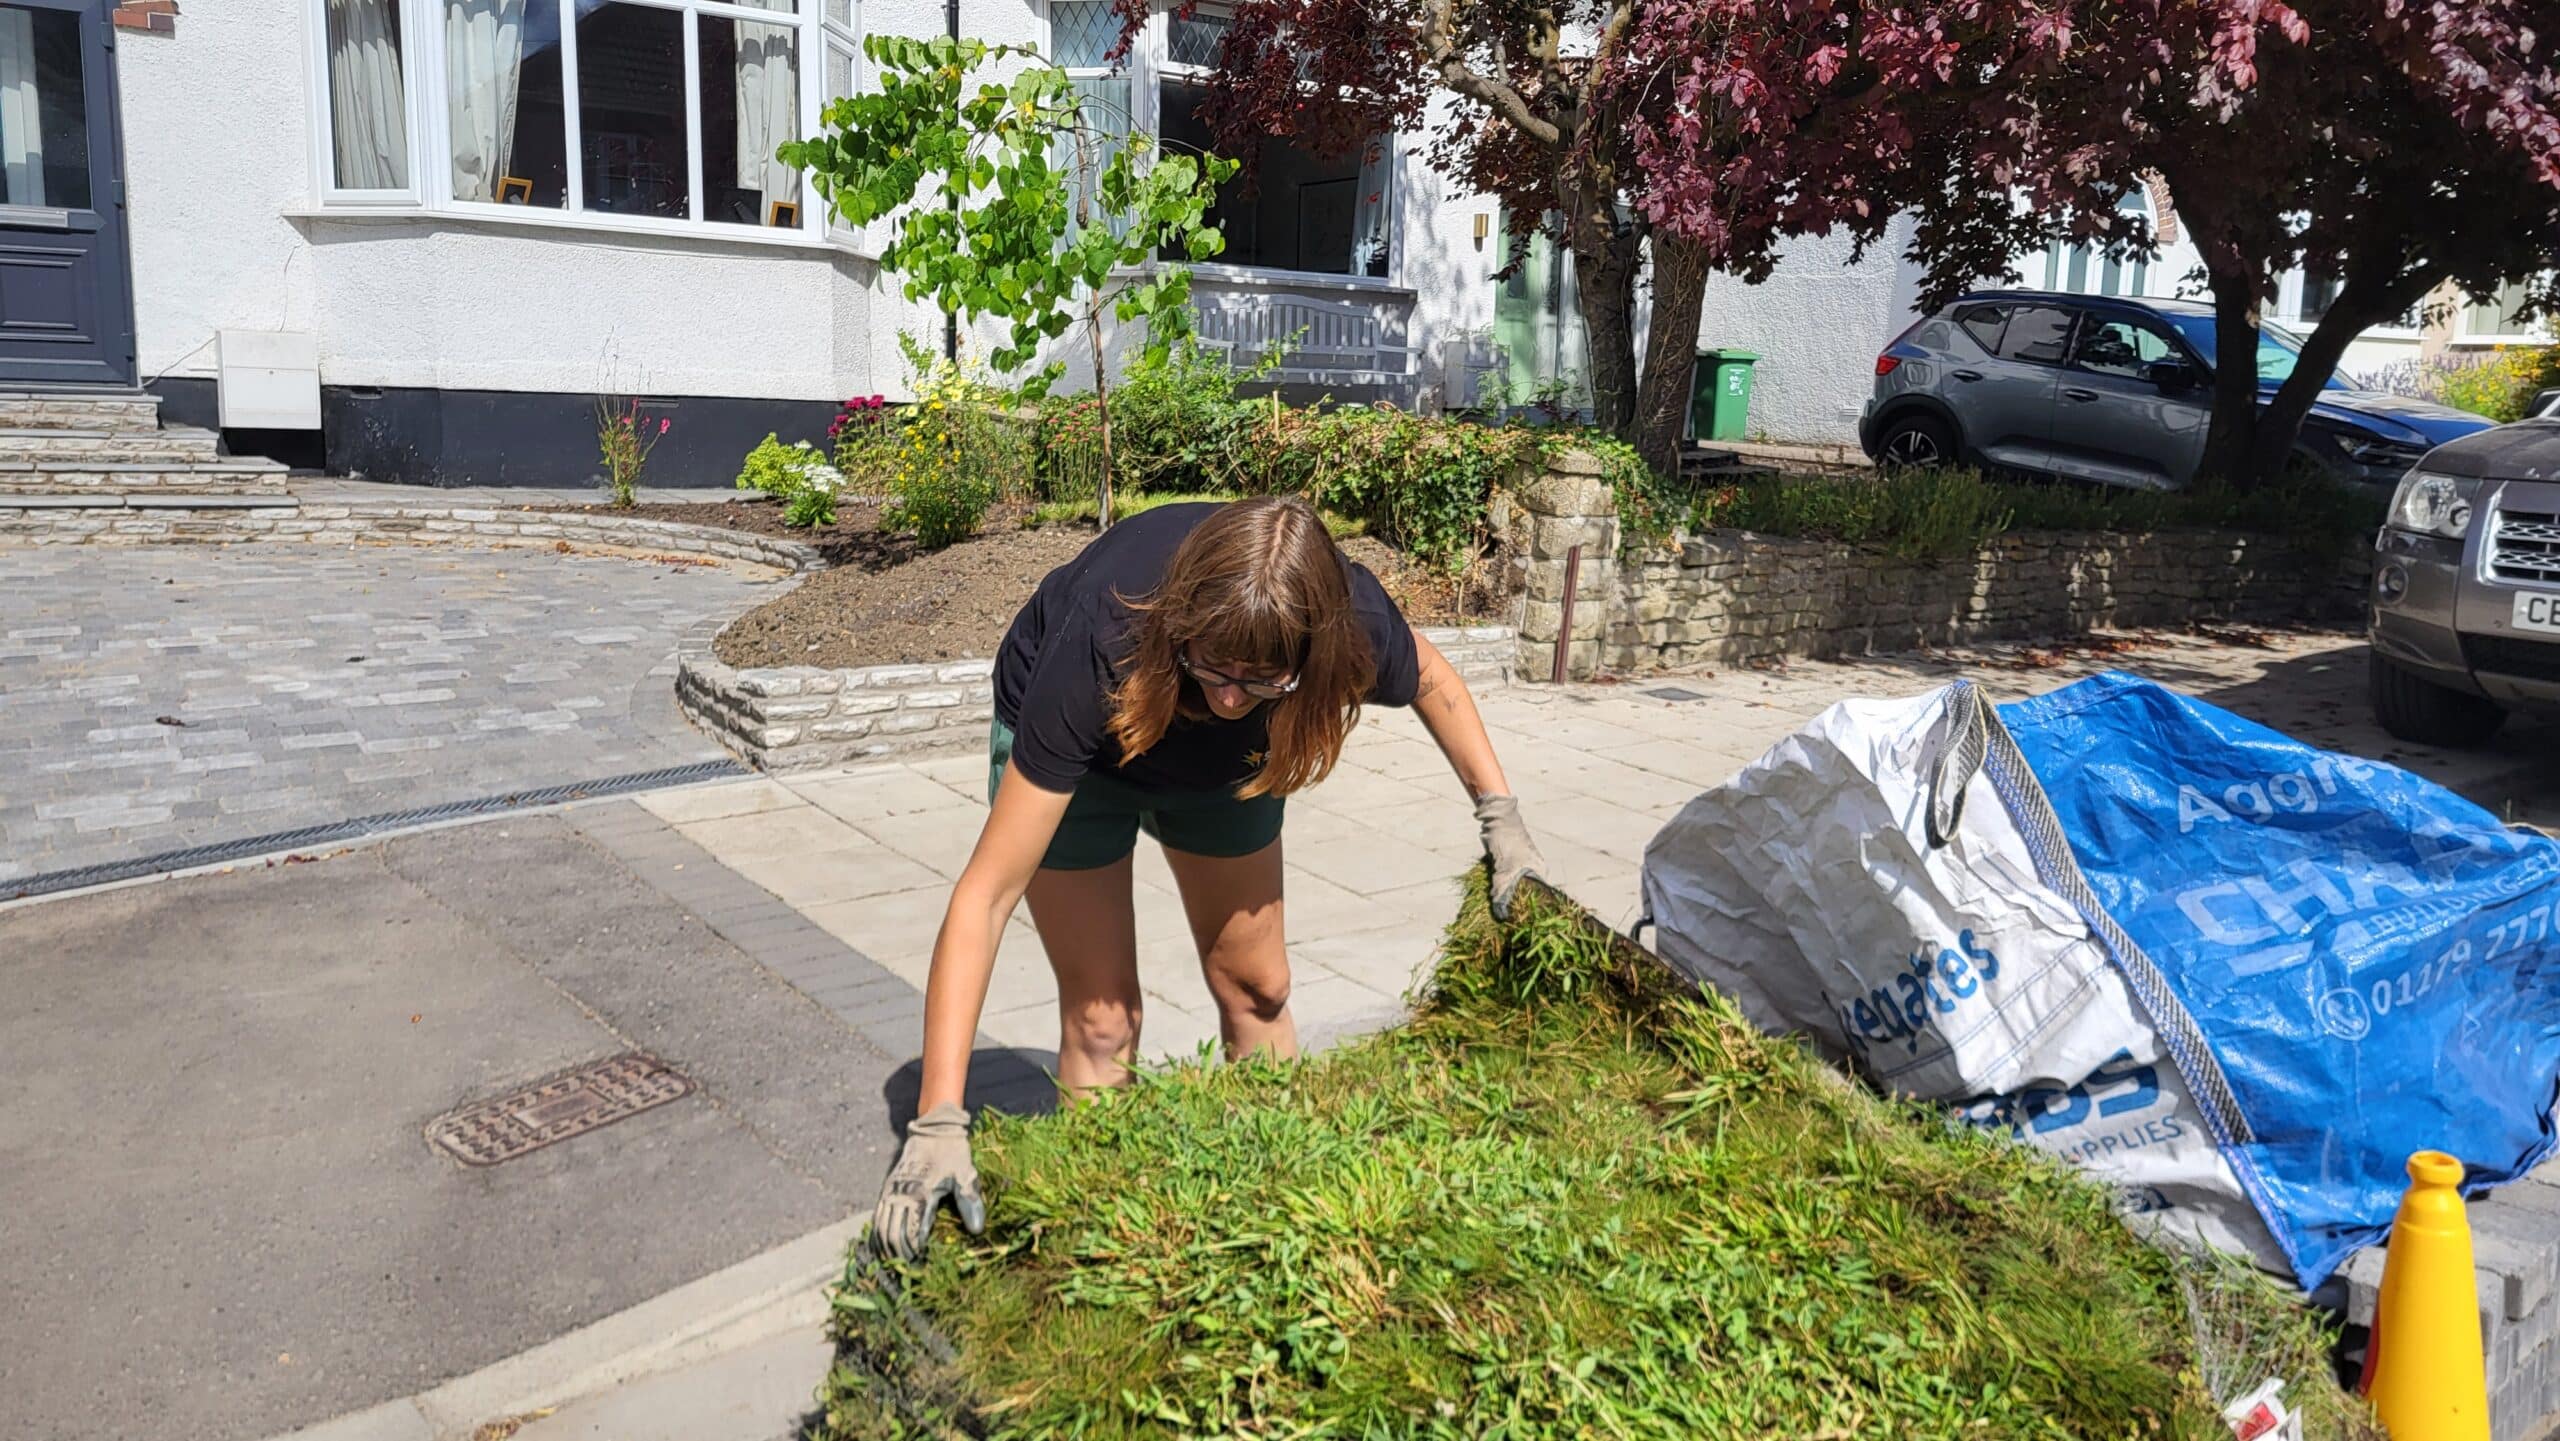
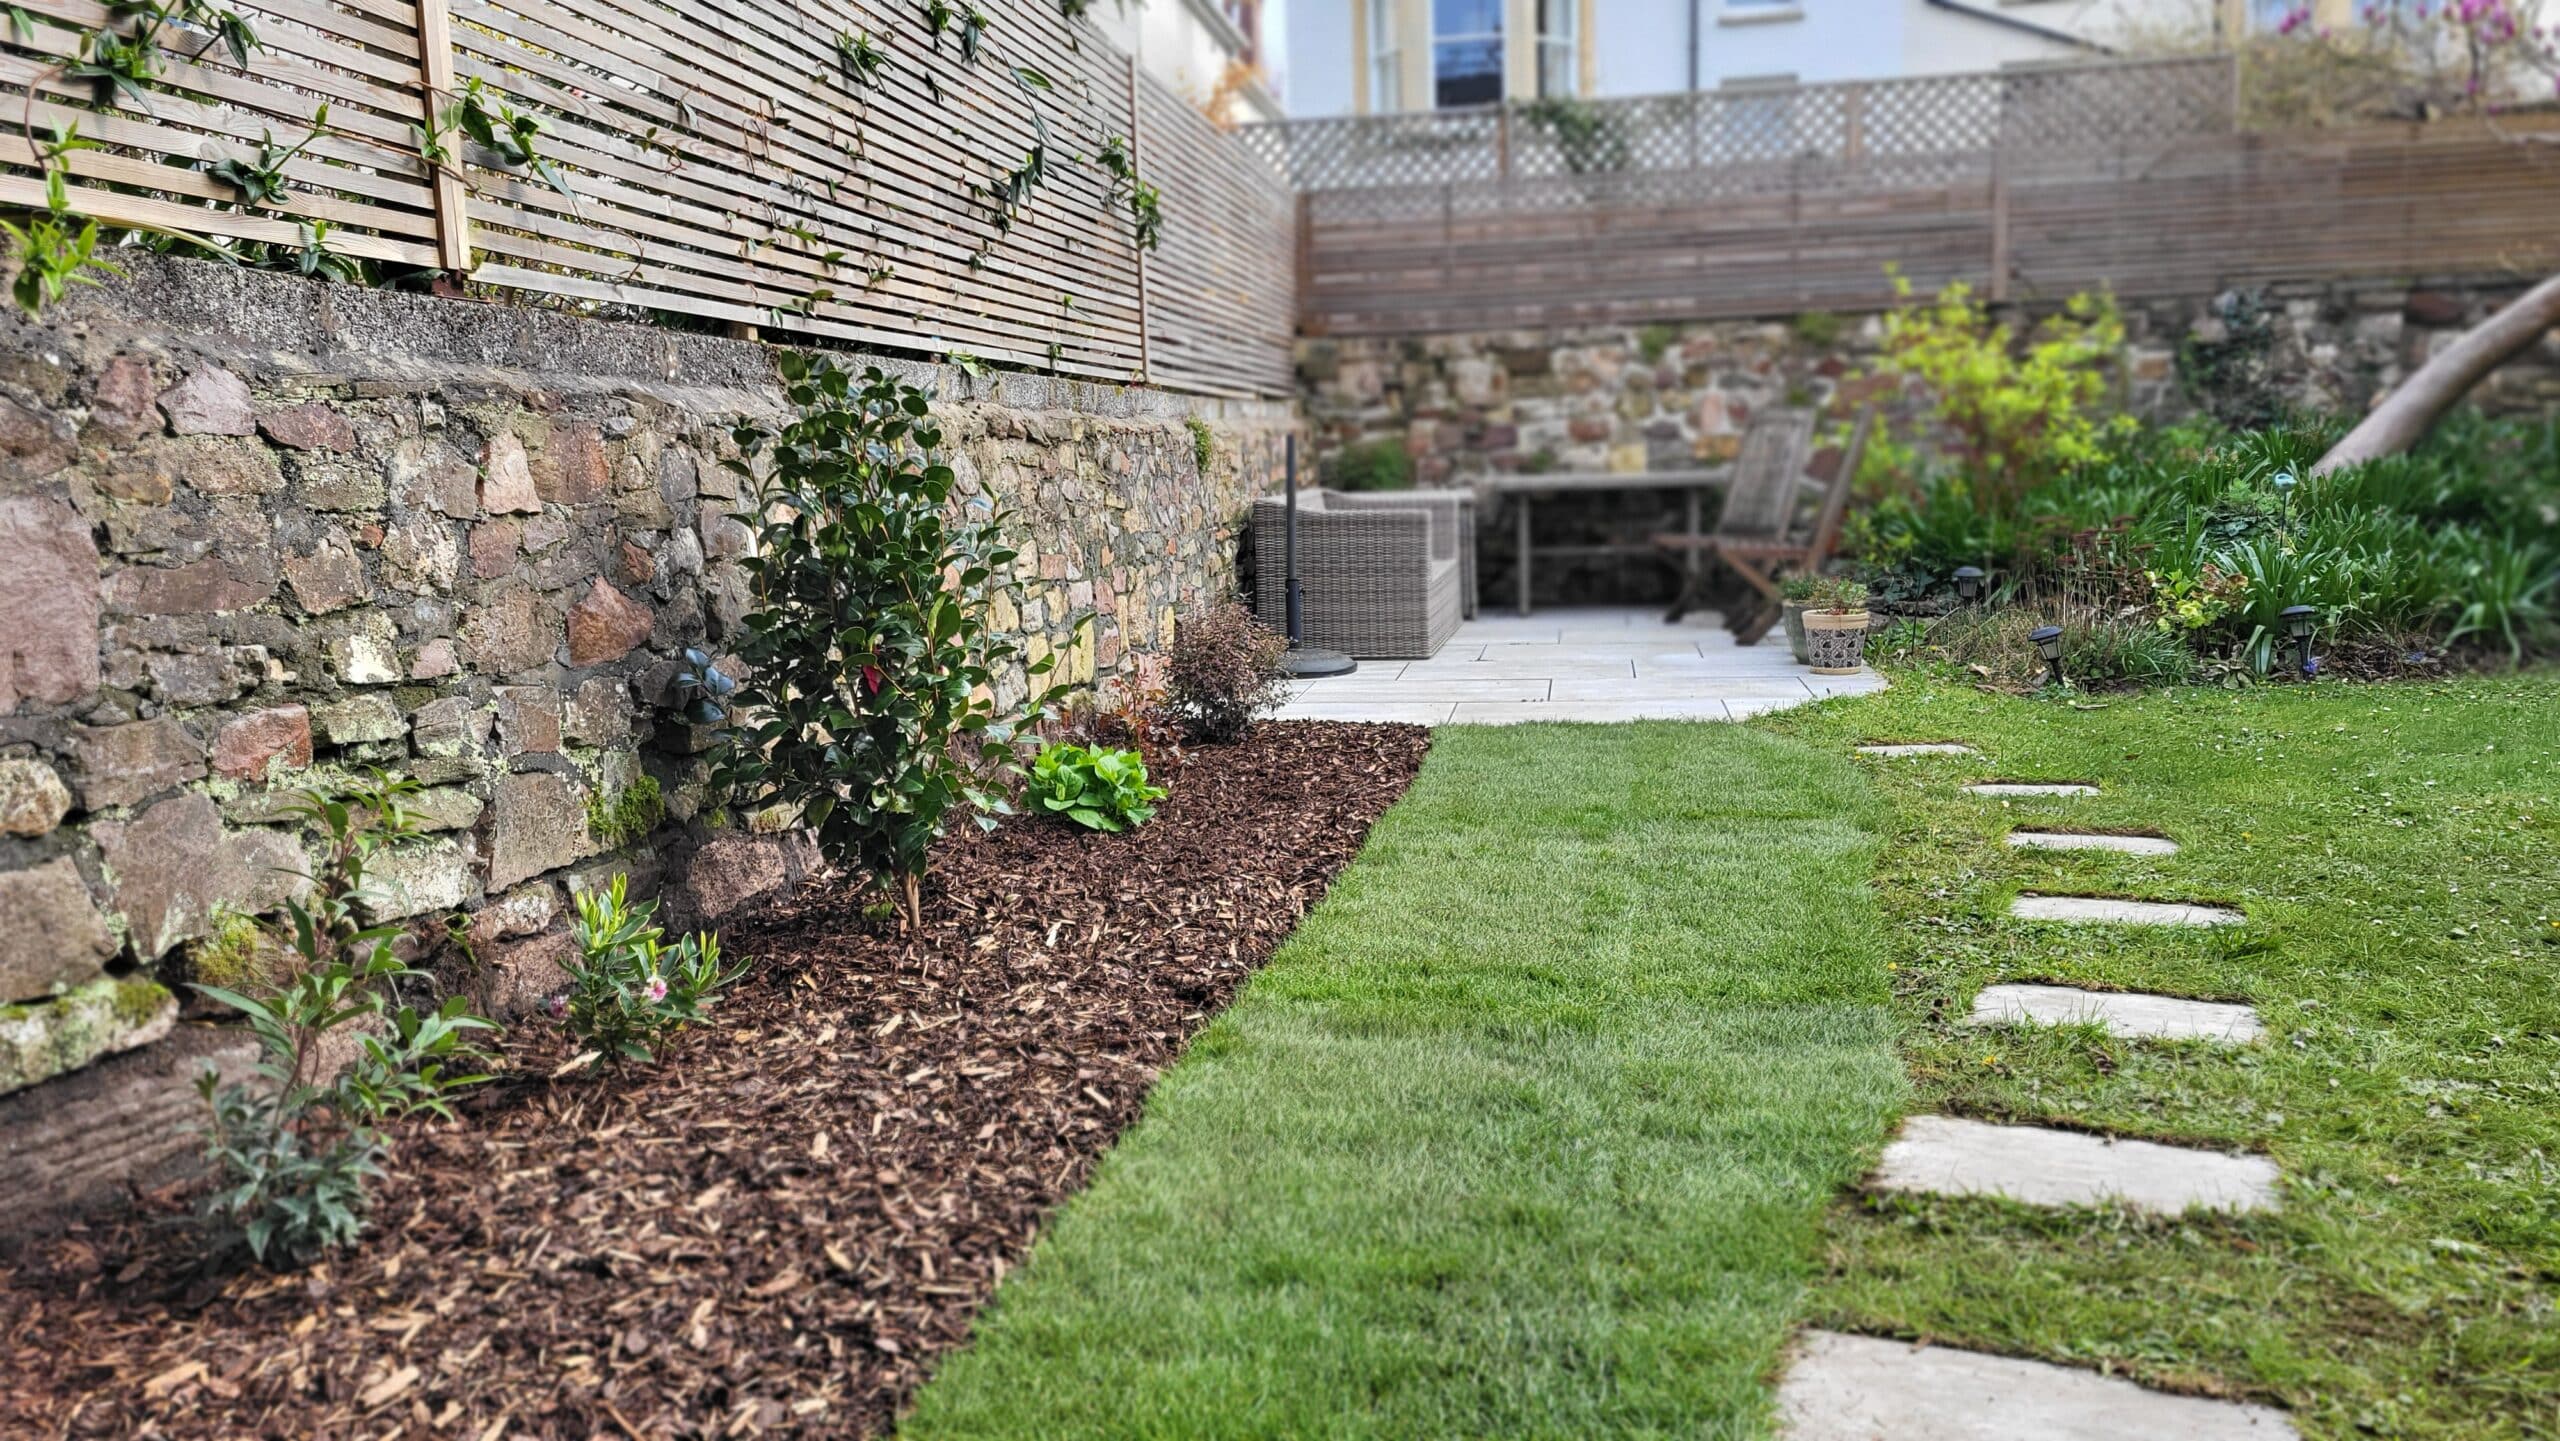
Then Flo and I arrived to lay some low grow meadow turf. The soil must be prepared prior to laying, but once that is done, it is a simple job, lifting and laying the metre square pieces. It arrived in great condition and had been thoroughly watered before transportation.
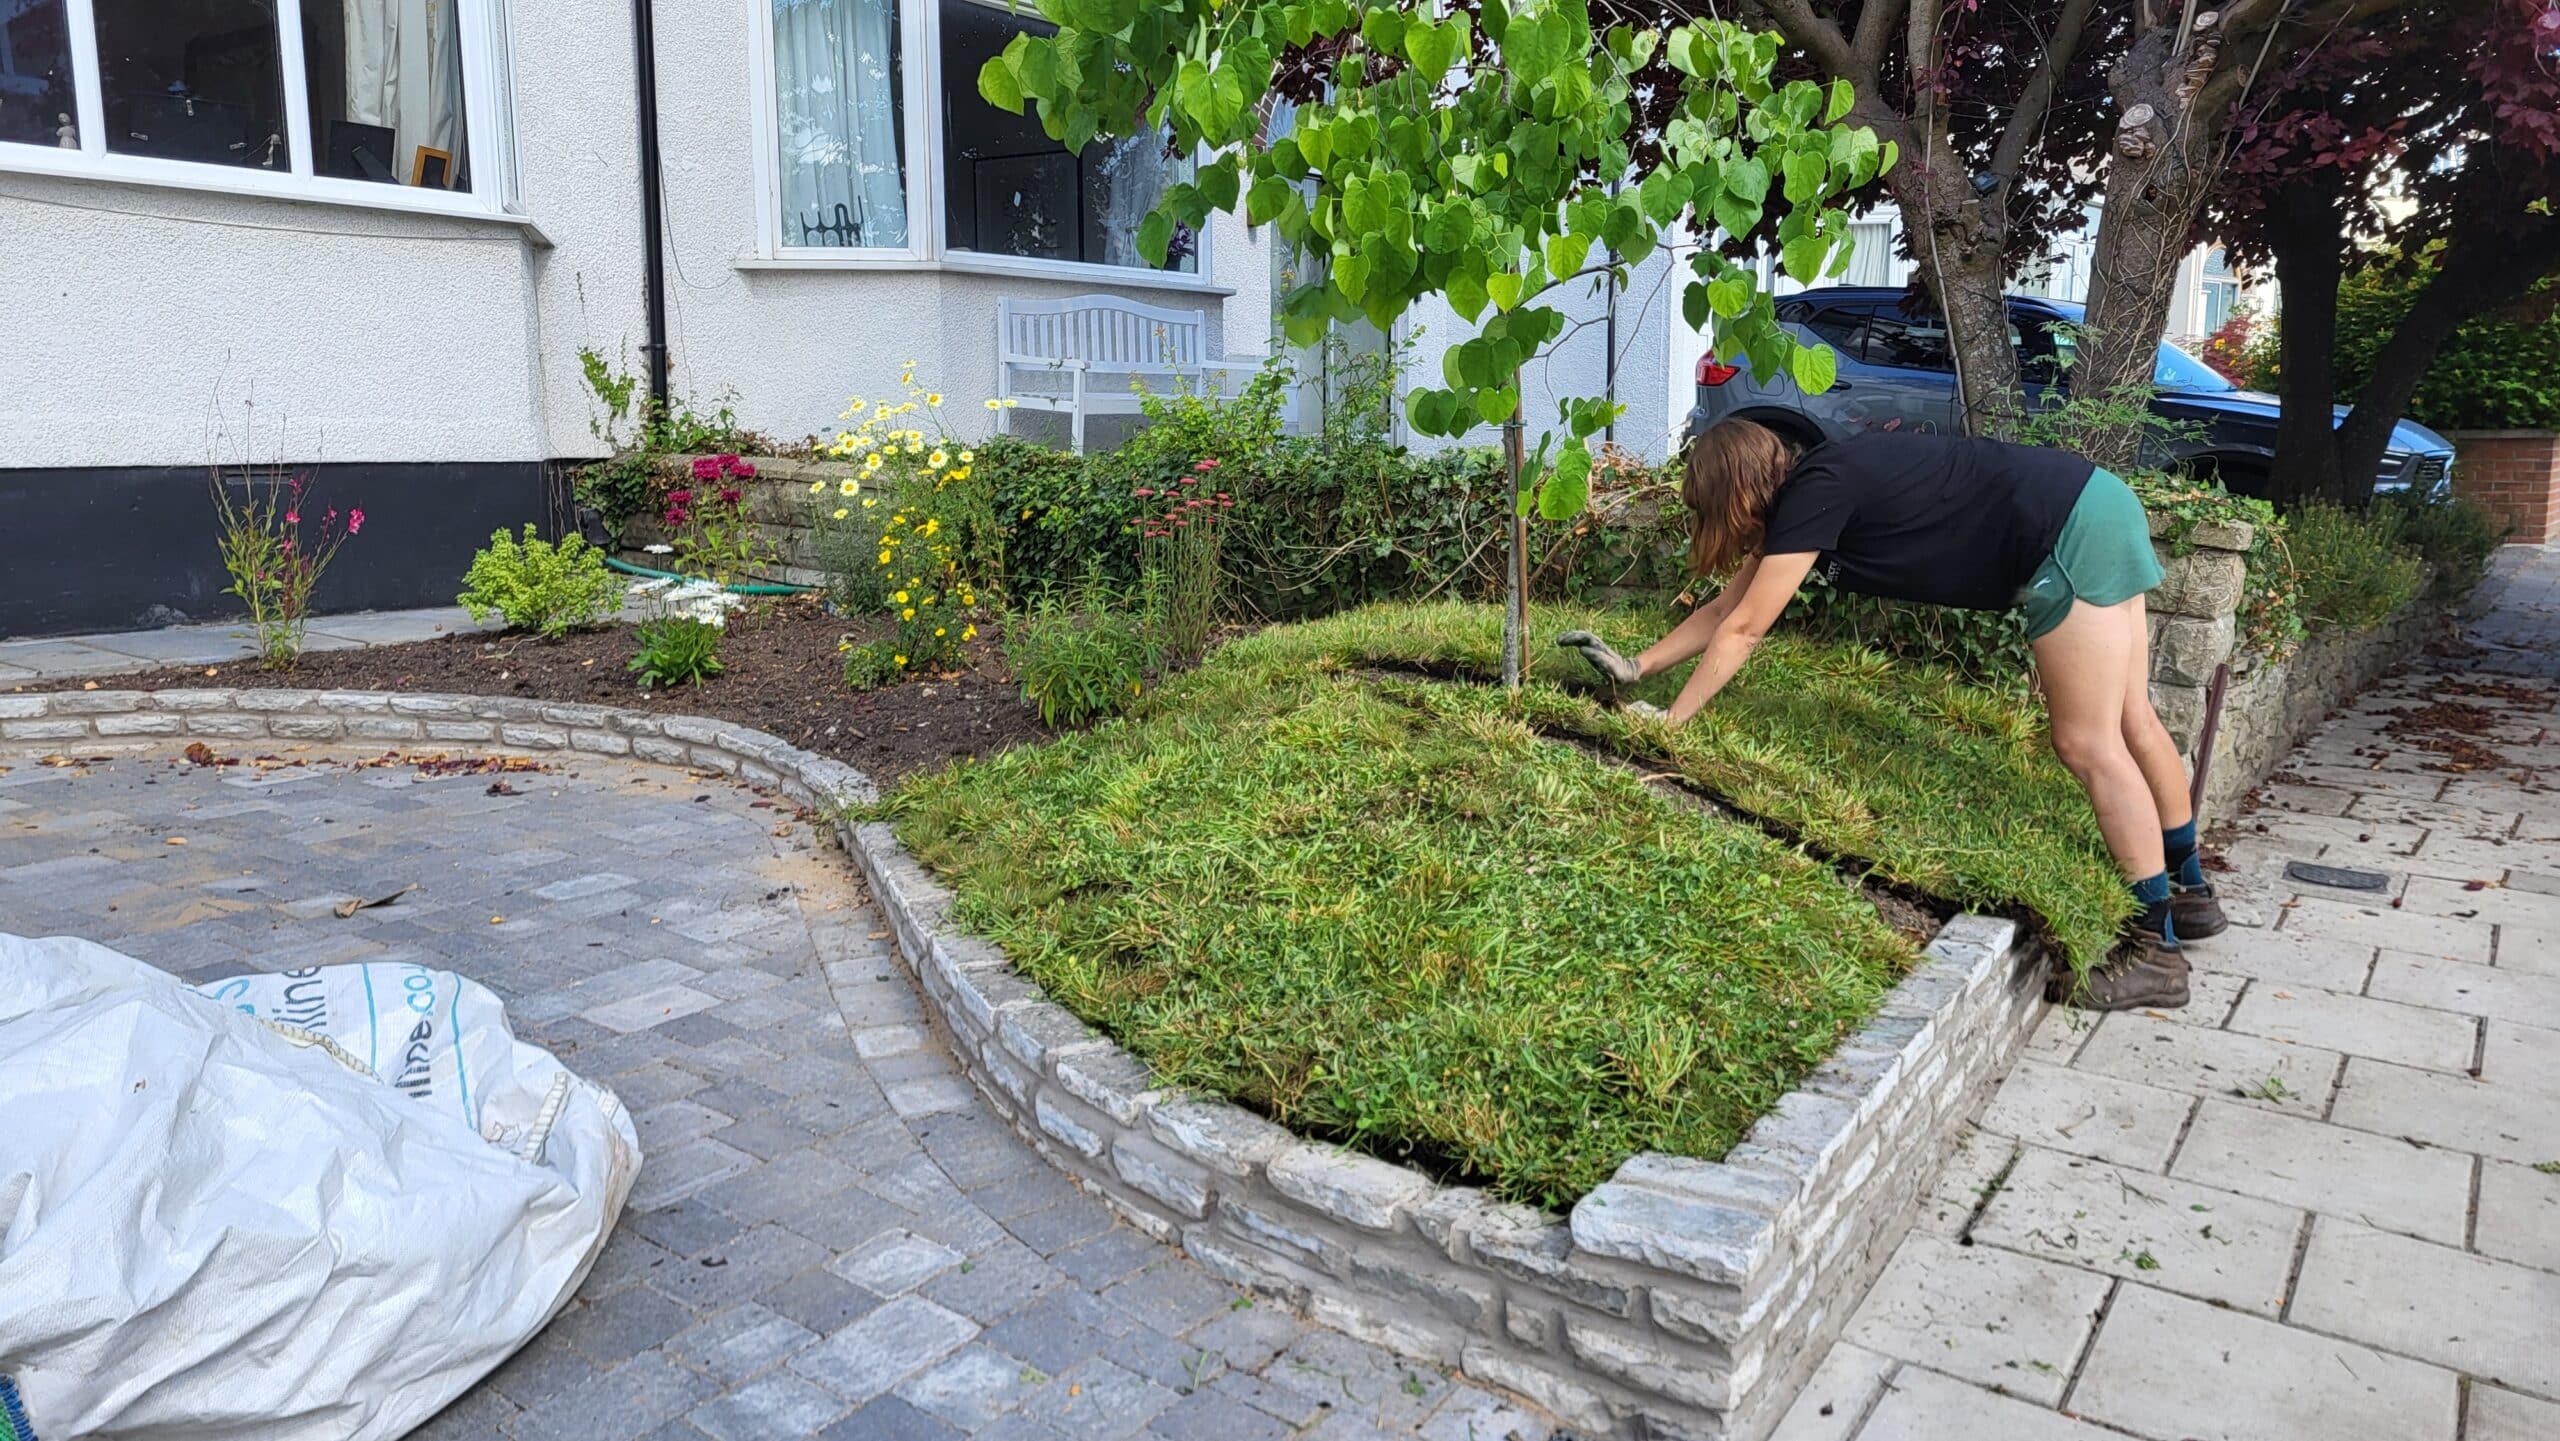
We lay the pieces over the mound and cut it to shape with a saw, making sure to leave a collar around the tree trunk. This is to ensure air flow around the tree.
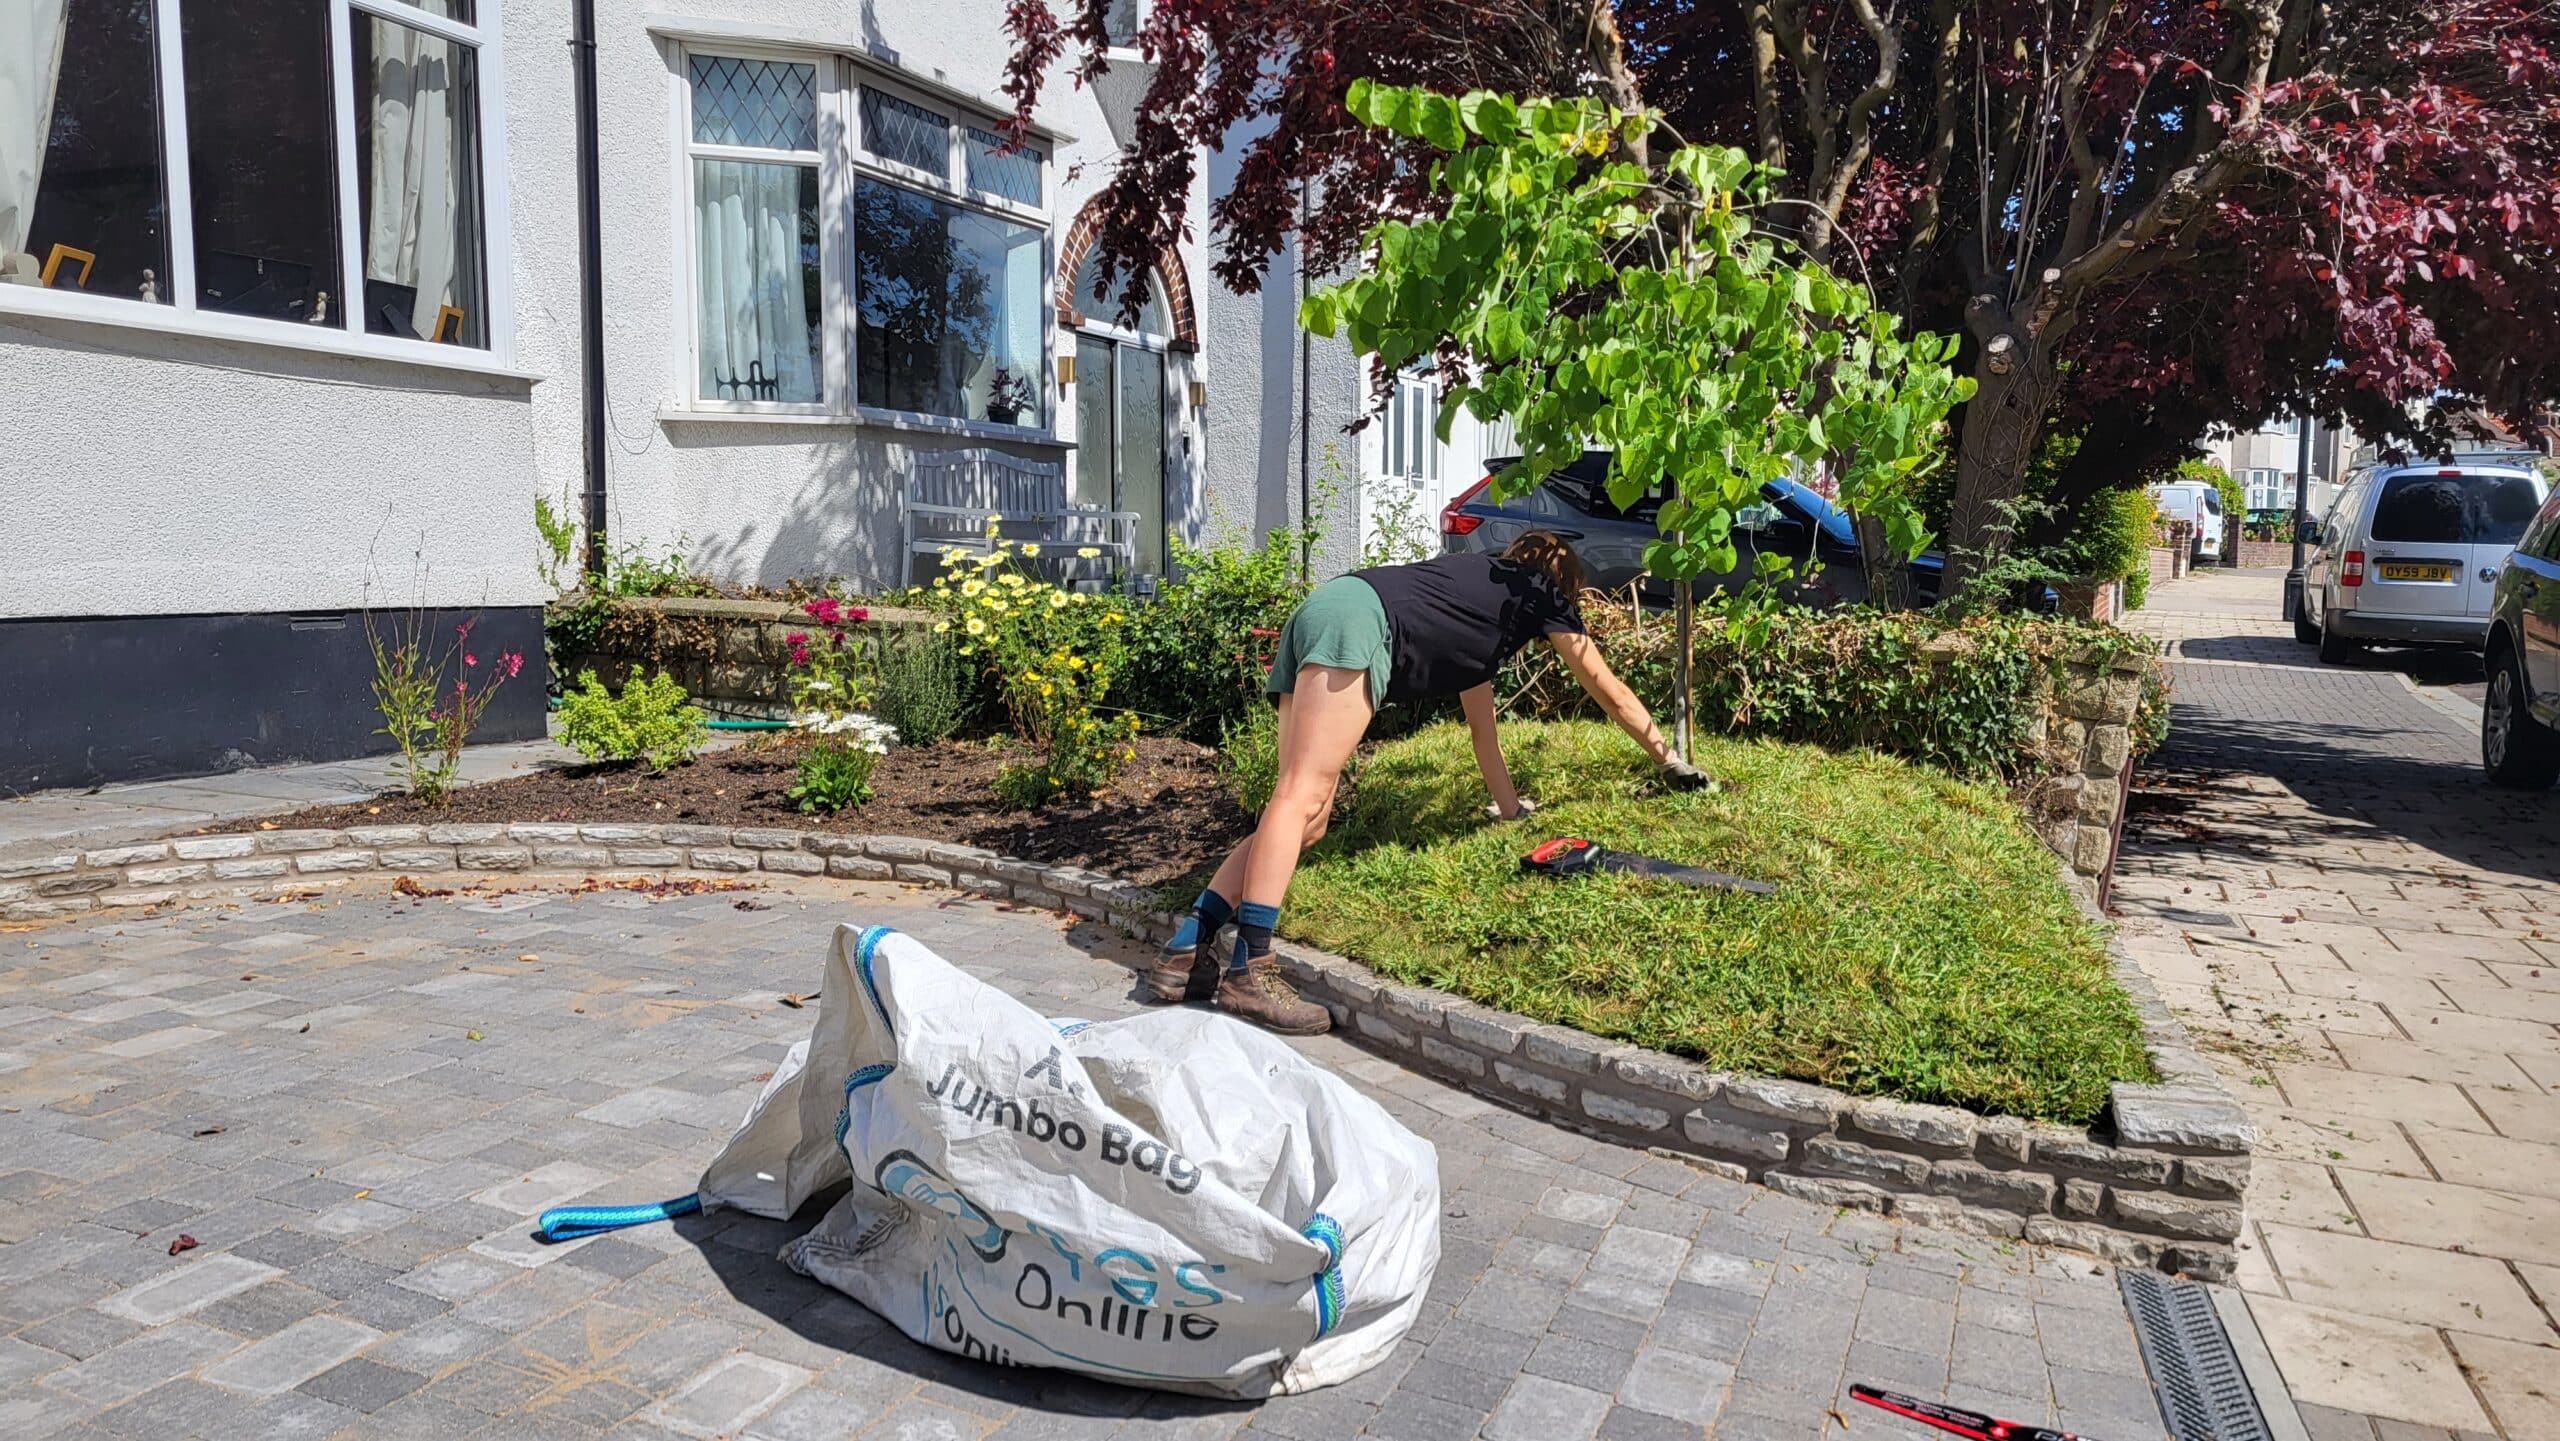
We brought in some good quality mulch, which we added as a top dressing to the planted area, and also to the base of the tree.
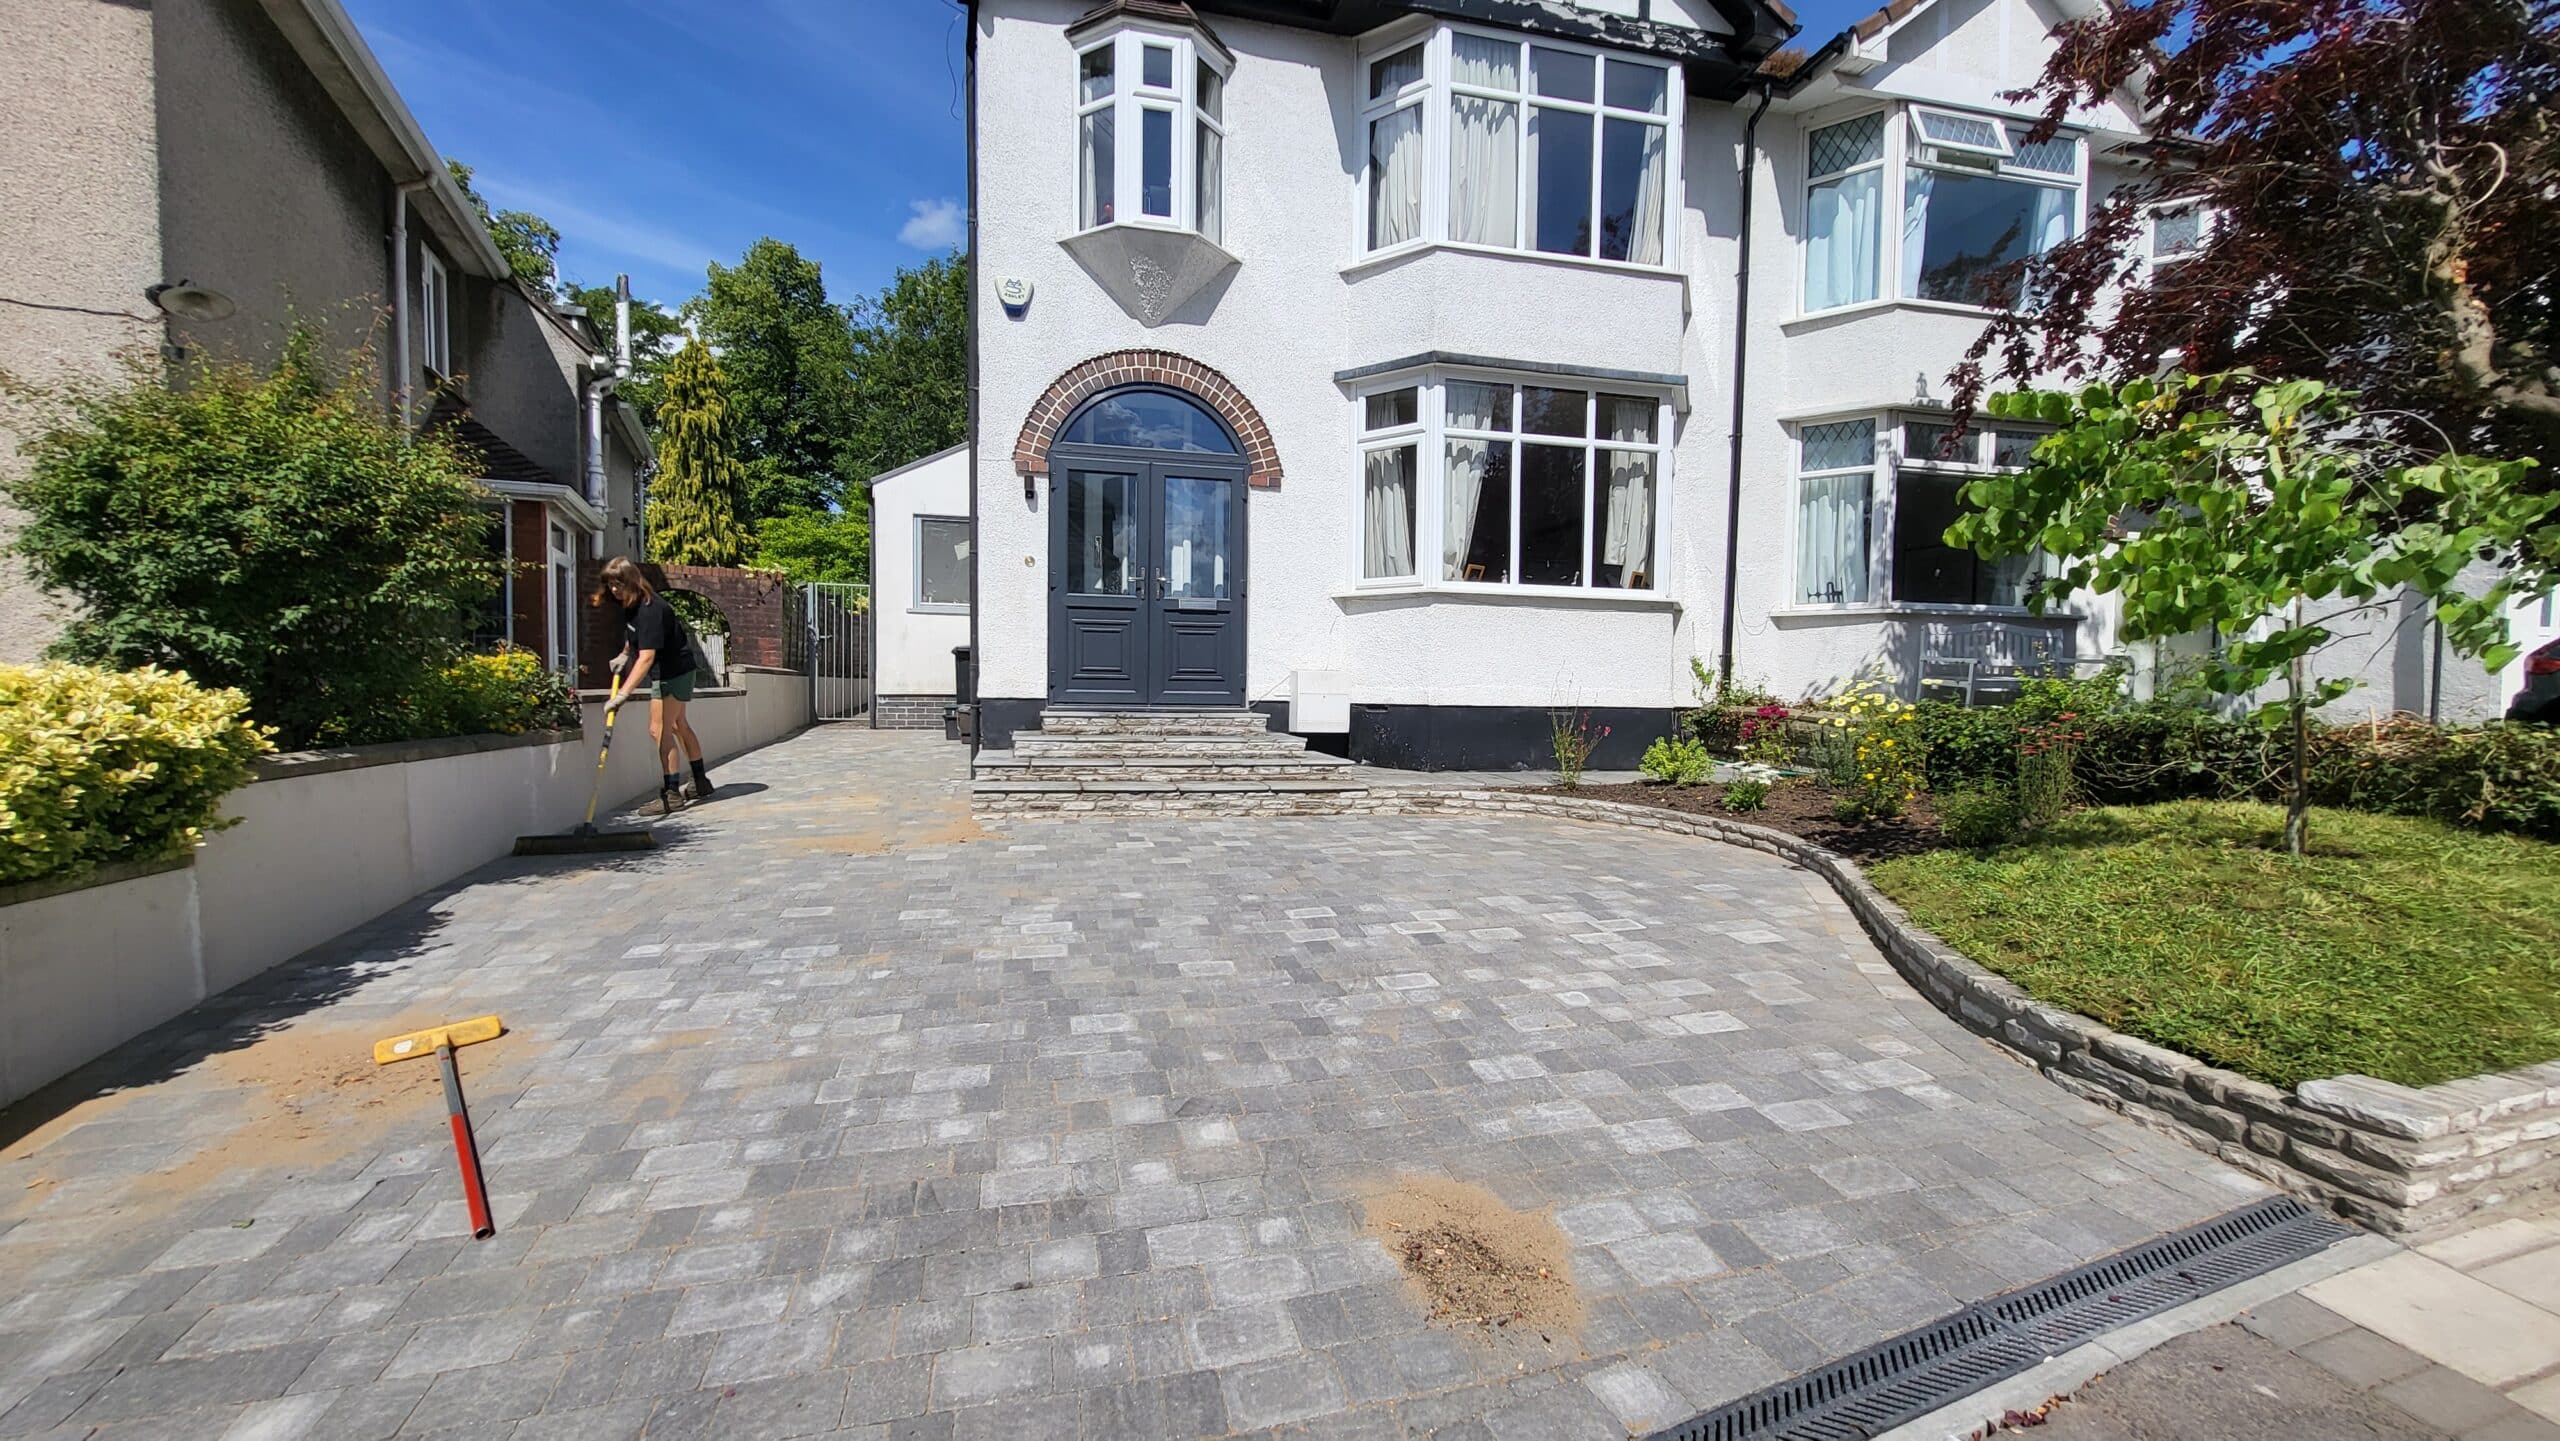
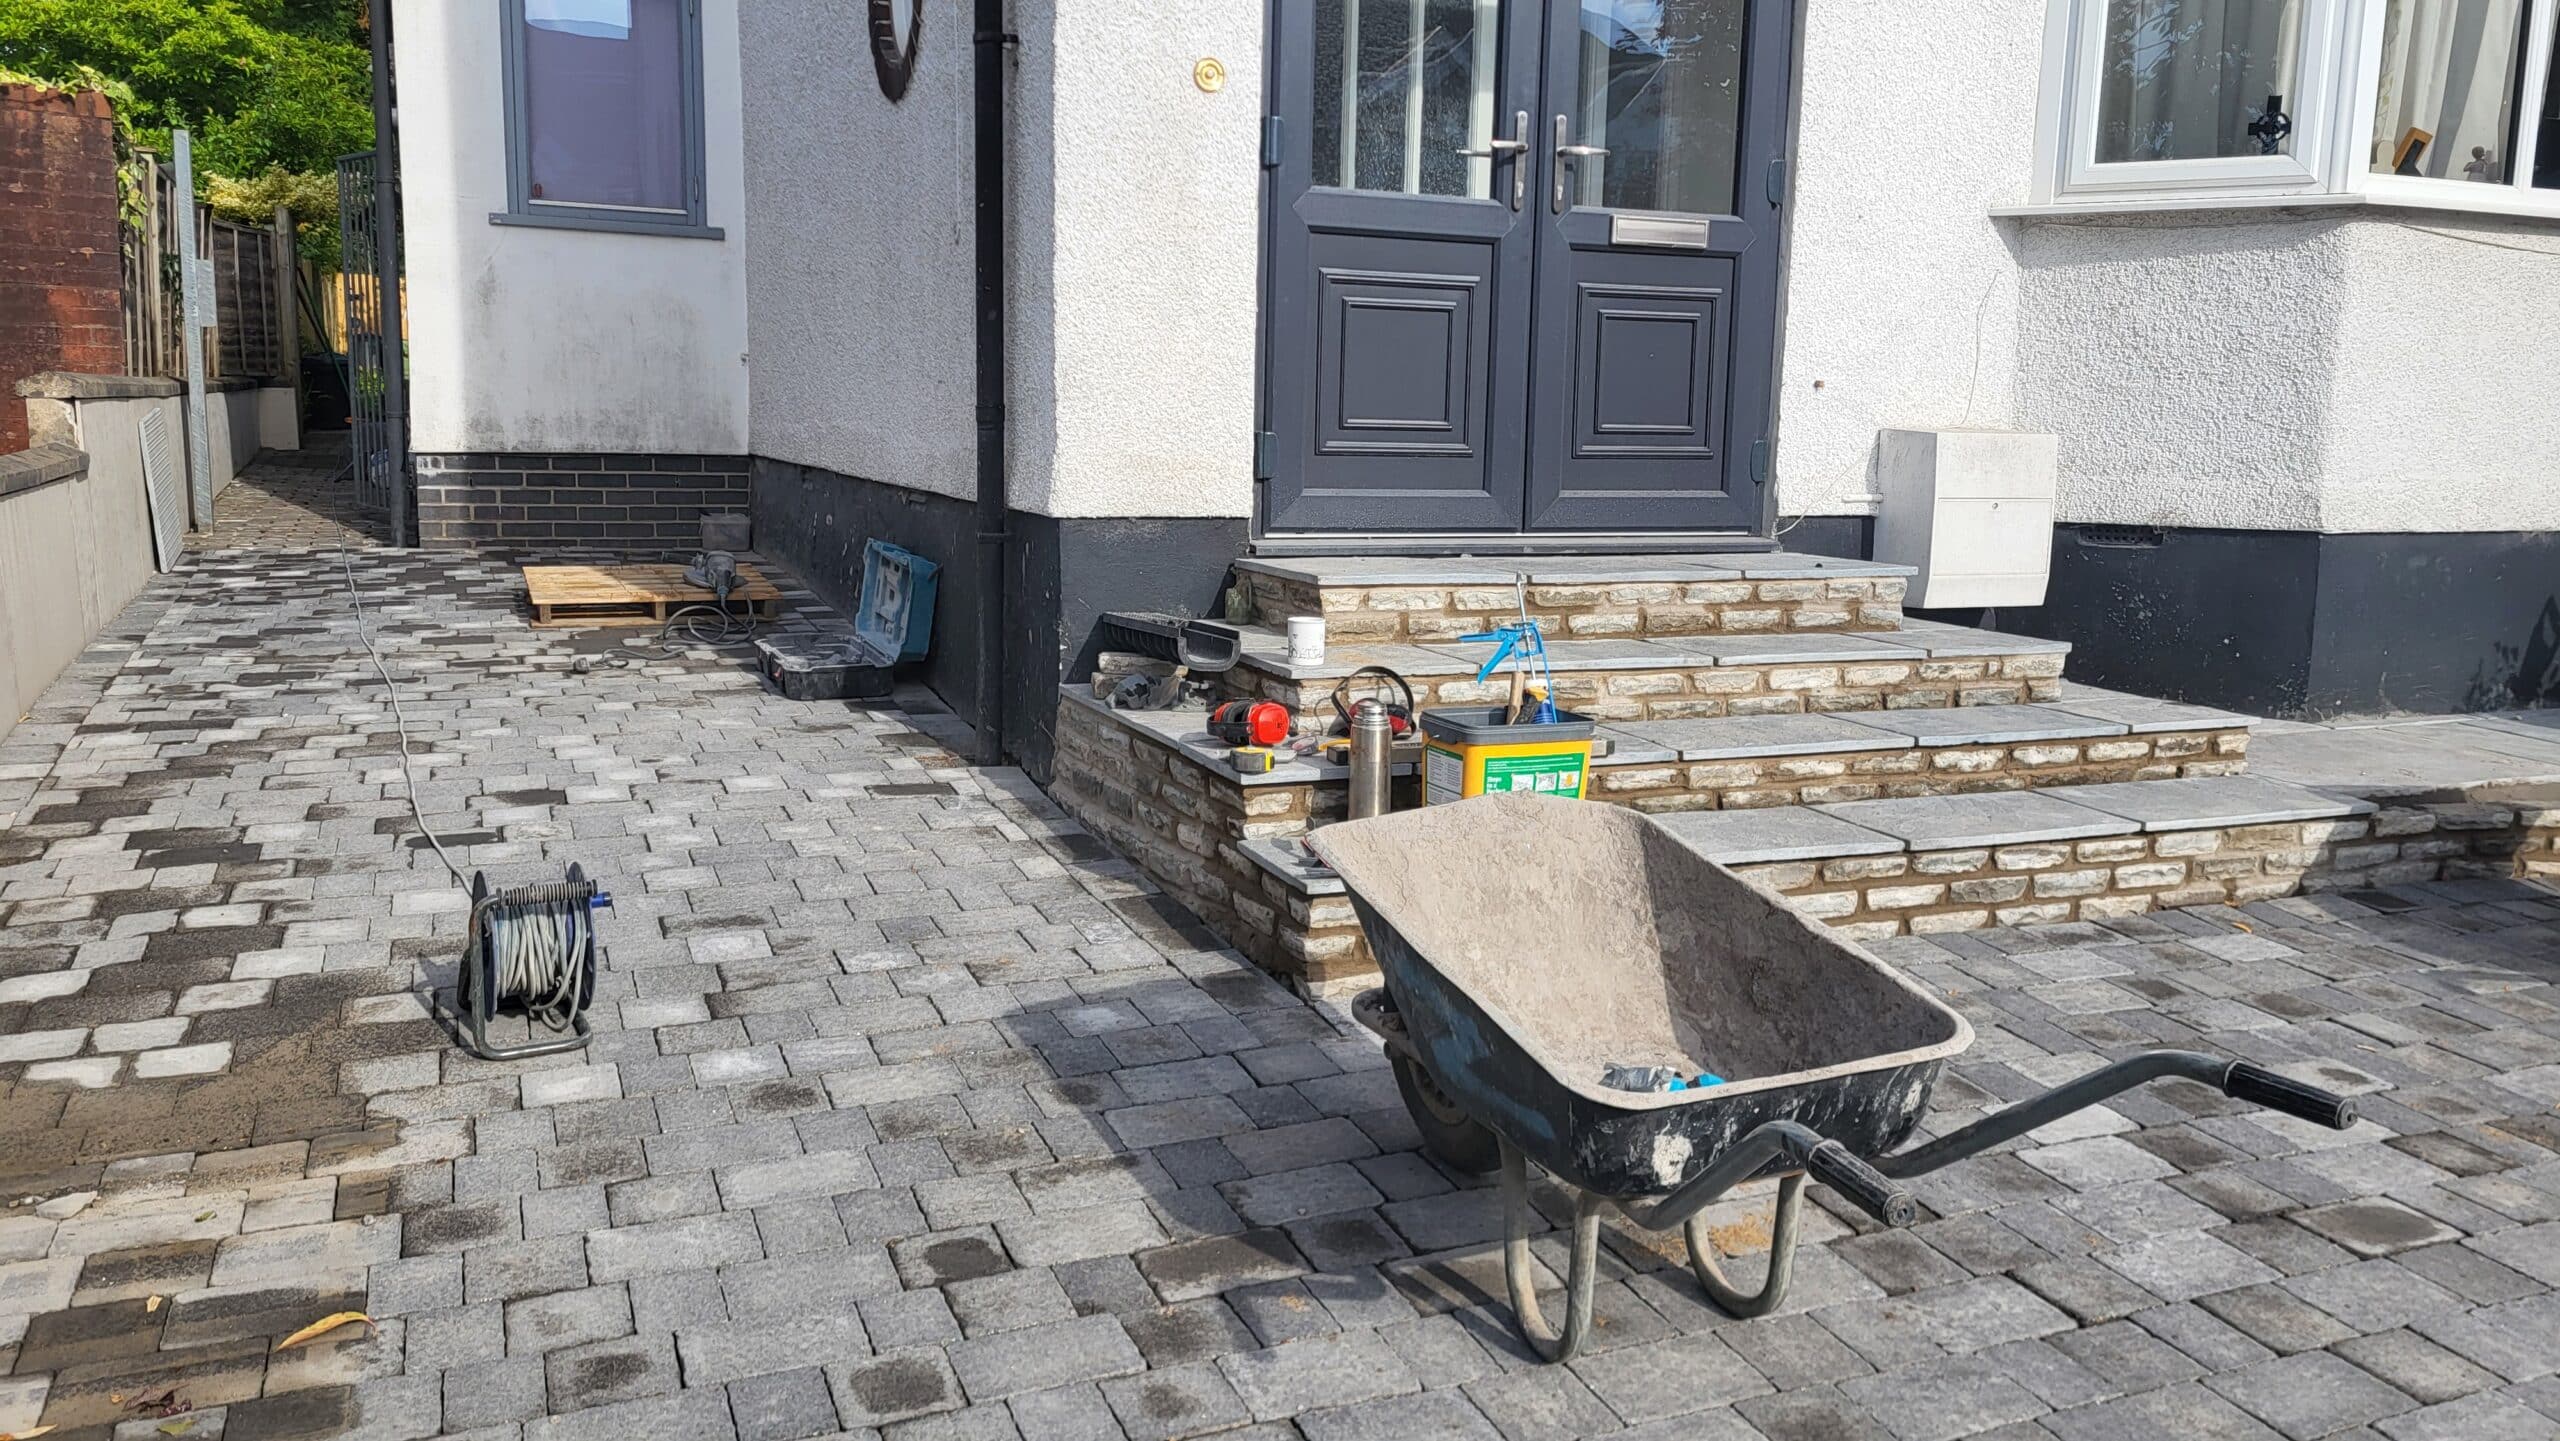
We swept the driveway a final time, ensuring the sand was working it’s magic. What a beautiful front aspect for this Bristol home. Watering of new turf is key. Meadow turf should be treated the same as standard rye turf in the first few weeks whilst it establishes; watering it daily for three weeks.
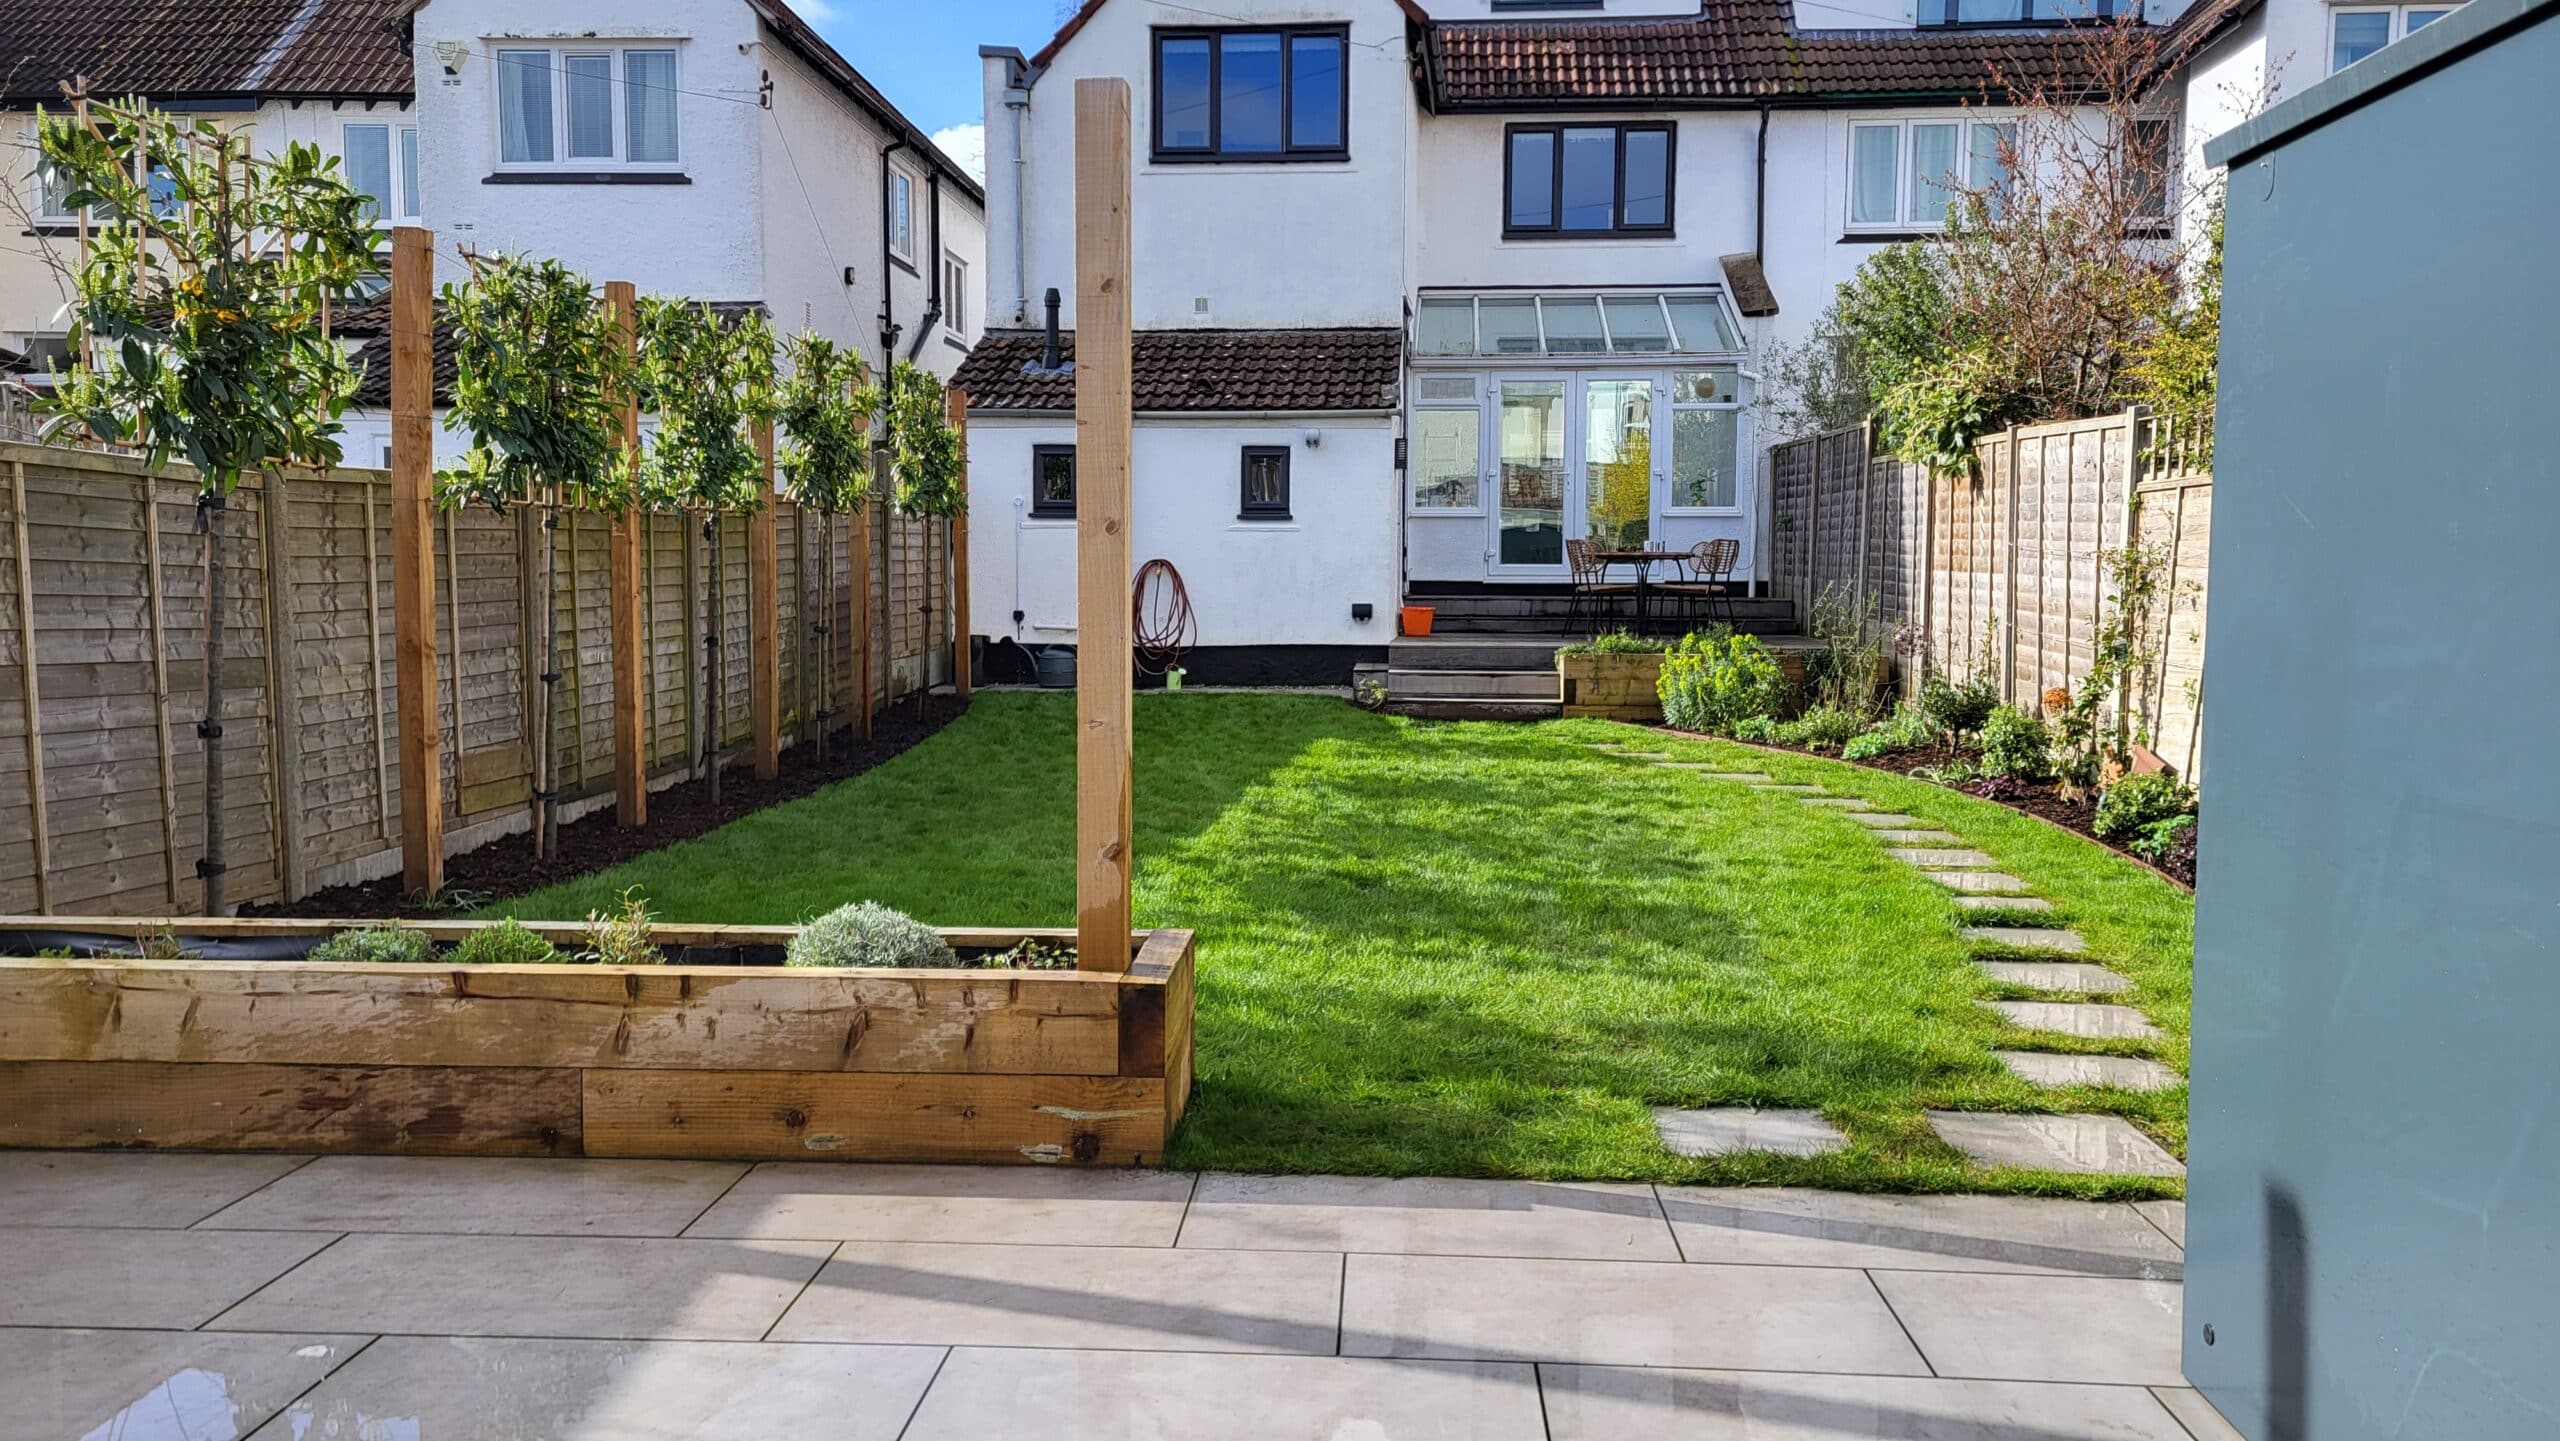
Such a transformation from this to this…
Check back in with us soon to see our next project.